Waaaay back in Post 43 I discussed the door locks and I mentioned that I was having some difficulties getting BPhillips’ lock solution working for me. I struggled with it for about a week before giving up and moving on. Try as I might, I just couldn’t ever get the spring to work well enough to make the lock/unlock motion reliable enough that I was comfortable incorporating it into my build. There was just too much friction in the mechanism – I tried a number of different springs, both length and rate – but at times the mechanism would stay locked when I tried to unlock or would stay unlocked when I tried to lock.
Here’s a pic of Bill’s modification from the wiki:


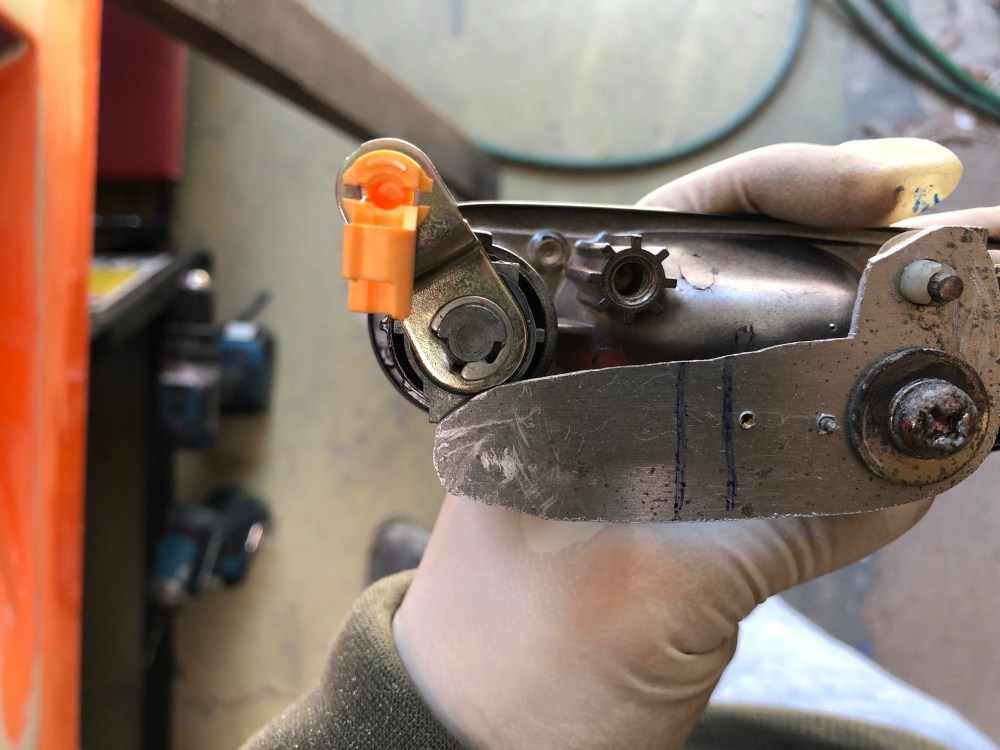
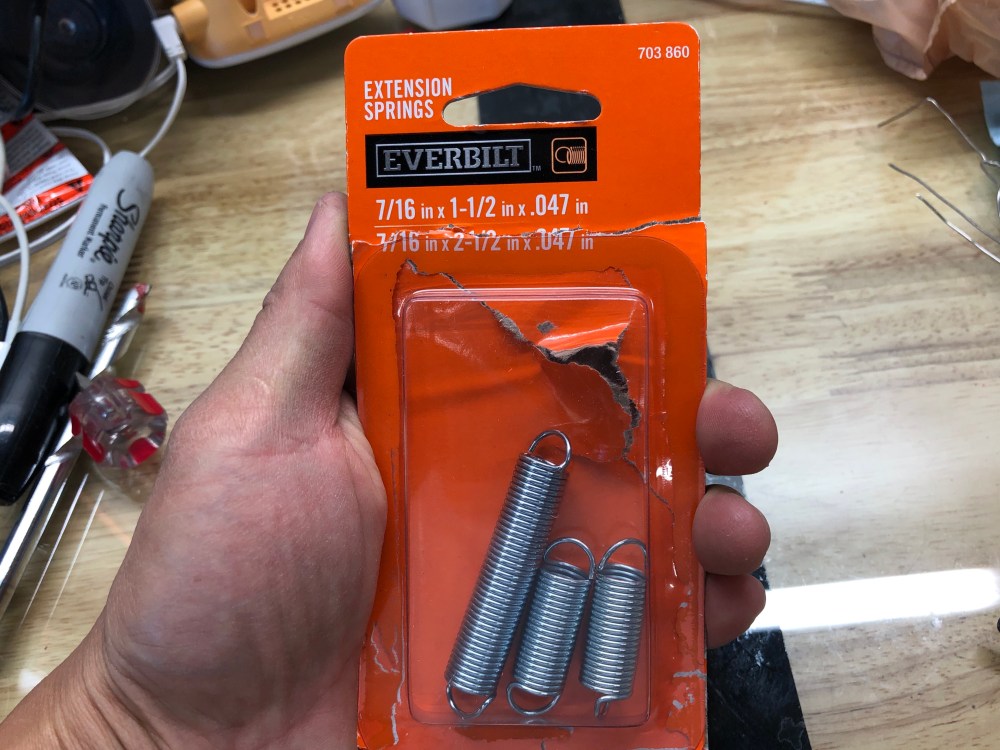
The issue I had is the springs I tried using tended to drag across the plate, had too much tension or not enough tension. After trying for what seemed to be forever, I could never find the right balance between spring tension and assembly friction. I just couldn’t get it working reliably.
So I gave up. Yep – I’ve been cruising around with no functional door locks for the last year.
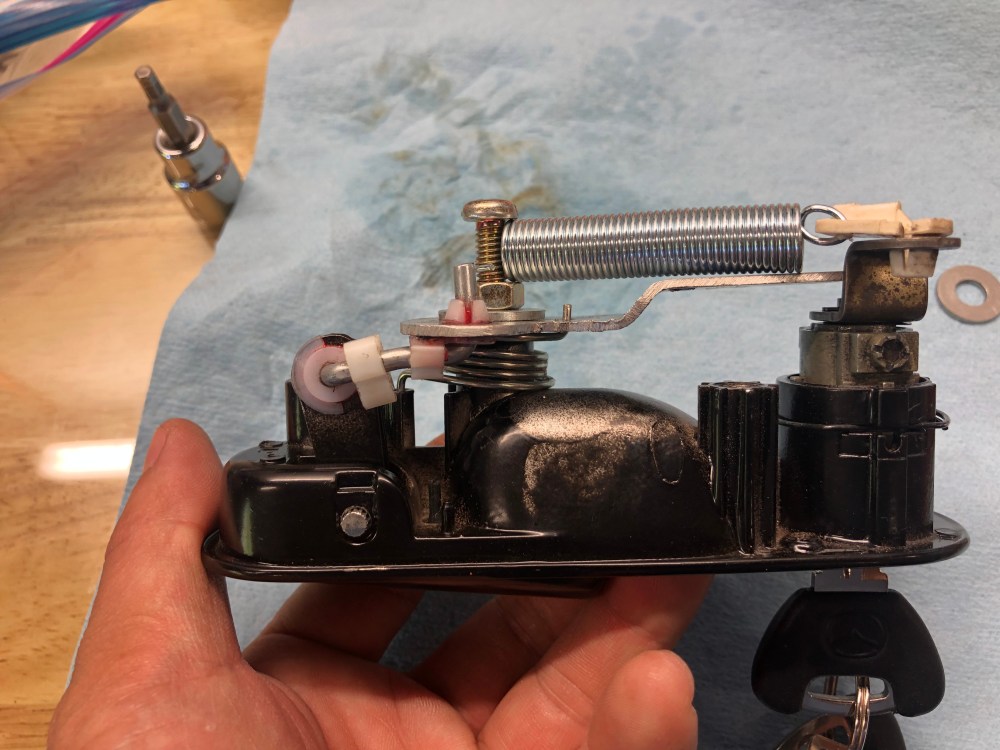
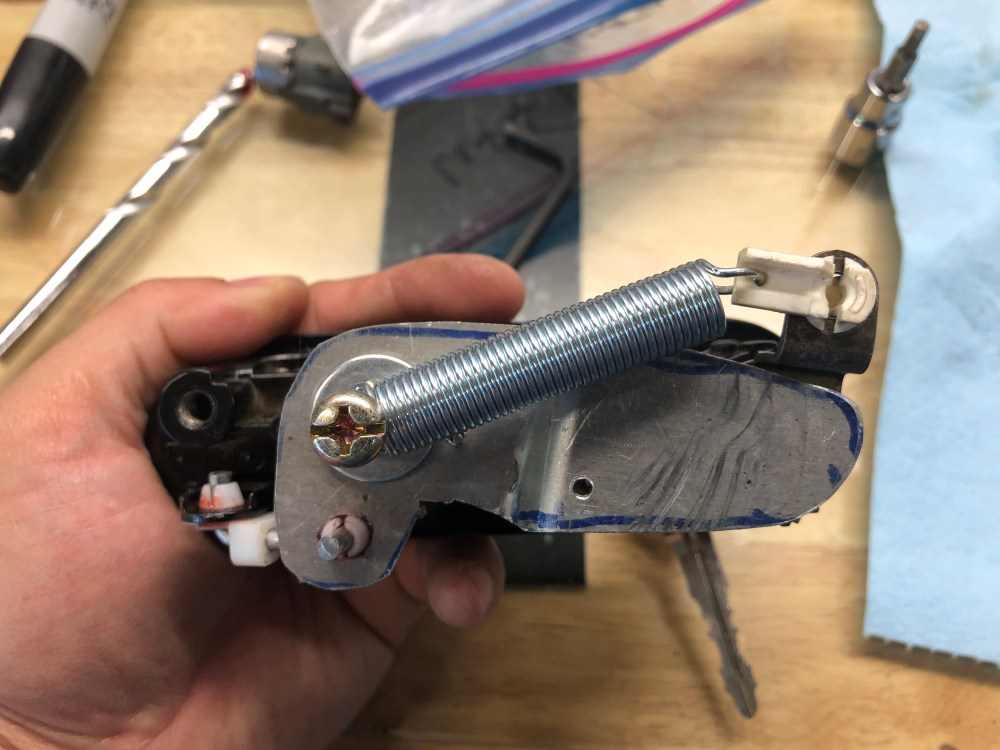
While I had the doors apart for this re-dip I decided I’d take another run at tackling this issue. I really want lockable door handles! It was getting to be about 11PM and I had to get up in 7 hours for work when it hit me that the key to my problem (haha, see what I did there?) was in reducing friction in the system and getting a reliable spring pull. If I could reduce the friction at the spring mount then I could get it to swing back and forth freely, making the “pull” action cleaner (to swing the lock assembly all the way over to lock or unlock). I had spent so much time trying to replicate Bill’s mechanism that I didn’t step out of the box enough and just re-jigger it – so that’s what I did at 11PM at night because I couldn’t sleep.
I replaced the screw that secures the pivoting hinge with a longer bolt. I then secured one end of the spring to this longer, cantilevered bolt. This gets the spring up away from the aluminum plate and centers it with the locking mechanism – so whenever the key is turned to lock or unlock, the spring is always wanting to pull it back down, past the “halfway point”. This is the critical piece for making the mechanism work reliably (for me). This version reduces the friction at the spring pivot (because it just turns on the shaft of the bolt) and across the entire length of the spring (because it’s no longer rubbing against the aluminum plate). With this reduction in friction it was no longer necessary to get the spring tension tuned just right.
So here’s what I came up with! I’ll call it Rumbles v2.0 since his design was the inspiration for this:


Having functional door locks makes the SLC a much more usable car; I’m still going to be paranoid about leaving it out of sight, but at least I’ll know that random dude who tries doors to see if any are unlocked is going to be disappointed when he comes across mine!
