If you’ve been following along you can tell I have a mild obsession with carbon fiber. When I originally went through the RCR options list I wanted to check off anything that had the word “carbon” in it – if they’d offered a carbon canister I probably would have ordered it! Before pulling the trigger on the kit I talked to a few folks and one of the recommendations I received was to NOT purchase the optional “extended door panels”.
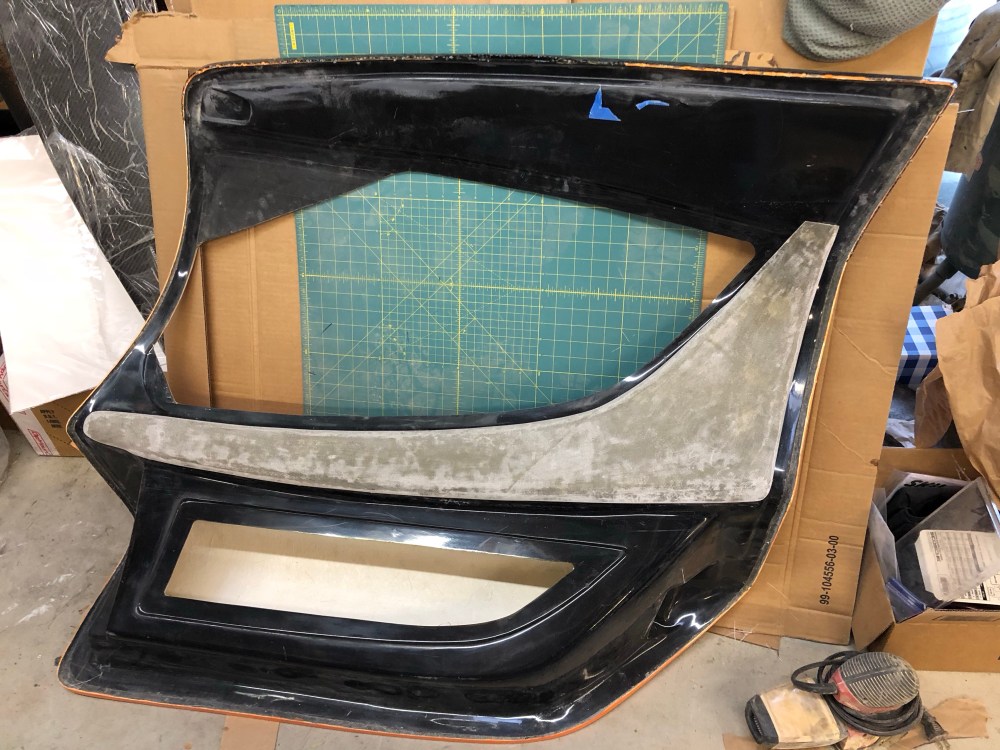
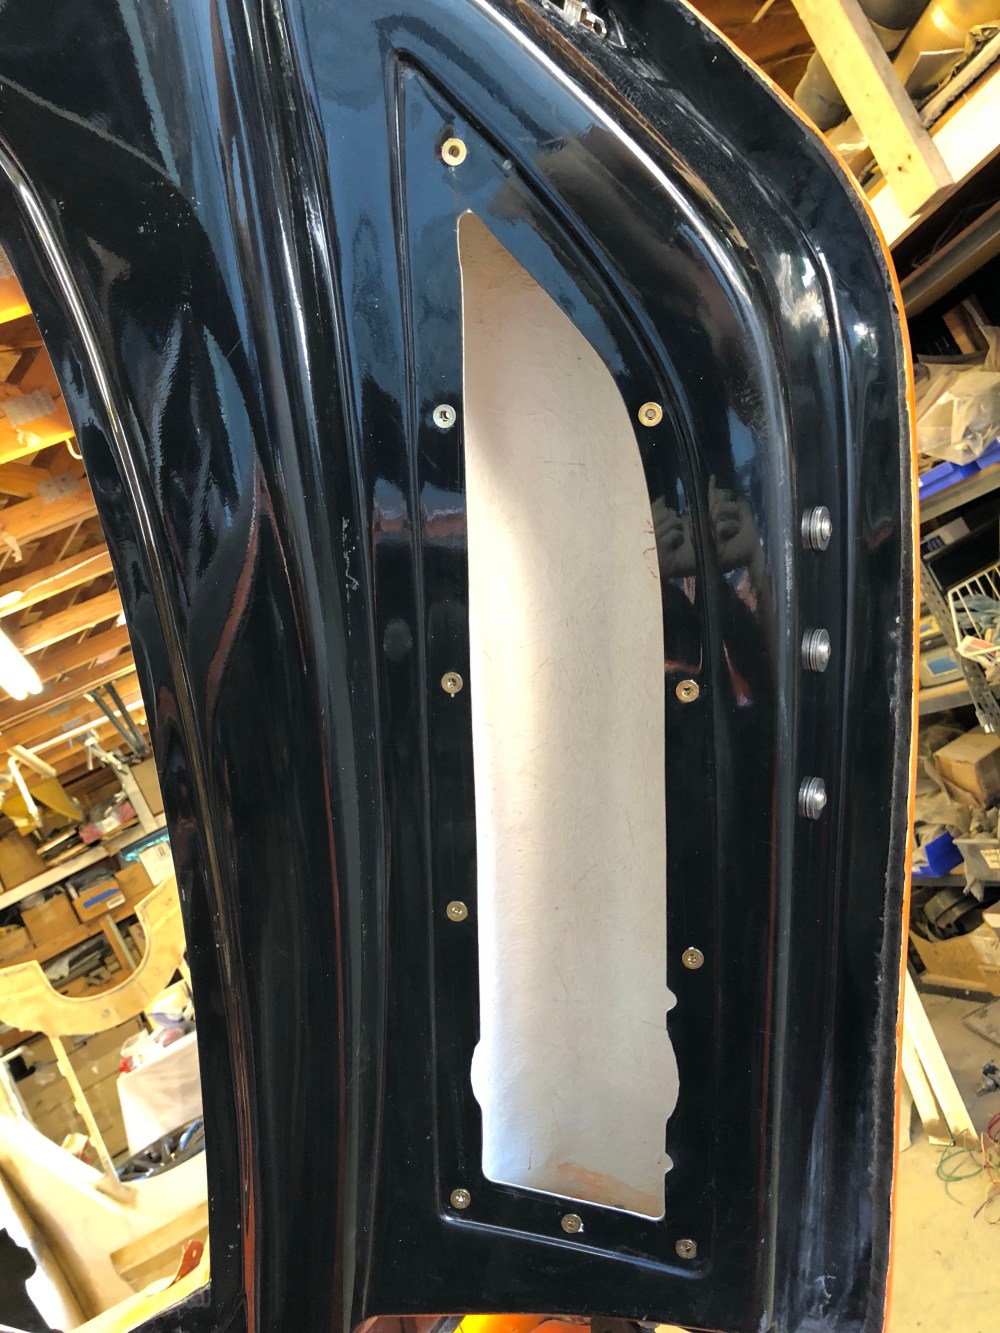
Here is a shot of the extended door panel in carbon:

The concern with the optional door panel is it can make the door a bit heavy after adding any additional stuff (door lock actuators, sound damper, heat blocker, etc). It also consumes some very important space, especially near the passengers’ shoulders. This isn’t really an issue if you’re planning on electric door actuators or if you’re skinny, but I was planning on sticking with the manual gas damper design so I didn’t want to risk making the door too heavy and having to go with excessively strong gas struts.
So I made my own door panels and cards –
The trim piece is made from several layers of fiberglass and is a flush fit to the door. It’ll be secured to the door via 3M VHB 2-sided tape. After getting the rough trimming completed it was time for another session of carbon fiber!
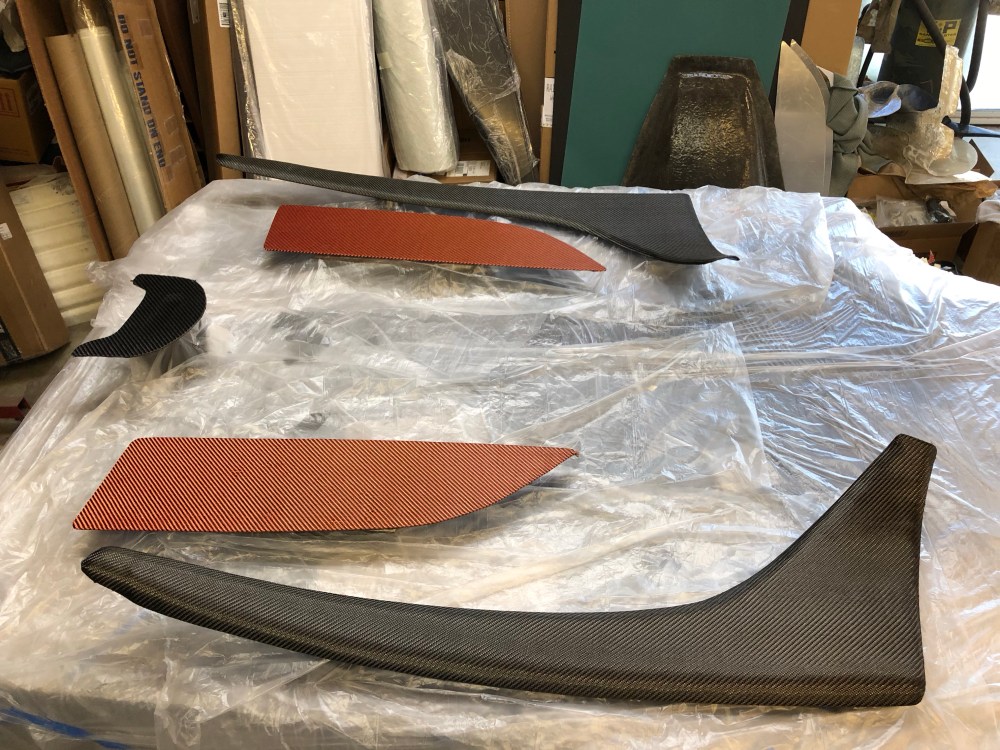
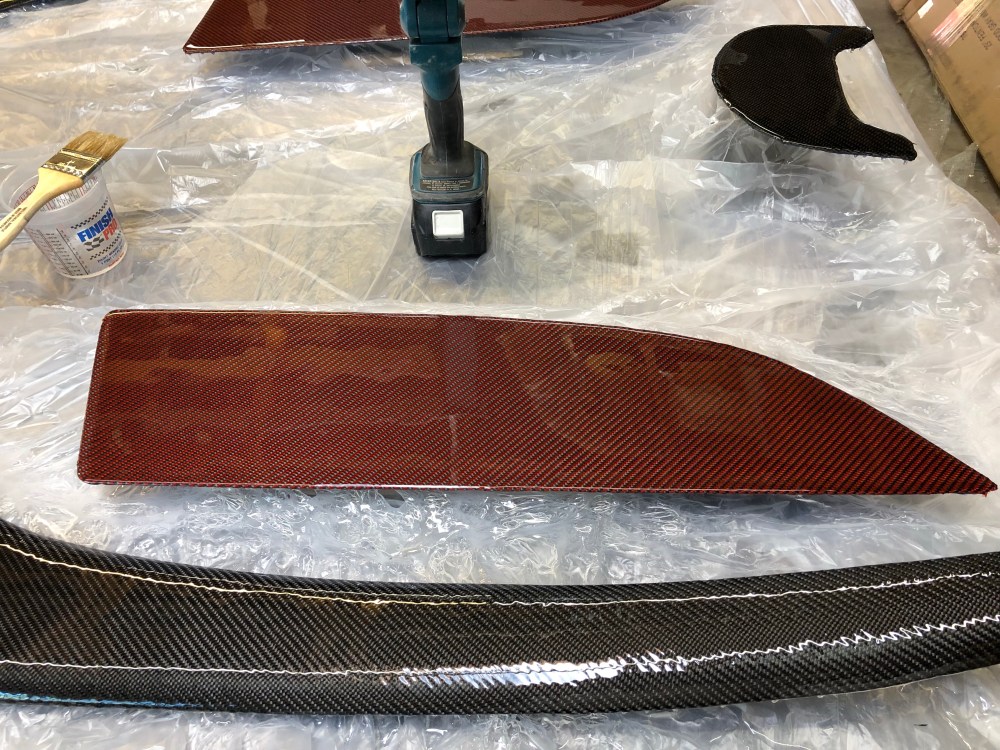
Door insert:
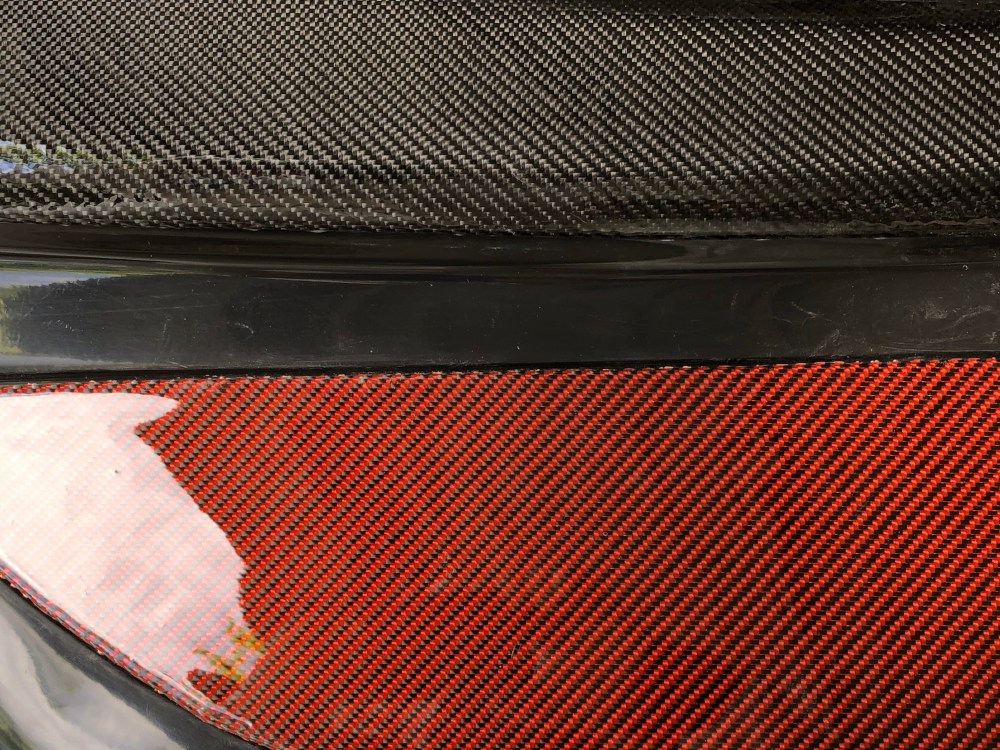
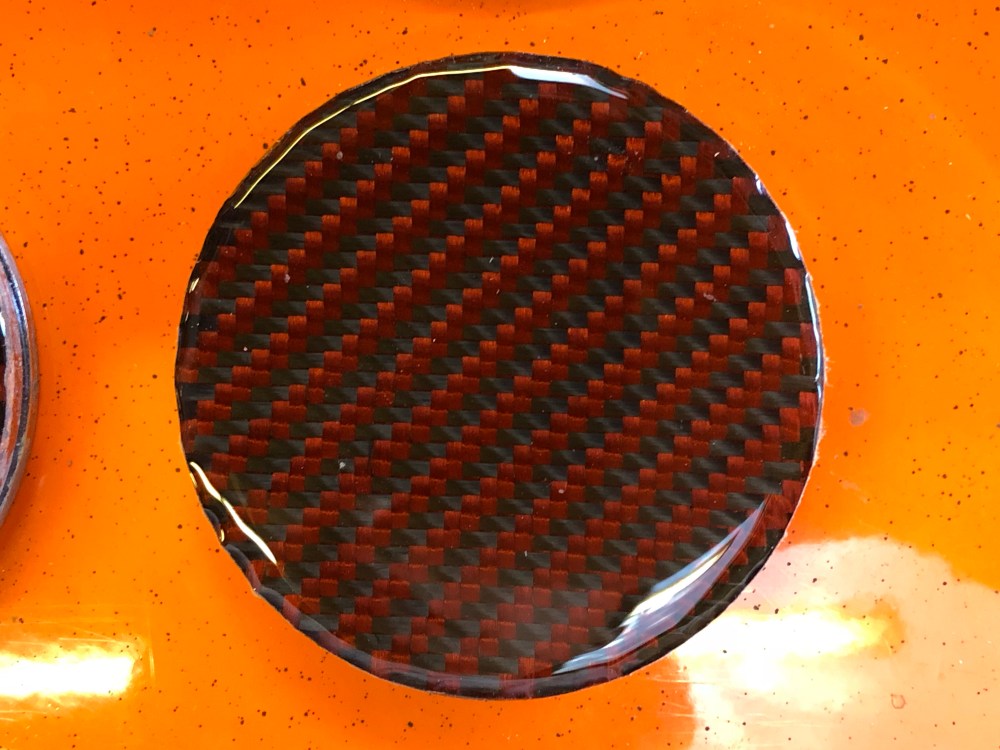
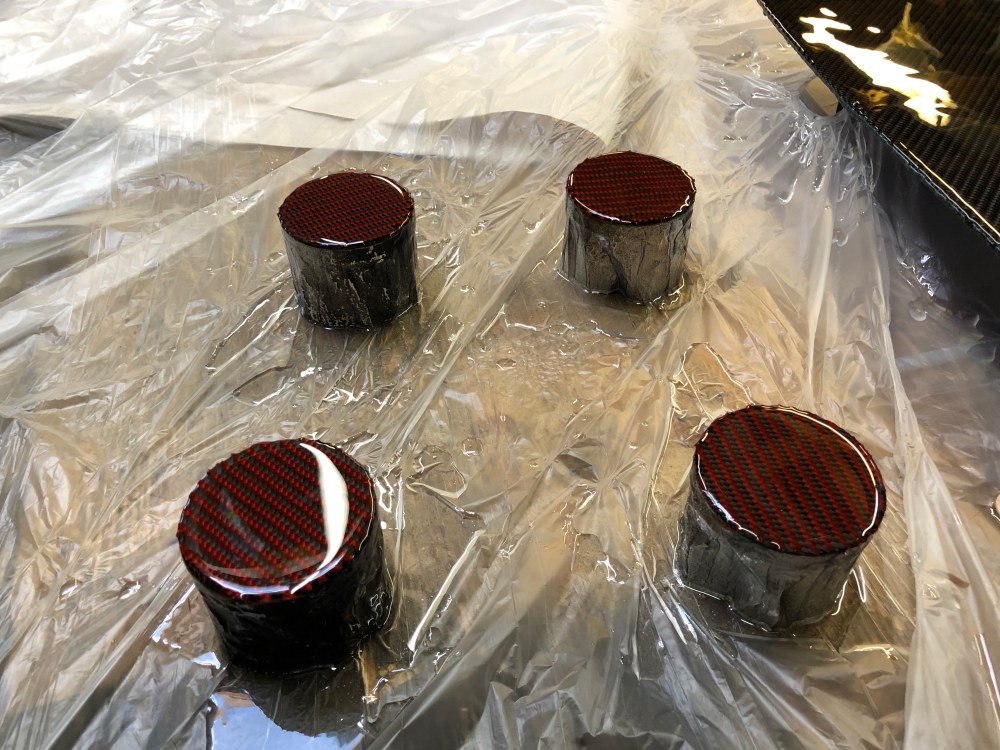
There’s a bit of a Halloween theme running between all the orange and black on the car; it seemed like a good trend so I ran with it. I decided to make the door inserts using a carbon/kevlar hybrid cloth – the kevlar threads are orange.

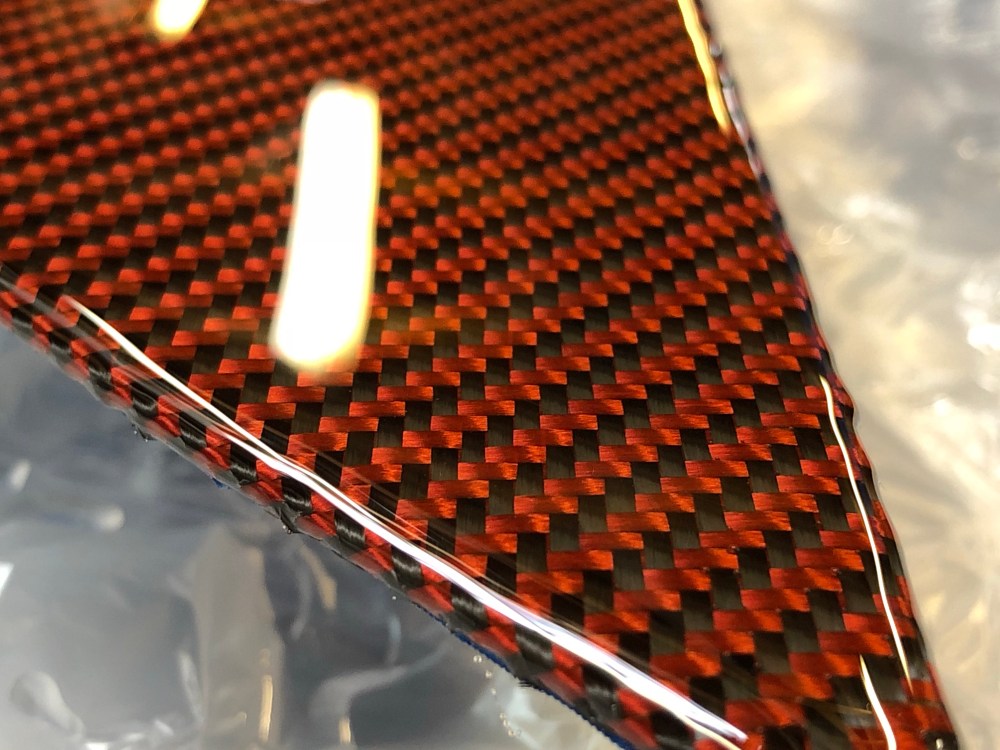
When I initially unrolled this piece of carbon my eyes about bugged out – the orange is really bright! I thought it might be too much bling for the interior but since I’d already bought the fabric I might as well give it a shot. Imagine my surprise when the orange threads turned red after applying the resin!


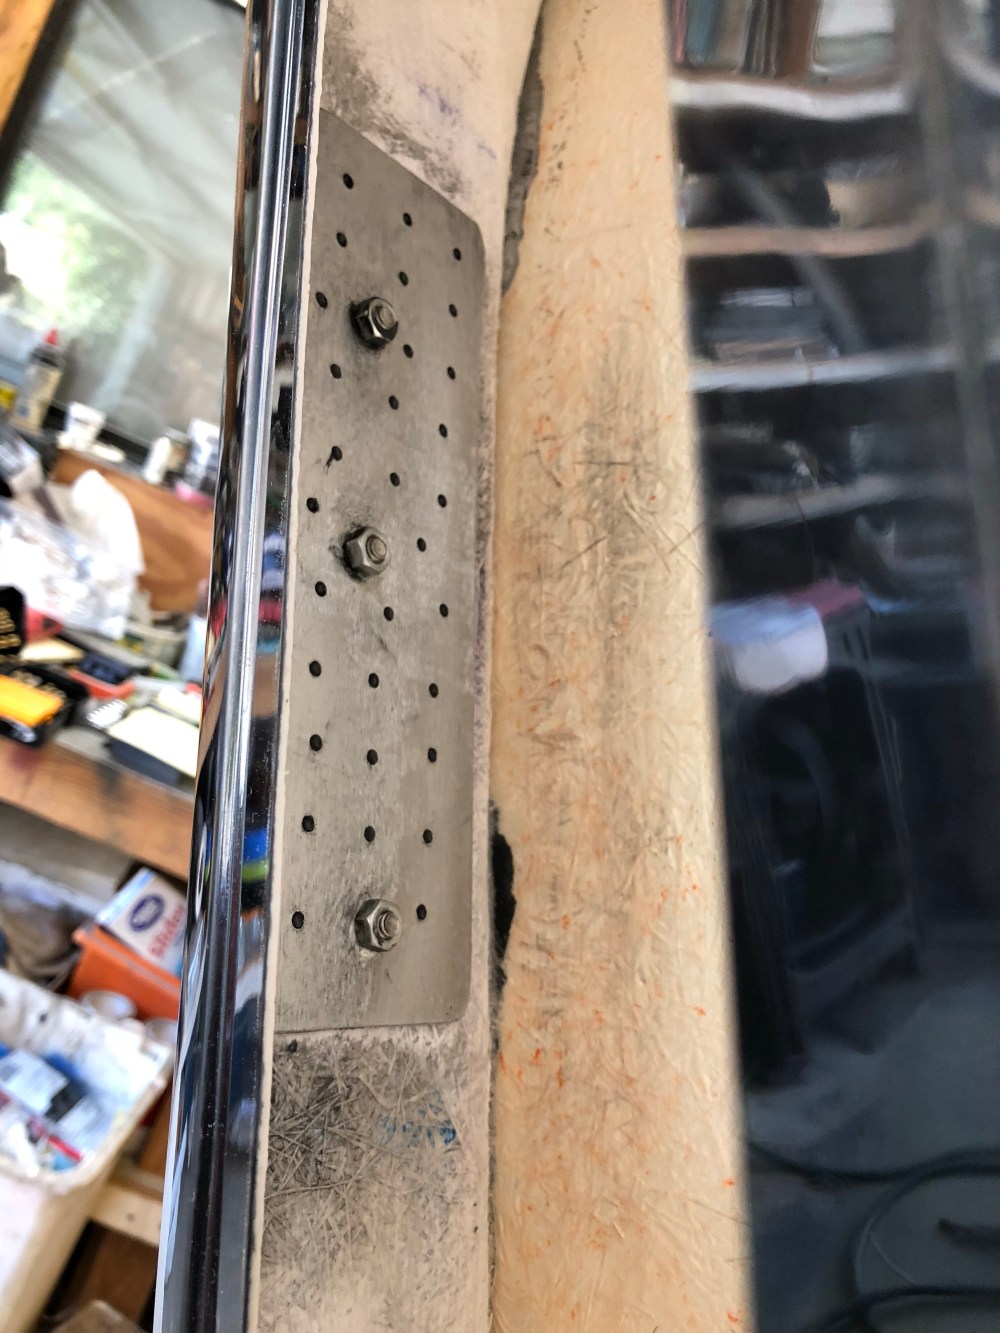
To install the insert I installed riv-nuts designed for use with composites into the door panel. These riv-nuts have extra wide “fingers” that fold out to grab the fiberglass panel. The interior door panel is really thin and I ended up adding a small washer to the backside to help distribute the loads a little more. I used McMaster PN 97217A359 riv-nuts to be used with 10-32 bolts.

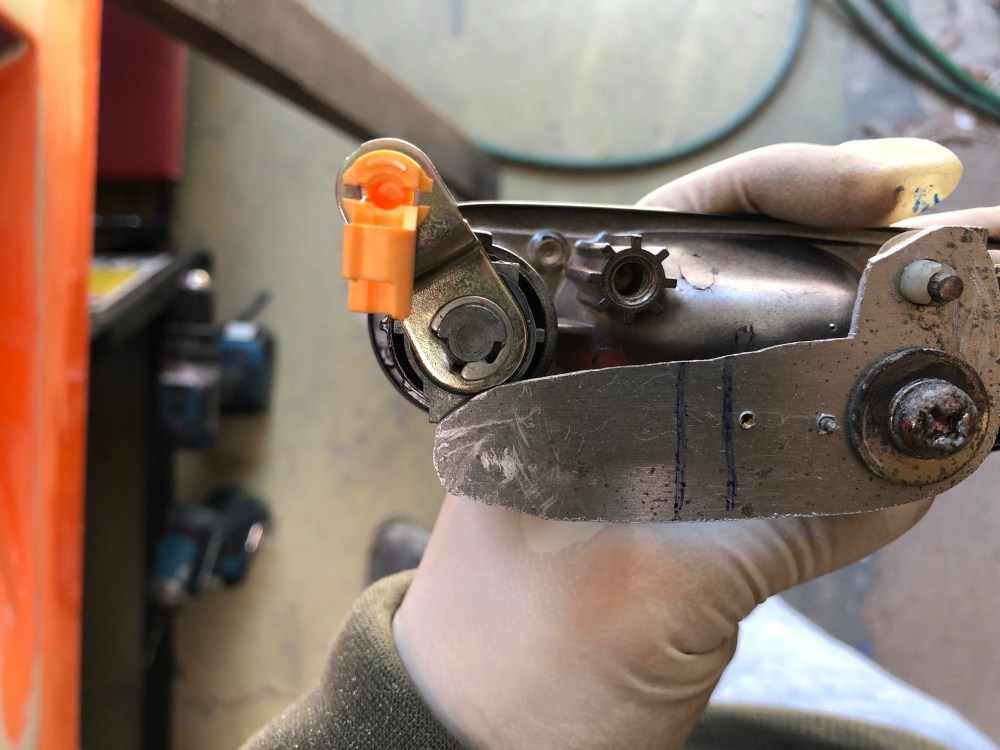
Door handles:
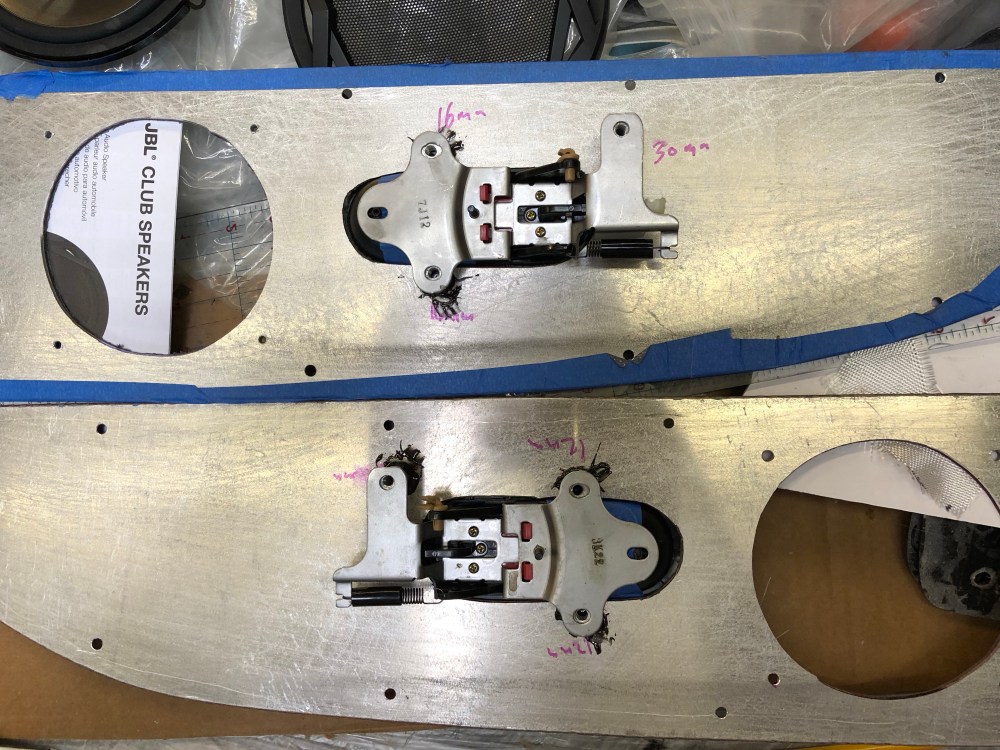
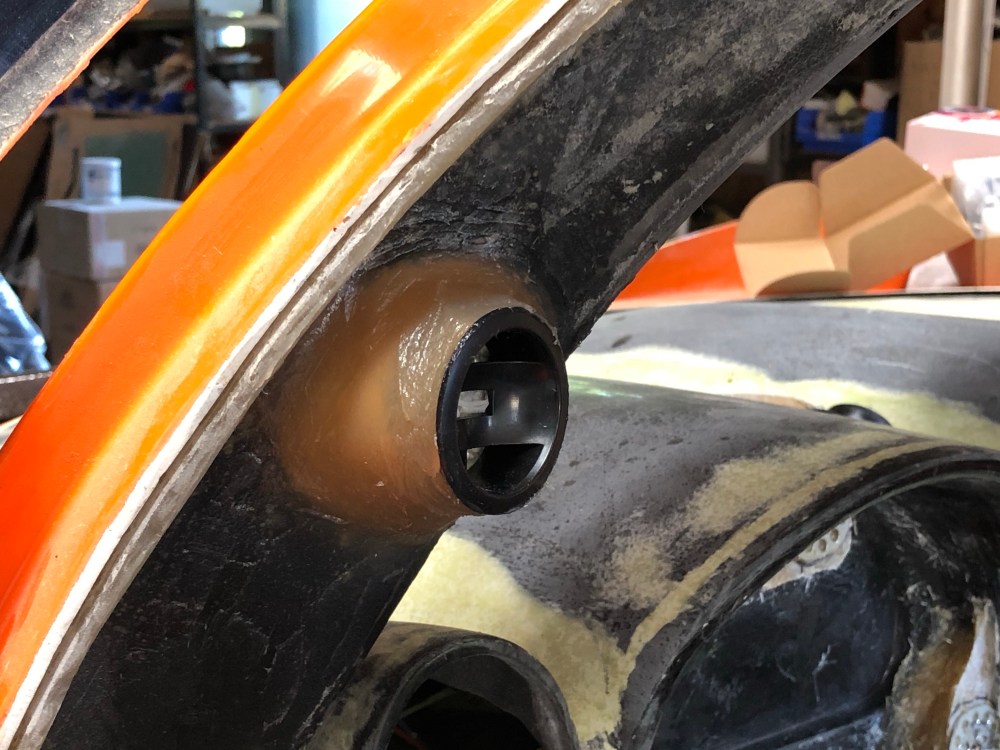
The bear claw mechanism wants to be pulled “forward” to release the striker pin. With the interior handle oriented so the pull is in the forward position, you’ll want to flip the handles right to left and left to right in order to position the pulling arm up, closer to the bear claw. In the photo below, the upper insert shows the backside of the driver’s side insert but with the Miata’s passenger side interior door handle. Using this combination locates the tan colored pull pin toward the top, closer to the bear claw.
Speaking of flipping handles – this isn’t covered anywhere in the build manual or wiki but I came across this in AJ’s build thread. It wasn’t clear to me why he recommended flipping the EXTERIOR door handles until I got to this part of the build. As with the interior door handles, placing the driver’s side exterior door handle in the passenger side door places the pulling mechanism in a more favorable orientation relative to the bear claw release.
The photo below shows my passenger side door with the driver side exterior door handle installed. To release the striker pin, the bear claw actuator needs to be rotated CCW, or the lower hole needs to be pulled “down”. The Miata’s passenger side door handle rotates the mechanism in the wrong direction – with the driver side handle I’m able to locate the pulling point closer to the bear claw and have it “pull” when the handle is lifted.
If you look really closely at the molded external door handle pocket you’ll find there are small indentations which line up with corresponding features of the door handle – and that the factory intended for the handles to be flipped! The indentations are subtle but they’re there – you need to hog the pocket out pretty aggressively to get the handle to fit, be sure you’ve got the handles right before cutting fiberglass!

It’s a small victory but I was pretty happy getting the exterior door handles installed and working!
You’ll notice I’ve modified my door handle’s rotating pull plate. I want to be able to lock the door using the door cylinders via a key so I copied BPhillips’ door handle modification. Here’s a pic from the wiki:


The mechanism looks pretty simple but I had a pretty tough time getting it to work flawlessly. The spring orientation and spring rate can really affect how well the spring “flips” over center and how much effort is needed to pull the handle. I’m still fine tuning my design so it works 100% of the time – it would suck to get locked out of the car with no way to get in but to break into a window!
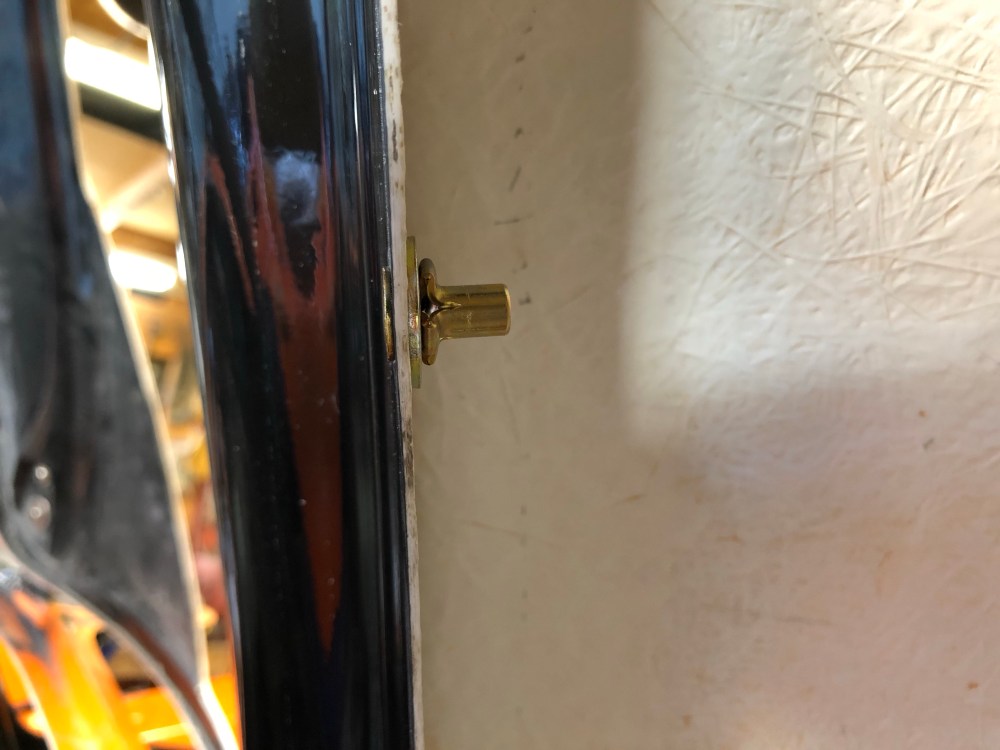
For the sake of completeness here’s a few shots showing how I mounted the internal ball joint for my door’s gas strut.
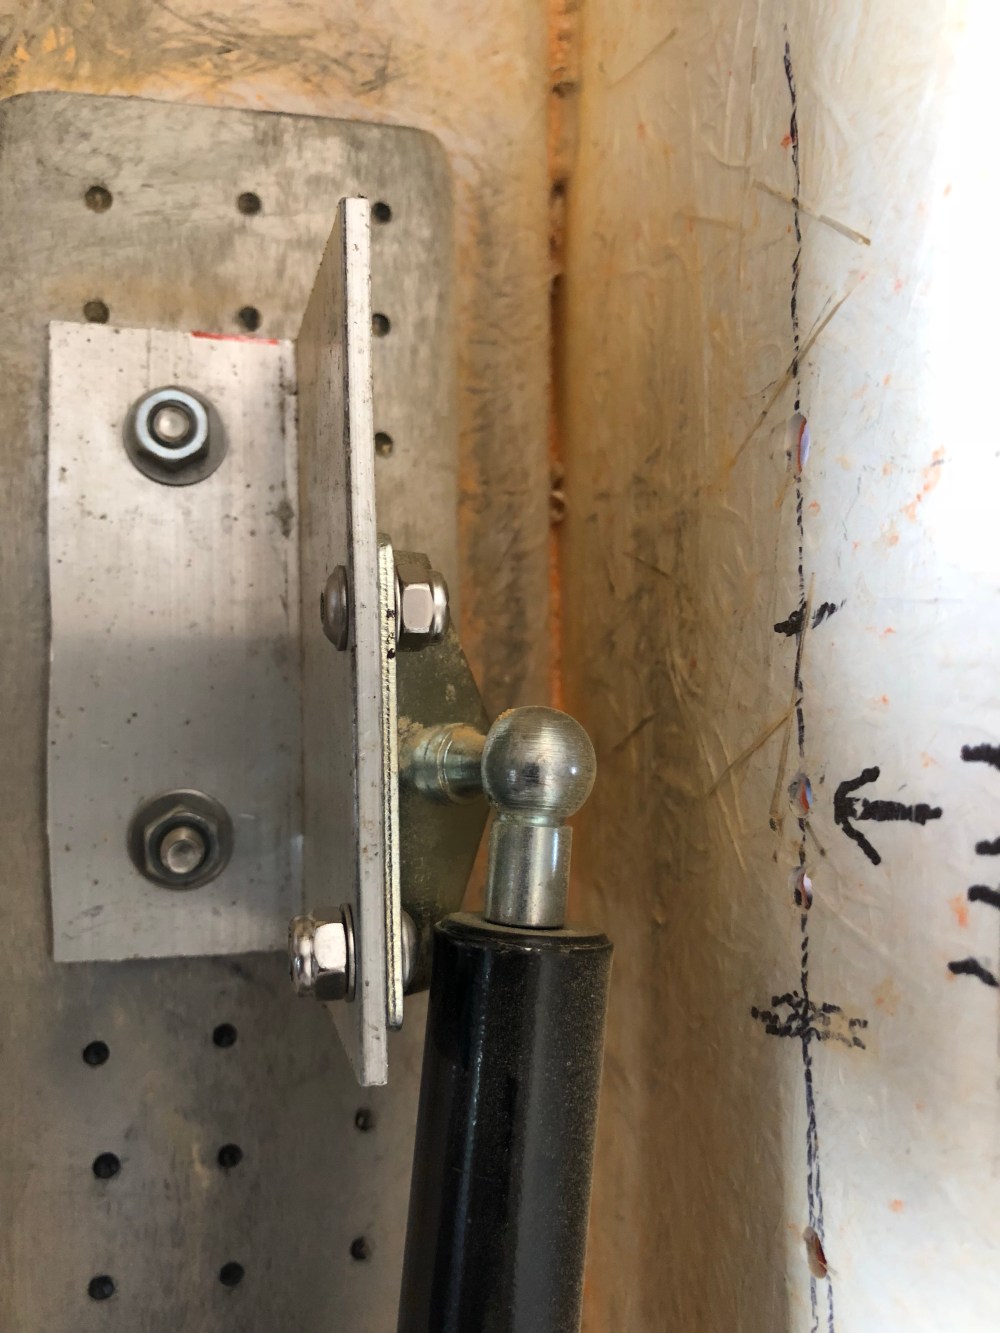
I’m still using the 50# gas strut from before but may need to go up to the 75# unit if the speaker and other door accoutrements make the assembly too heavy. As of now, the door remains where it’s positioned when opened until it goes past ~75% open at which point the strut is strong enough to push it open the rest of the way.
Carbon roof:
Back onto the topic of carbon fiber – I’ve applied the last bit of carbon fiber for the roof. The small area between the rear edge of the door and the top part of my rear glass needed a small rectangle added to fill this transition area.

I’ve got a lot of sanding and flattening to do with all the carbon on the roof. That’ll happen when I get into full body prep, just before “paint”. More details on my plans for painting in an upcoming post.
For giggles I pulled out the rear glass components and my scoop so I could get a better idea of how things will look when completed.

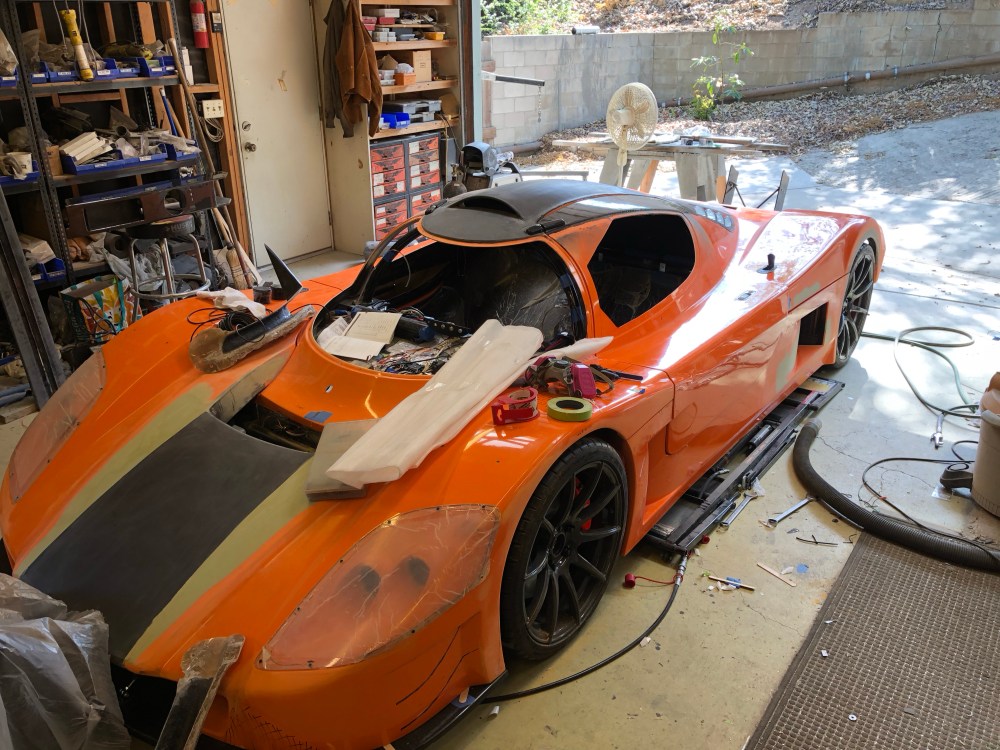


Hawt. It was a crazy amount of work but it gave me an opportunity to learn something new and I think this will really set the car apart – not that it didn’t already stand out before!
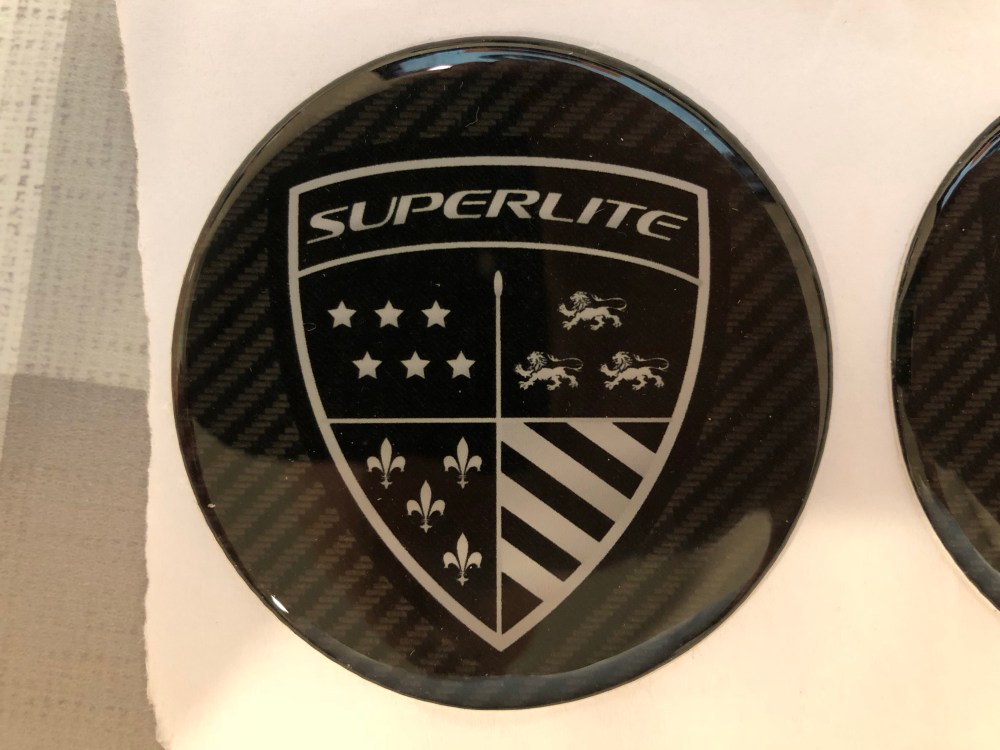
Wheel center caps:
I don’t really like the center caps that came with my wheels.


Stereo:
I wanted to install a stereo in the car so I could have music while driving, GPS/navigation when I need it, and full phone integration with hands-free calling. I went with the Alpine ILX-107 which has bluetooth integration for Apple CarPlay. It’s the first unit I know of that has wireless CarPlay compatibility (all others require a cable, at least as of this writing). It’s a pricey unit for what’s actually a bare bones radio but it checked all my boxes. Value is a bit subjective …
There’s not much to say about the stereo at this point other than I highly recommend purchasing some type of parking brake safety defeat device. The ILX-107 unit has a safety built in which requires you to engage/disengage/re-engage the parking brake sensor in order to jump deeper into the settings menu. Prior units could be defeated by shorting the parking brake sensor to a constant ground. Apparently Alpine got wind of this and now requires the wire to be tripped multiple times before allowing the user to go into the settings menu. I purchased this MicroBypass unit from eBay. It’s a cinch to wire up and I would consider it a must just for the convenience factor even if you have a manual parking brake.

I’m not a car audiophile by any stretch of the imagination – and this car’s acoustics are going to be terrible – so I didn’t spring for anything fancy when it came to speakers. A basic set of mid-range and separate tweeters should be enough so I can get intelligible music.
The mid-range speakers will be located in the door inserts, see way above for pic. For the tweeters to be effective, they need to be aimed toward the driver’s head. I decided to stitch on a couple of speaker pods to the A-pillar covers since they provided the most unobstructed view to the driver’s head.


Up next is to continue wire organization and finalize routing for all the various electrical giblets in this car. Now that the dash layout is complete I can finally figure out where all the switches will go!

One Comment Add yours