Confession time: I will not be performing a “full” body fitting before paint. What I mean by that is I’m not going to blend the doors and body panels together for a perfect fit before I paint the car. This sounds completely stupid but let me explain …
I’ve hacked the body up and I’ve bonded a number of panels underneath the bodywork. Throughout the course of these modifications I haven’t been super careful with my resin to fiberglass ratio and who knows what kind of ratio RCR’s vendor used while making the body. So I expect with some aging my body will continue to distort before taking a final set. It seems a bit crazy to go all out and get all the body panels to fit perfectly only to have to do this again in a year. Even crazier would be to put a whole lot of money into a beautiful paint job – only to have to re-paint it in a year or two after the body’s twisted and all the panels need re-aligning – or worse, finding a crack!
So I’ve decided to swallow my pride and quiet the OCD voices in my head for at least a year so the body can “season”. In the meantime I’m going to do a “decent” body fitting before going onto paint.
For paint, I’m planning to plastidip the car. I’ve gotten some flack for going with plastidip on this car but I actually believe it’s the best solution for my needs. Plastidip is a low-cost product that’s temporary and can be easily removed when I’m ready to do a “permanent” paint job. It’s available in just about any color imaginable and is great for the DIY guy like myself. I figure the first one or two plastidip jobs won’t turn out very nice so it’s likely I’ll be painting the car a few times before I move onto the real deal. Practice makes perfect and at about $200 to paint the car a different color, it’s a relatively inexpensive way to try different looks before downselecting to a real paint color.
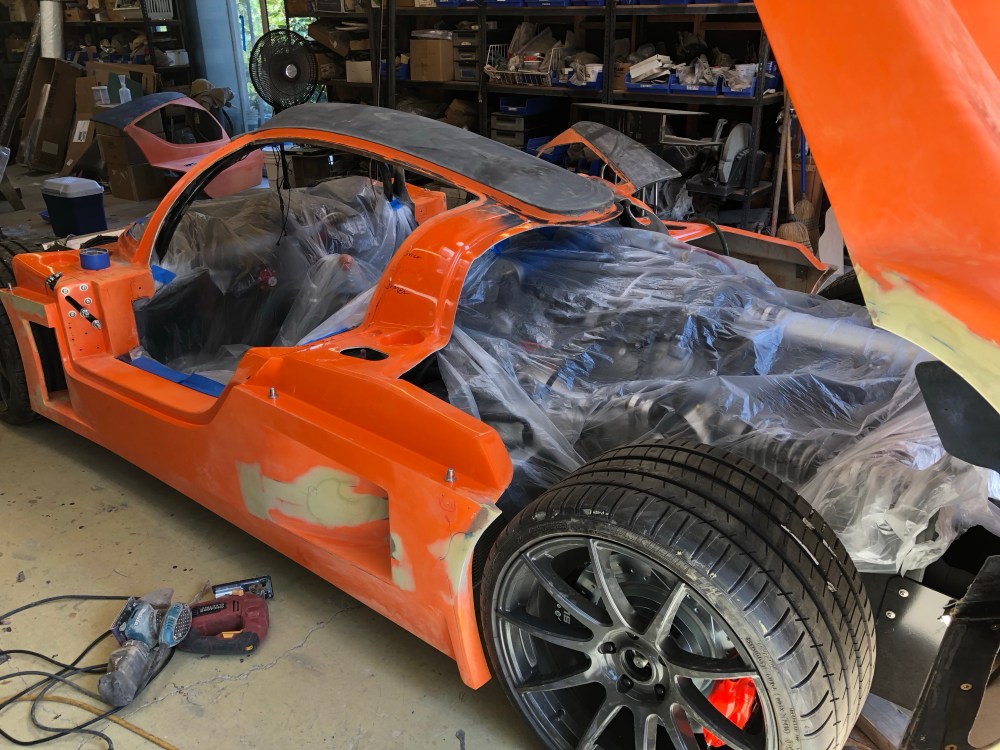
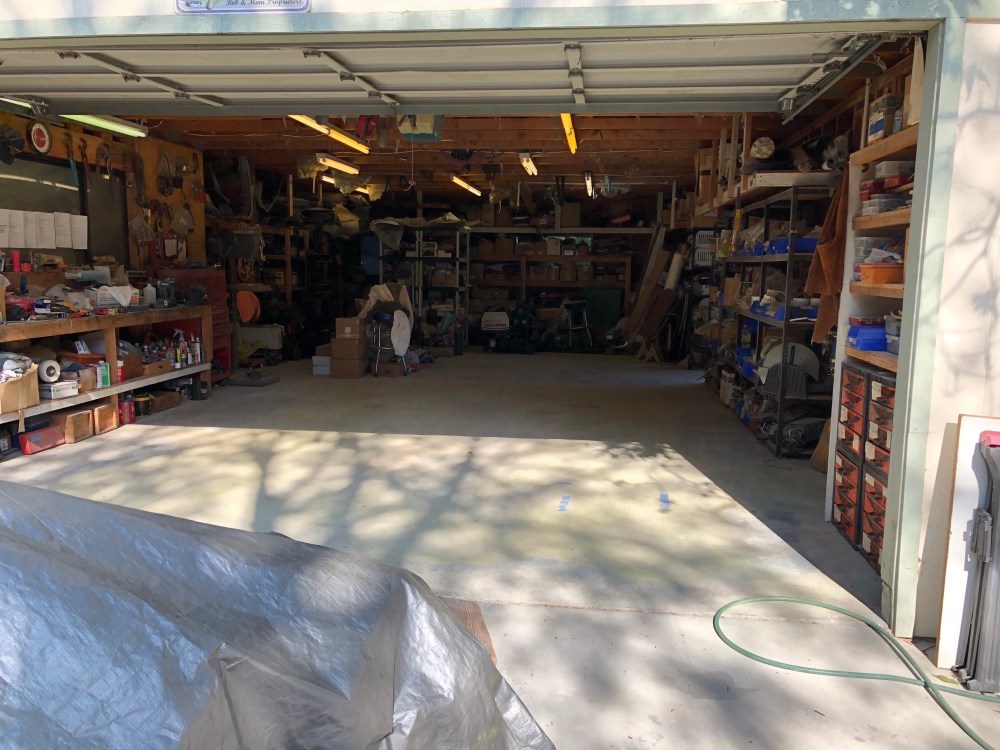
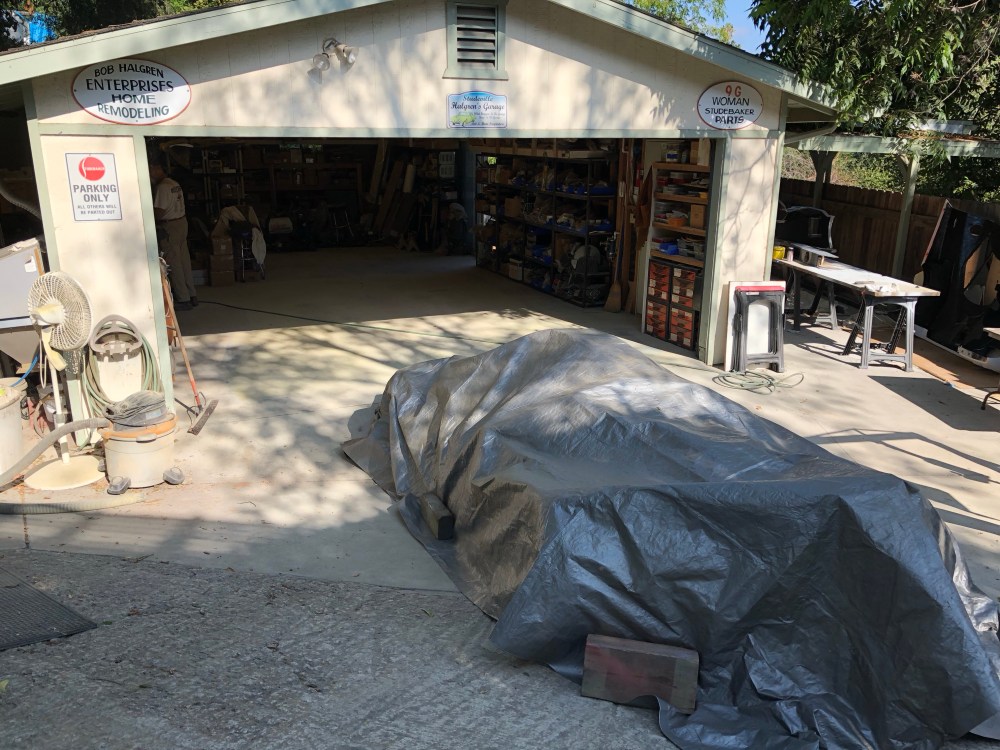
Before I can paint the car I need to do some bodywork to get things looking halfway decent. I’ll be honest – this is a part of the project that I haven’t been enjoying. It’s been a lot of tough work and frankly, it’s kicking my butt. We’ve been having 90+ days around here and working in a non air conditioned garage is pretty sucky. Even suckier is working when I have to move out under the blazing sun.
OK, whining over, let’s get to it.
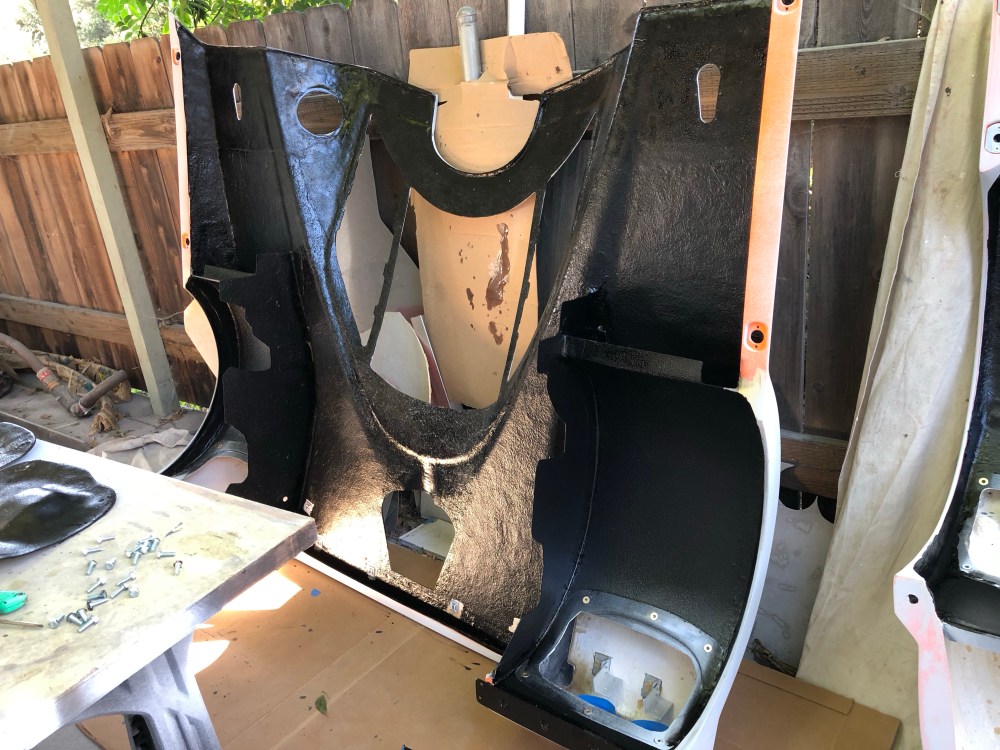
I was actually pleasantly surprised by how good the factory bodywork is. Full disclosure – I know nothing about fiberglass bodies, what makes a good one vs a bad one, and this is the first fiberglass bodied car I’ve actually spent any real time around. Even though I’m only doing a “decent” body fitting, the panels are actually fairly well aligned and don’t require very much bondo to blend. Really – the areas requiring the most bondo and massaging are the areas where I’ve modified the body or added carbon fiber. So to be fair, a good reason why this phase of the build has been kicking my butt is due to all the changes I’ve made to the body.
I think a testament to how “good” the body is, is the amount (or lack thereof) of bondo on the car.


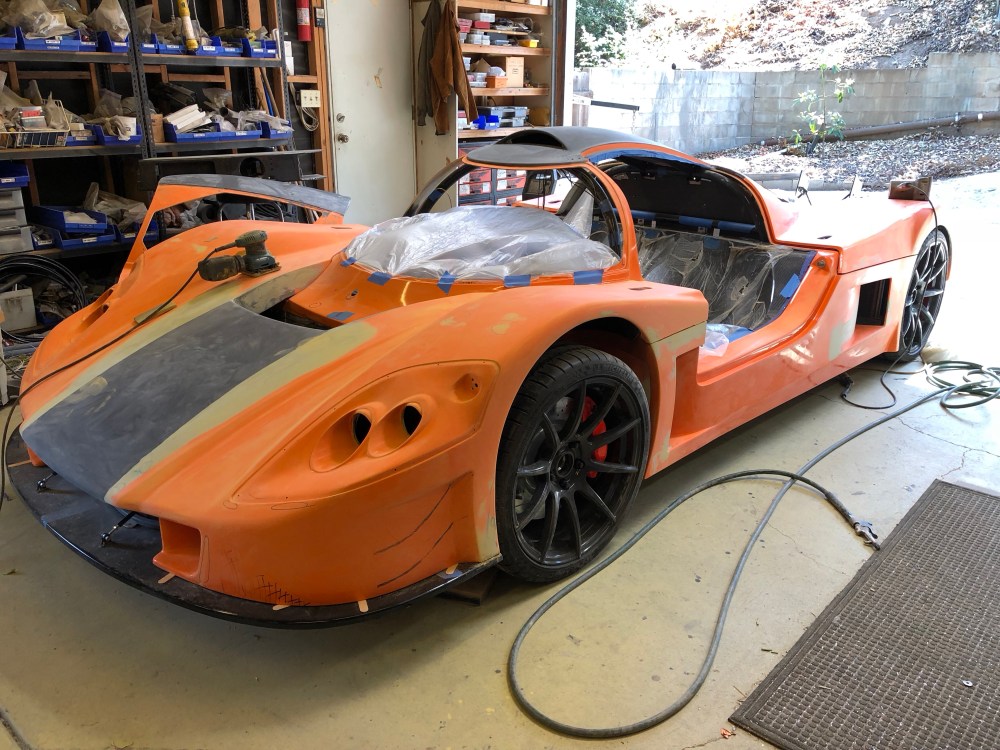

Except for a few areas, I was able to completely eliminate mold lines by sanding and blending as opposed to adding bondo.
However, there were a few problem areas:
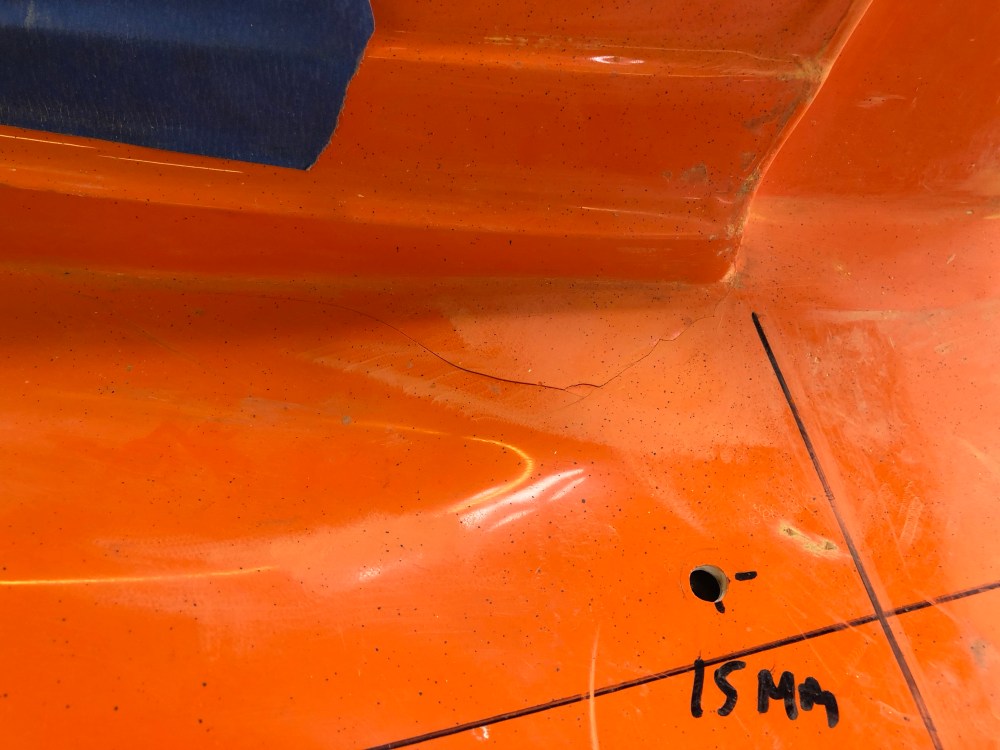


I’m sure there are other areas of delamination/voids/air pockets that I’ve missed and I’m sure some of these will crack/open with mileage accumulation. Yet another reason for letting the body season before doing a real paint job. An added bonus of the plastidip is it’s fairly forgiving and if a crack opens up underneath there’s a decent chance the plastidip will just flex with the crack, keeping it hidden until the next color change.
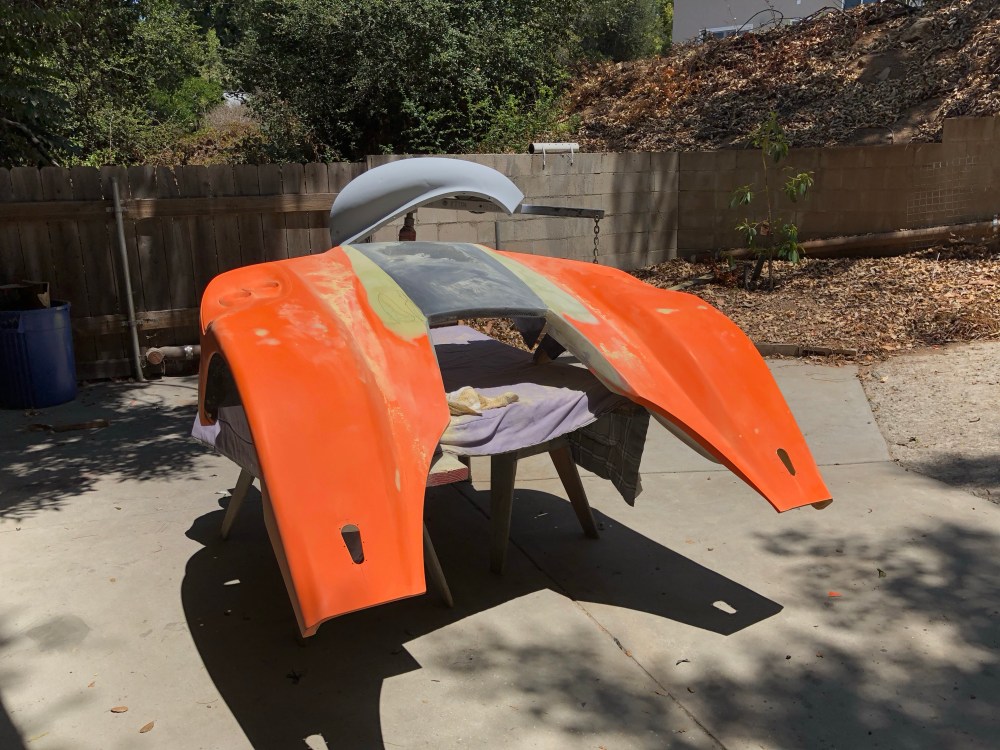
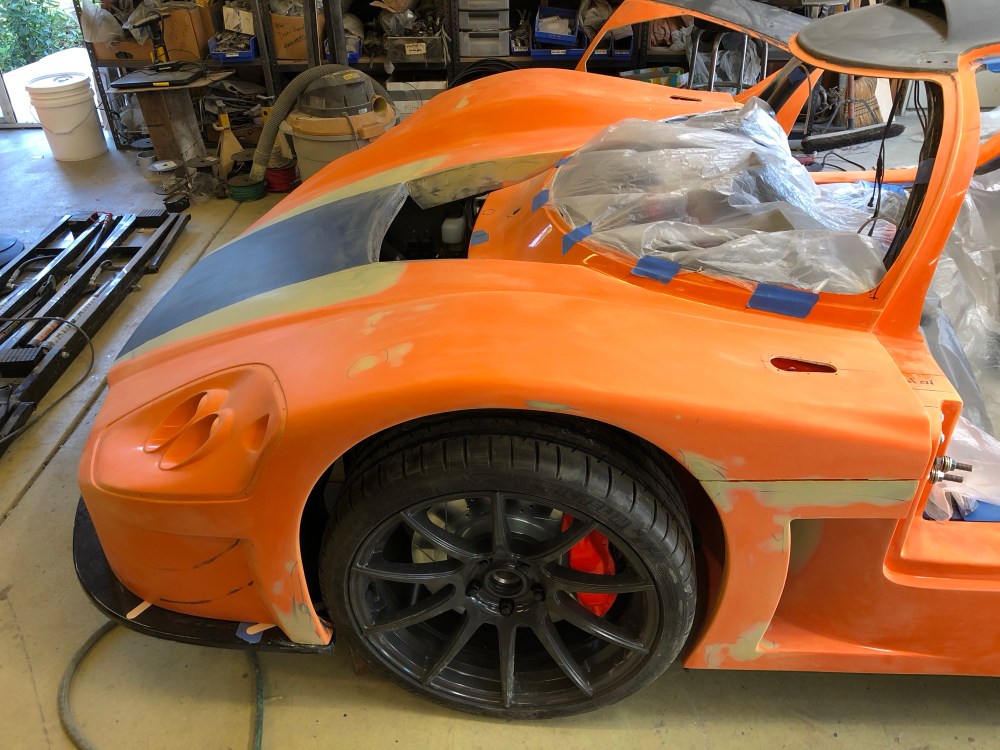
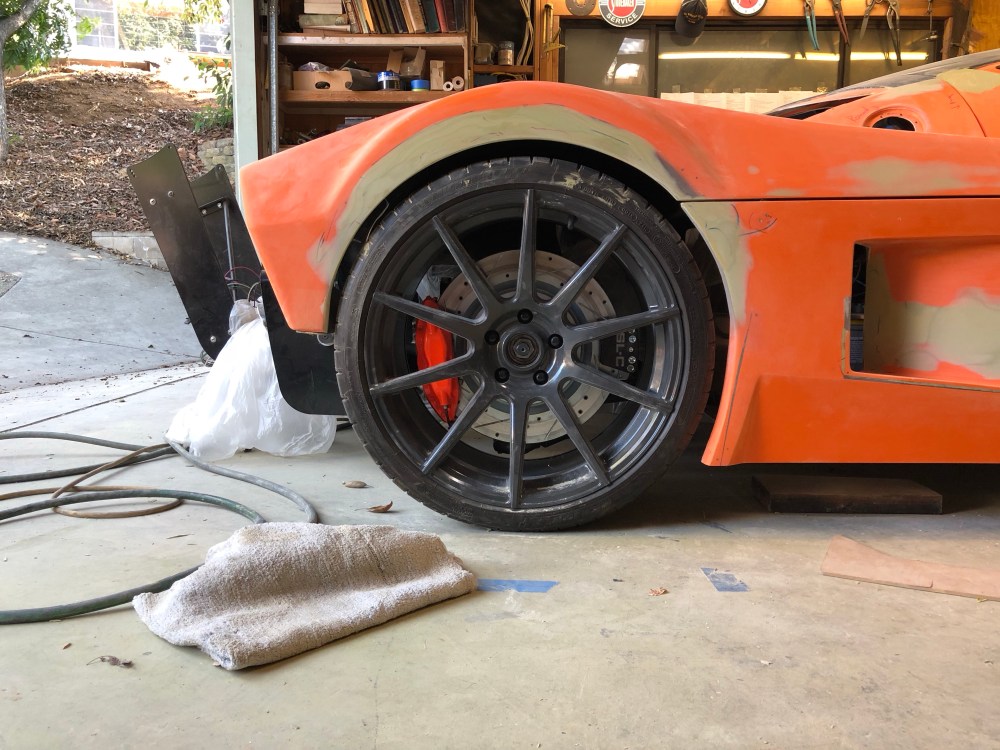
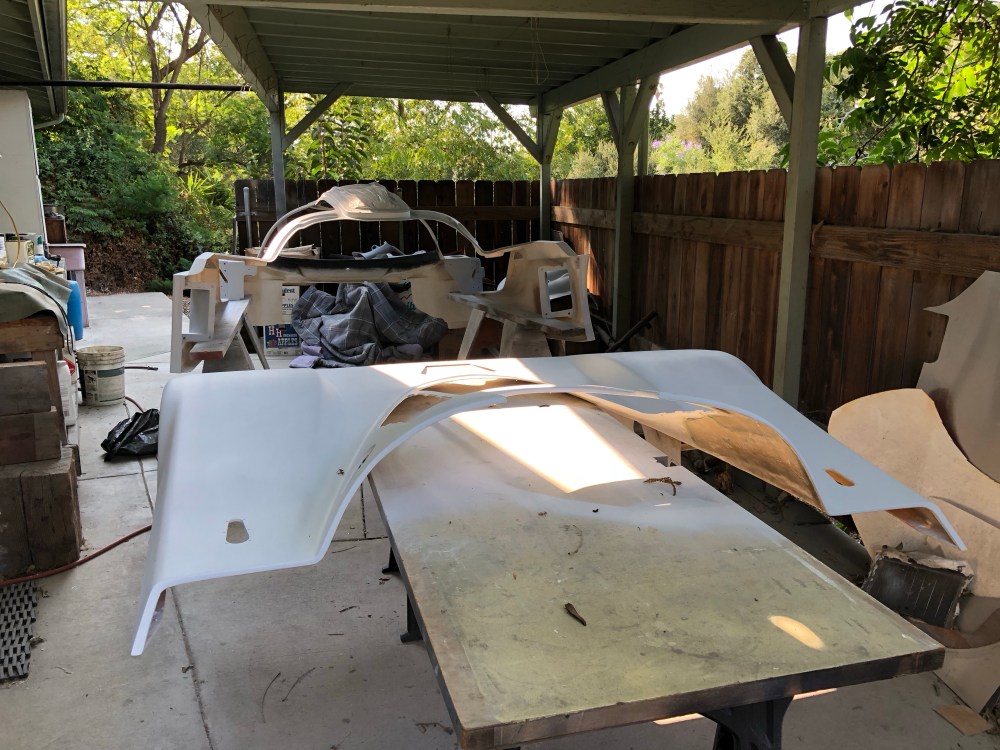
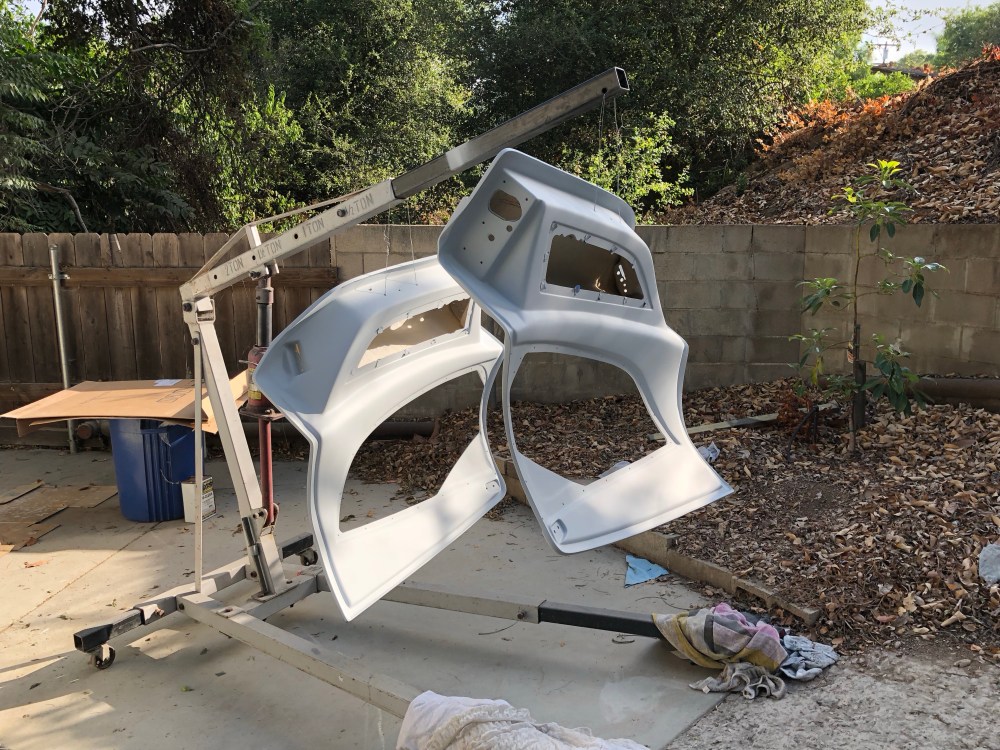
Rear wheel contour:
I may be the lone builder having this issue as I’ve pinged others but my car seems to have the worst rear wheel gap of any SLC I’ve seen. The factory bodywork has a decent gap with a rear ride height of about 4″ – but that’s too low for the street IMHO. I’ve decided to start out with 4.5″ front and 5.5″ rear due to the steep hills and tall speed bumps in my neighborhood. At 5.5″ the rear wheel gap was pretty terrible – I could stick my fist in between the tire and bodywork.
I’ve spent a LOT of time massaging the rear wheel well. At first, I wanted to restrict my re-contour to just the rear clam. I was concerned I wouldn’t be able to create a decent meeting point in space if I modified both the rear and center body pieces. As you can imagine, v1.0 of my recontour didn’t go so well. It created a non-uniform wheel gap. Sure, it looked good at the top of the wheel – but just about everywhere else it looked like crap. So v2.0 came after I’d gotten more fiberglassing experience and after I found my big boy pants (aka confidence). Yeahhhh … v1.0 was stupid, v2.0 came out much better.
In the photos below, all 3 are scaled and aligned to show what the various iterations look like side by side. The top-most blue line represents the original location for the top edge of the unmodified bodywork (set at a rear ride height of 4″). The middle blue line represents the top edge of the wheel rim. The lowest blue line represents the wheel center.

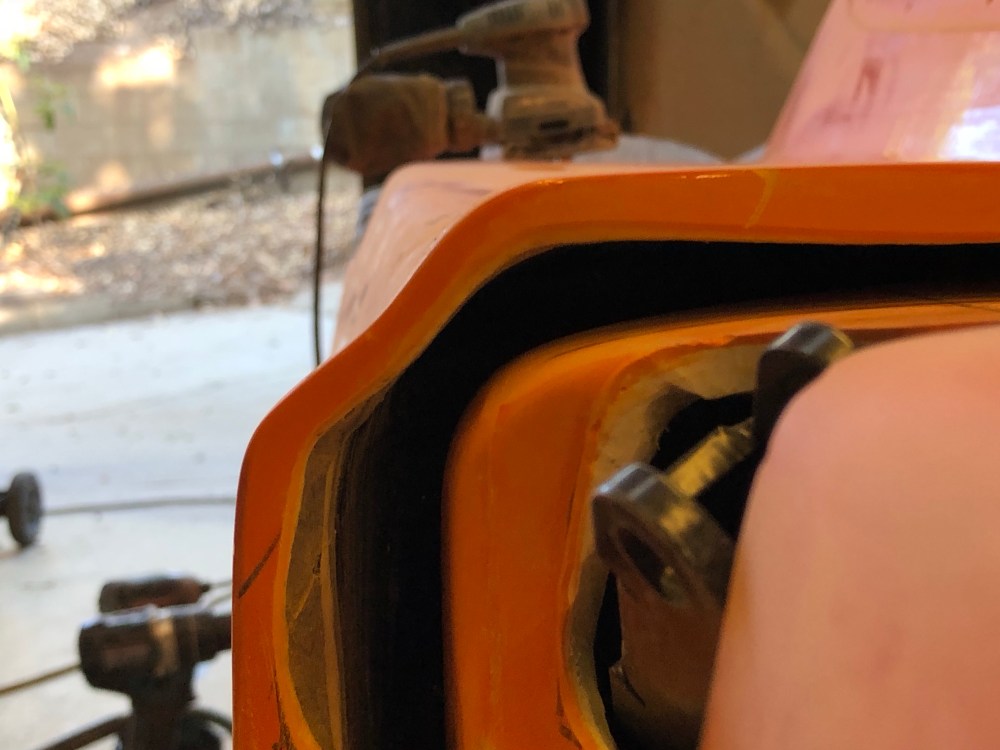
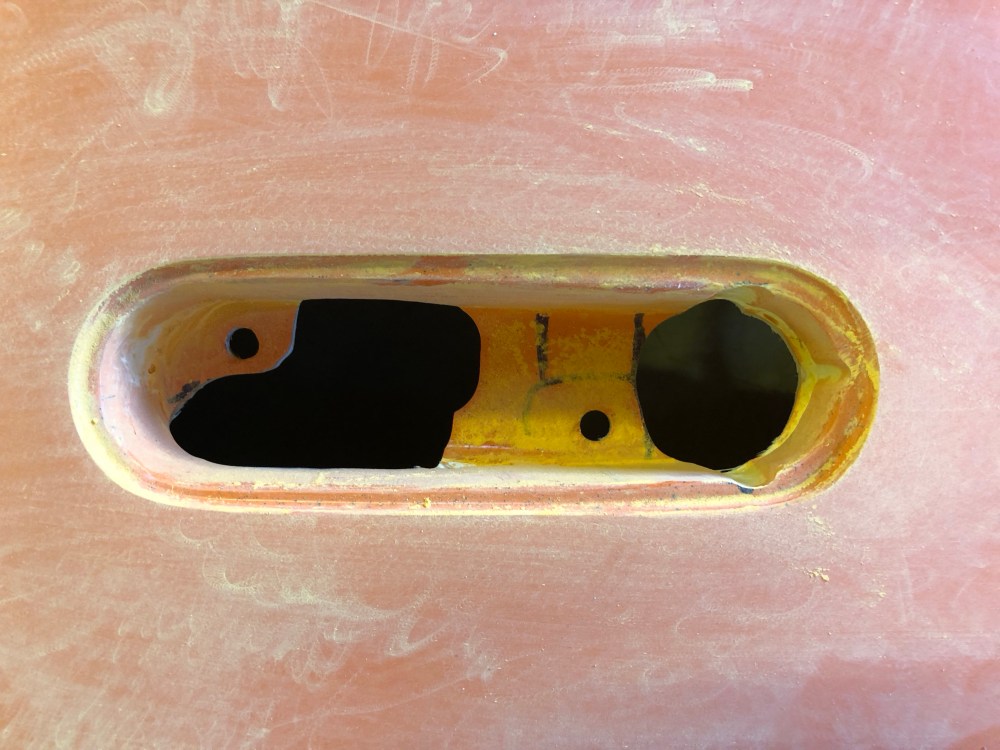
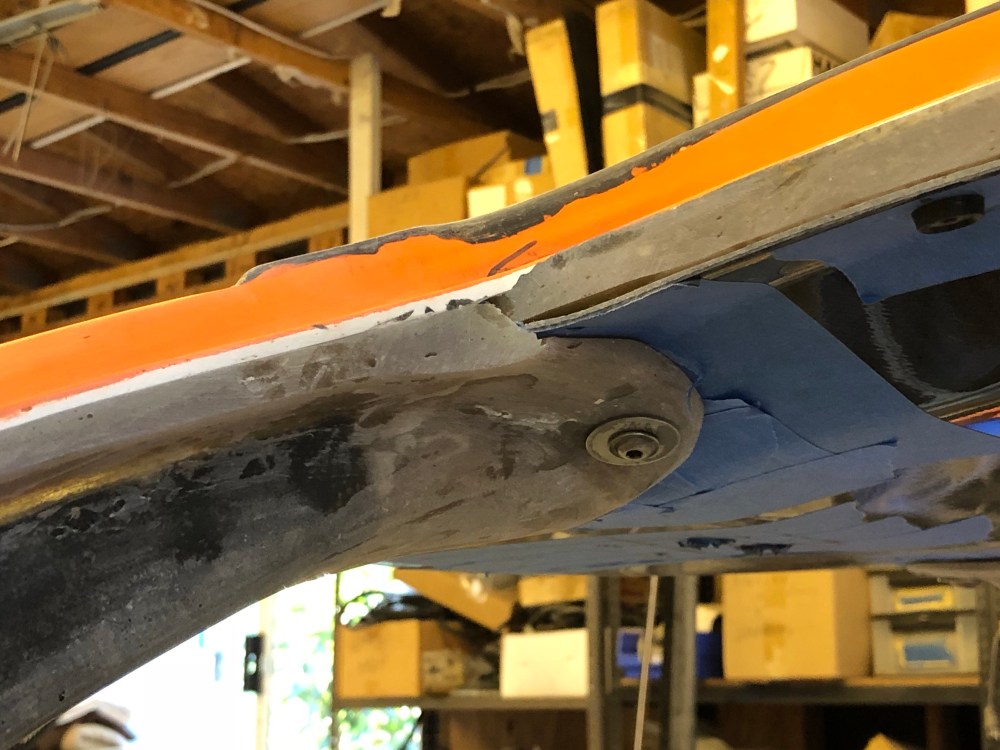
Door cuts:
On the subject of contours and cutting; here’s a photo of the clearancing around the outer corner at each door, and of the exterior handle pocket. Some fairly aggressive cutting at the forward corner of the door is needed to have it clear the front clam during opening. As you can see, I had to cut it well past the edge of the inner door skin.
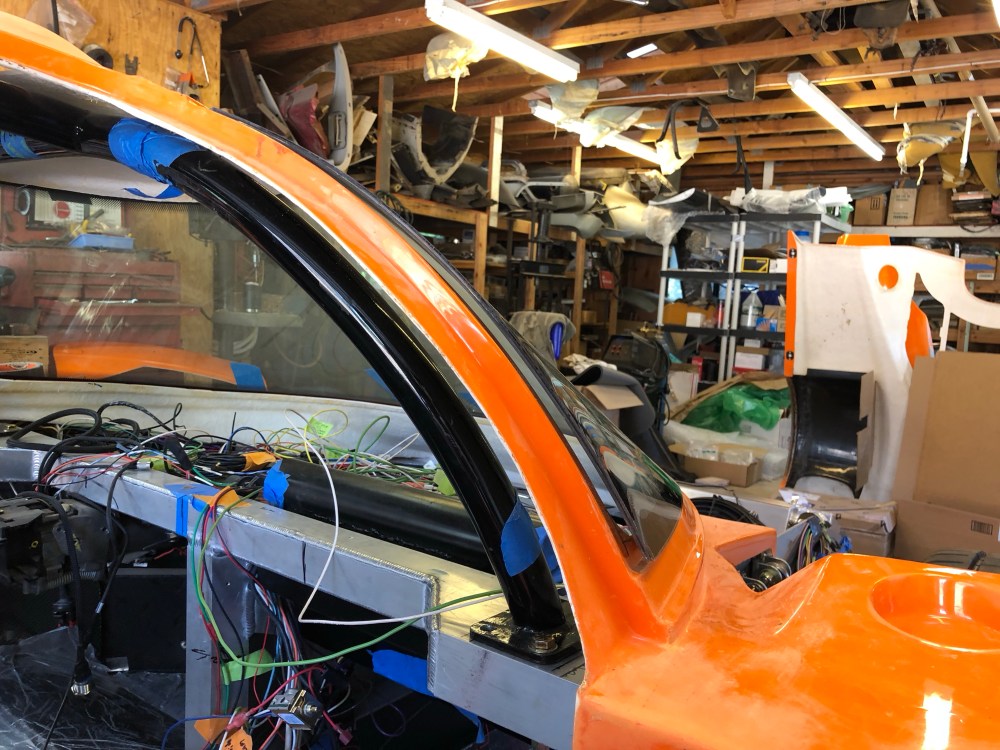
The Nexus:
I previously called this corner the “Nexus of things that don’t fit”. The a-pillar cover, ceiling panel, and spider all come together at the top of the a-pillar – and none of my panels fit each other. Not even close. I attributed the poor fitting a-pillar to using a fiberglass a-pillar cover with a carbon fiber ceiling panel. I’m sure the mismatch with the spider is partly due to poor body fitting techniques – aka my fault. Regardless, I had a pretty big mess to deal with.
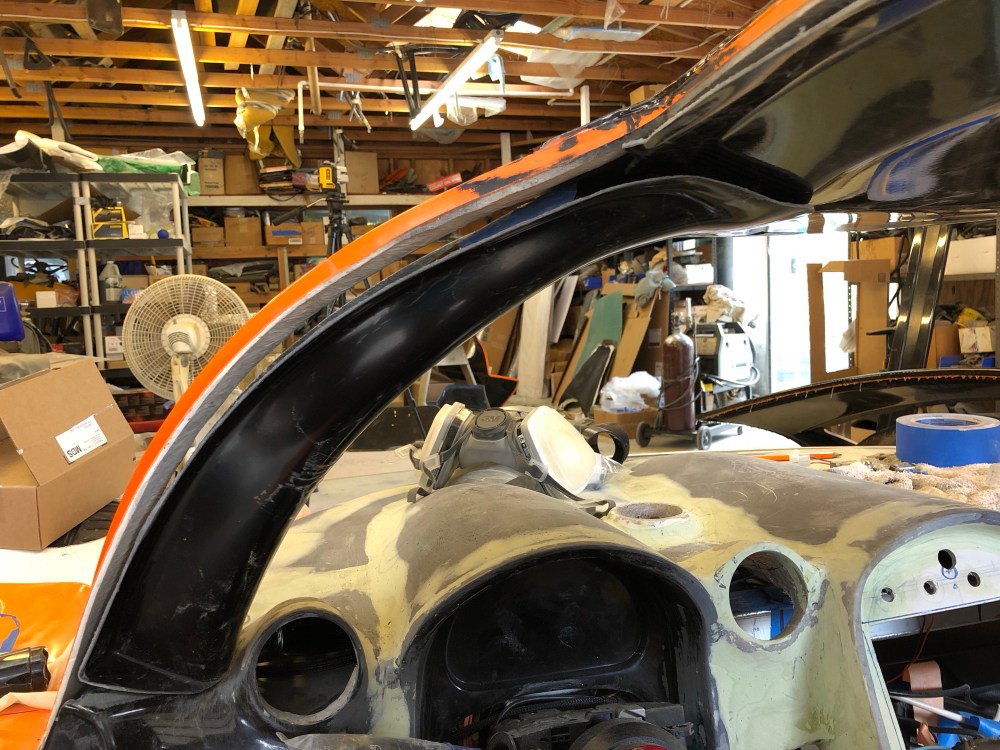
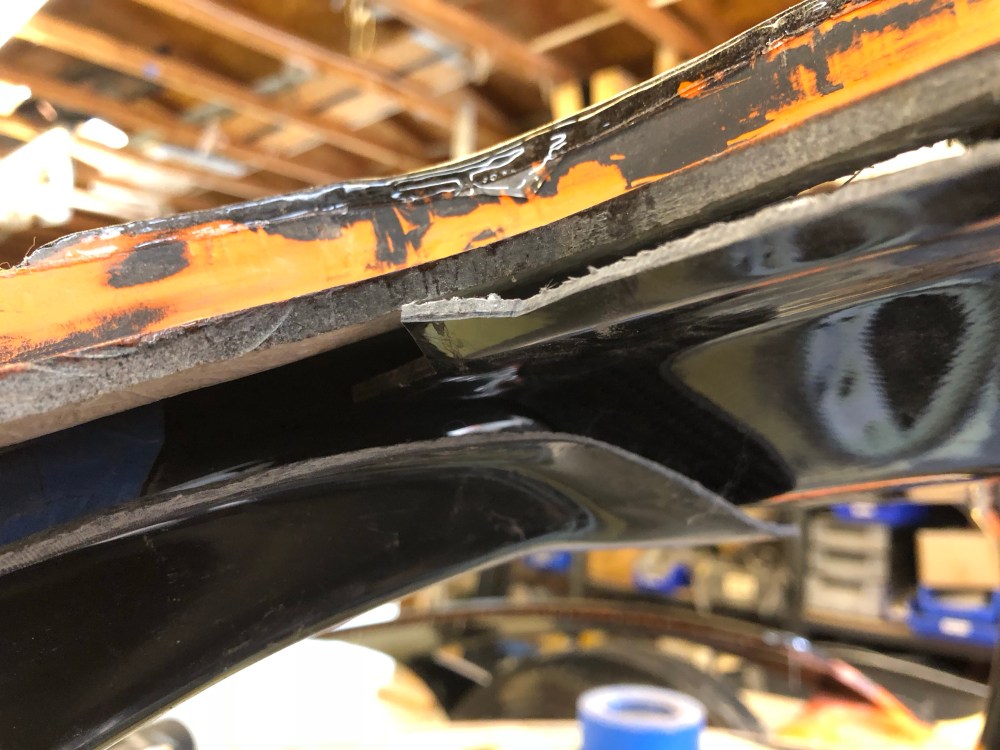
It took me several sessions of resin, sanding, resin, and sanding, but I was eventually able to get all 3 panels to play nicely together.
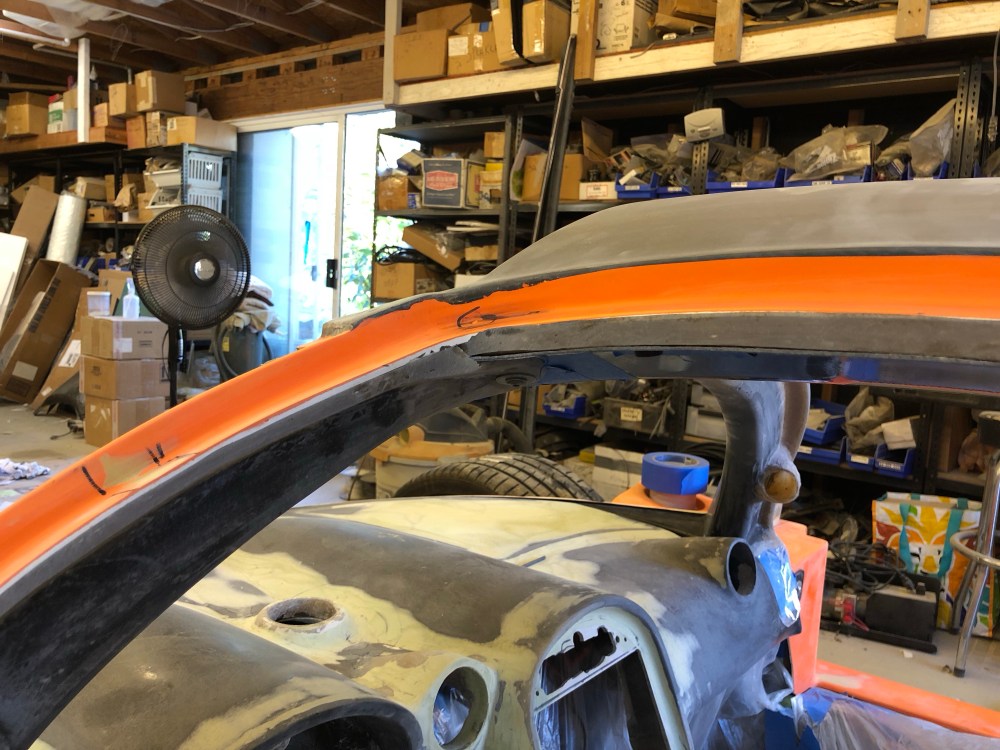
After getting the a-pillar covers fitting decently I spent another full day just massaging them so they didn’t look so hacked up. Between the new upper half, the large gap to the spider, and the grafted speaker pod, there was a lot of blending and smoothing to do!
Finishing the a-pillar covers was the last major piece of interior that needed to get finalized before moving onto paint!
Bondo and prep bodywork for paint – CHECK!
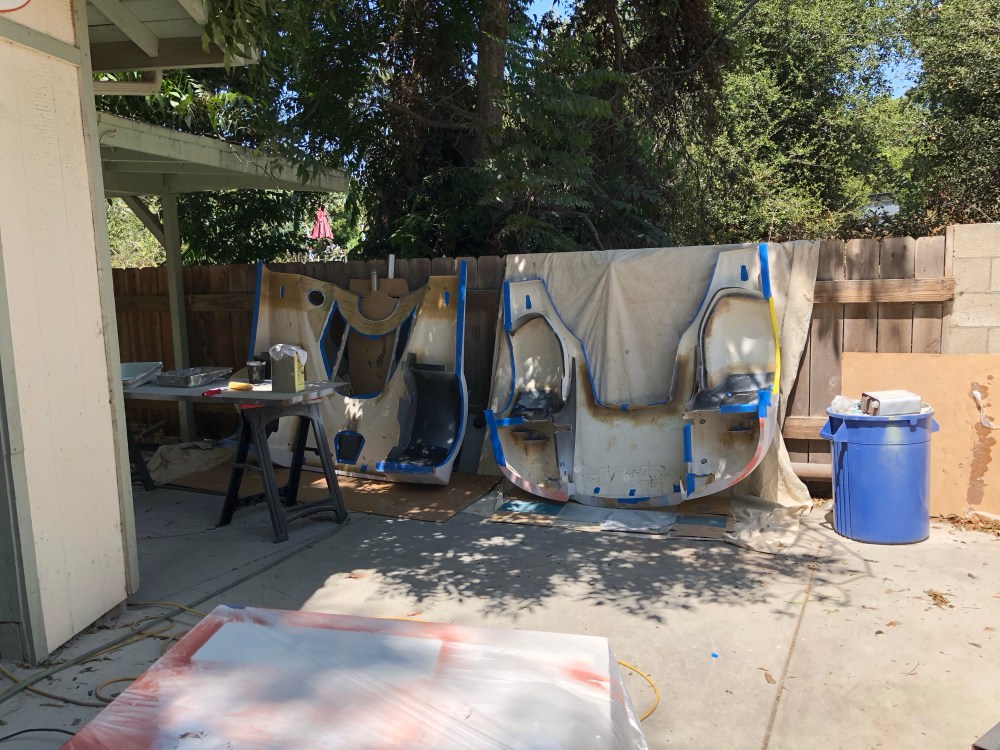
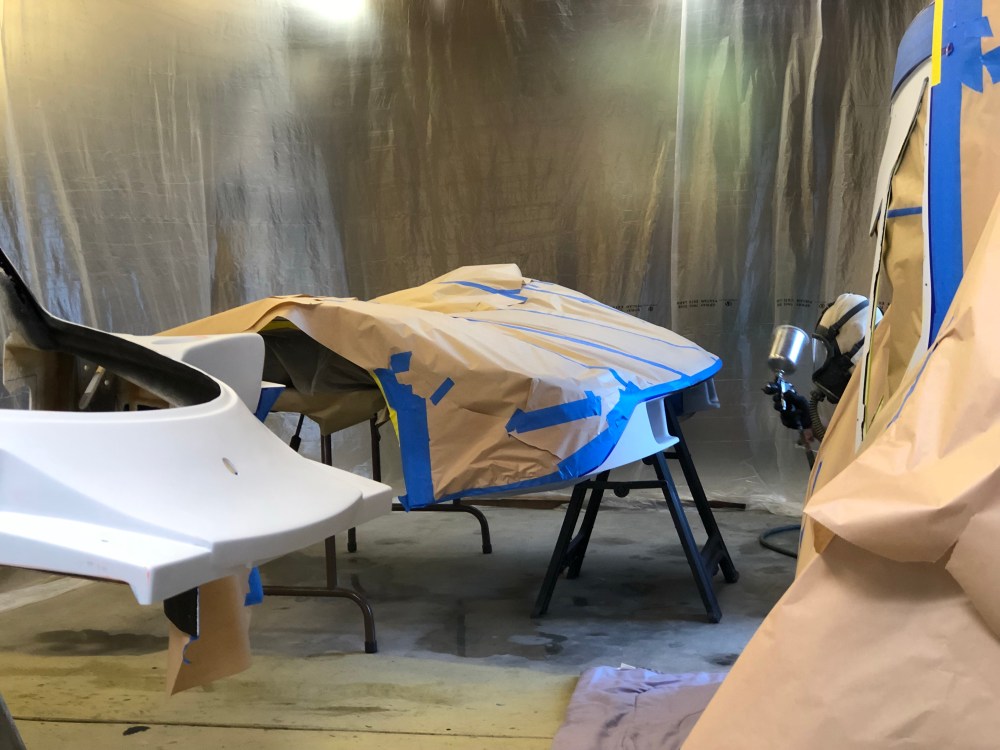
Masking:
As they say – “it’s all in the prep work”. Boy oh boy, was there a TON of prep and masking to do for all these body panels. Instead of being smart and shooting the entire car in a single color, I opted to complicate matters by shooting each body panel with differing combinations of color and clear coat.
As an example here’s what I went through with my two doors:
- Mask doors for primer (carbon panels needed to be blocked off)
- Prime, sand, prime
- Mask all exterior features to paint internal skin
- Paint internal surfaces with black base coat
- Paint internal surfaces with Alsa soft touch matte clear
- Mask all internal features to paint external skin
- Mask external surfaces for black window surround paint
- Paint window surround black
- Remove masking around carbon
- Paint window surround and carbon with gloss clear coat
- Remove masking, re-mask to paint external door panel with color
- Paint door skin
- Unmask
Now do that for each of the major body panels – it makes for a ton of work!
Paint:
As previously stated, I’m not going to be doing a full blown permanent paint job on the car, at least not at this time. However, I don’t want the car looking like primer and bondo for the next year so I’m getting the body into decent shape, then I’m going to paint it with plastidip.
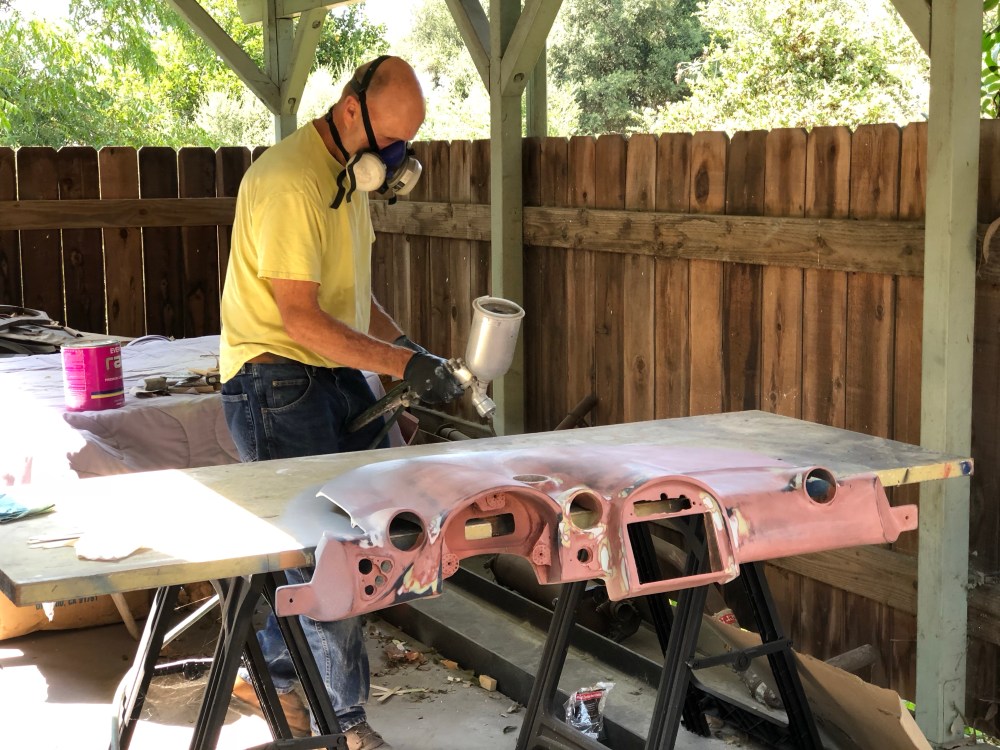
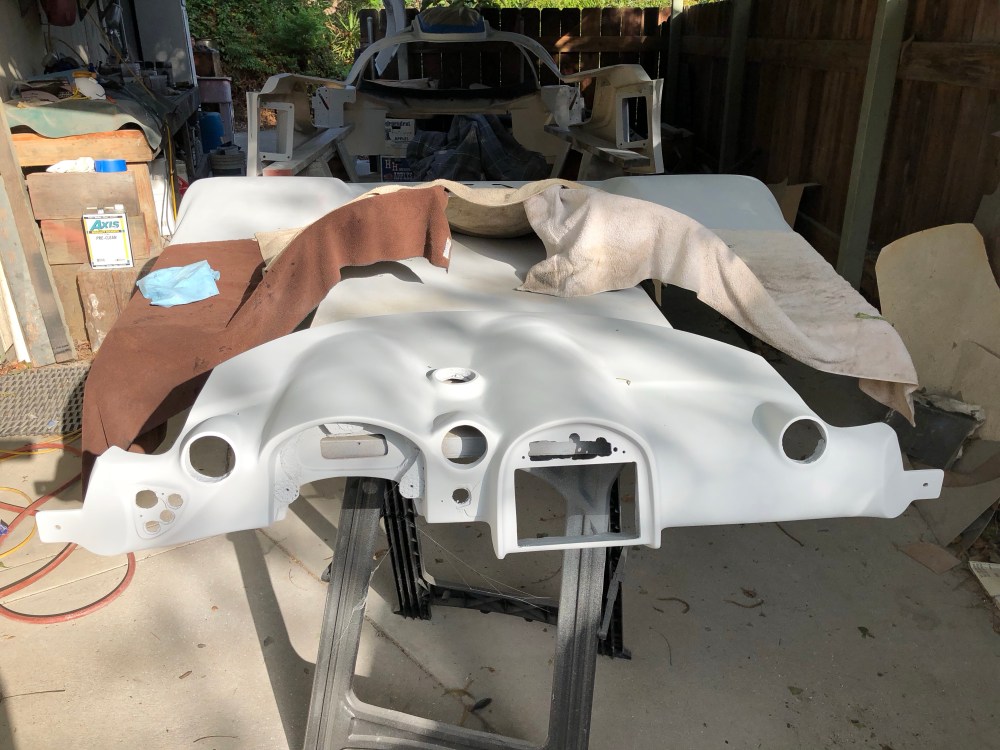
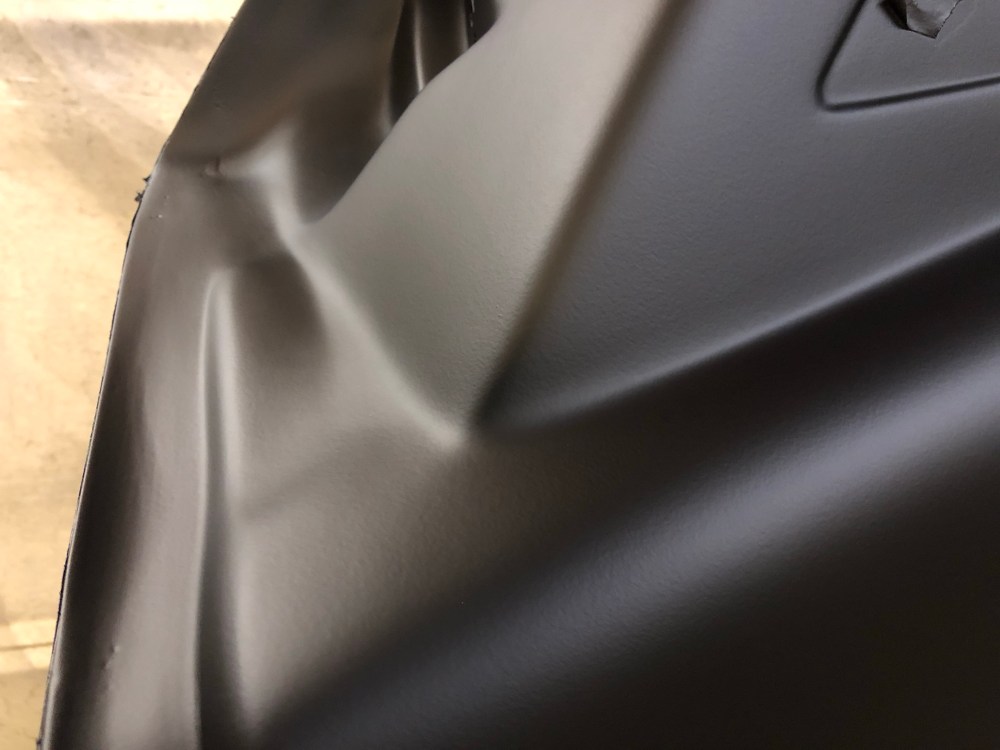
For the interior, I’m using Alsa soft touch paint on the dash, a-pillar covers, and internal door surfaces. It’s a really interesting finish. Matte, tough, hydrophobic, and has a rubber like texture. Funny, it’s what I imagined plastidip would feel like! Actually, it reminds me of the rubber paint car companies used to use back in the 2000s when they were trying to be upscale. After a few years all your door pulls and window switches would be worn away and the paint would be peeled back, revealing the cheap plastic beneath. This feels thicker and stronger than the old OEM stuff so I’m hoping the Alsa soft touch paint will be more durable. It seems to be the go-to surface treatment Allan uses on most of the SLCs he’s built.
Here’s where you get the Alsa soft touch paint
I purchased the 2 quart kit (makes a total of 2 quarts after mixing). It looks like they’ve had a crazy price hike in the last month! I paid $340 for my kit last month and it’s currently listing for $510. I used just about every drop of the 2 quarts to cover my parts (3 coats each).
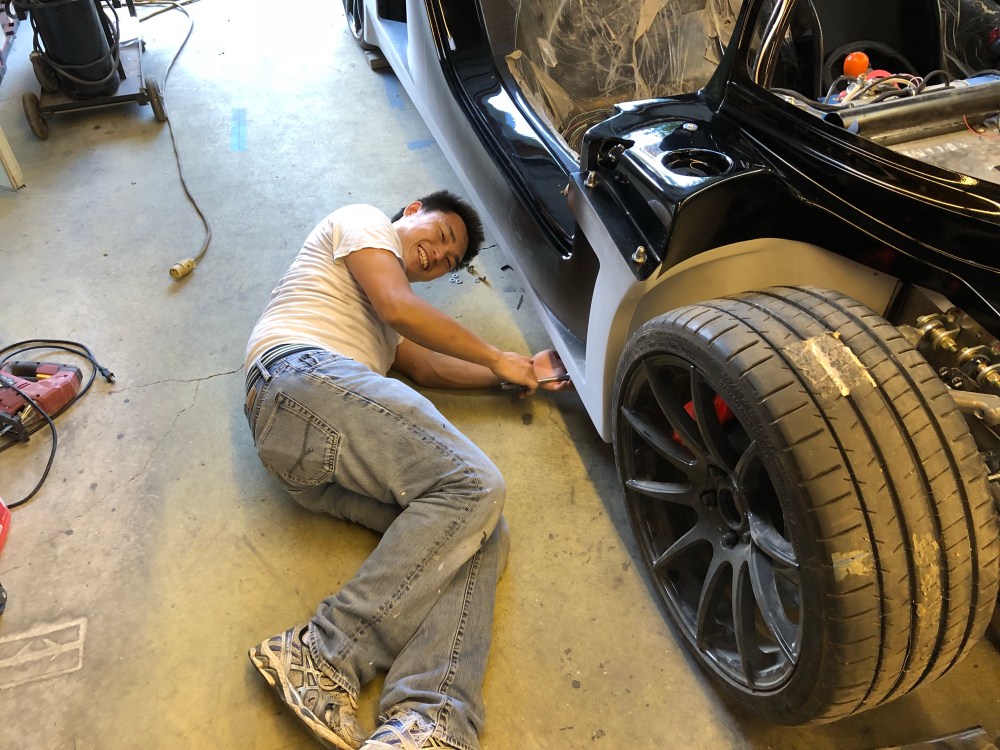
OK – time to get some painting done! Bob really helped me out in a HUGE way. I don’t know my way around a paint gun and he’s had plenty of experience shooting the 15 or so Studebakers he’s restored. Bob volunteered to help me out with all the prep work and to do the painting – Thanks Bob!

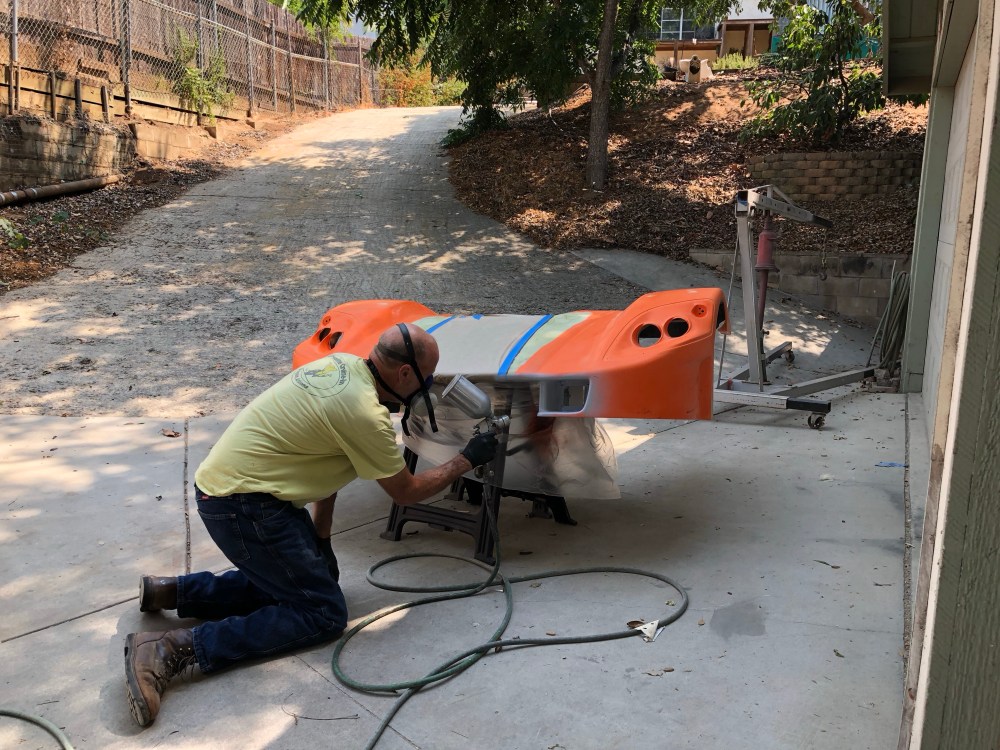


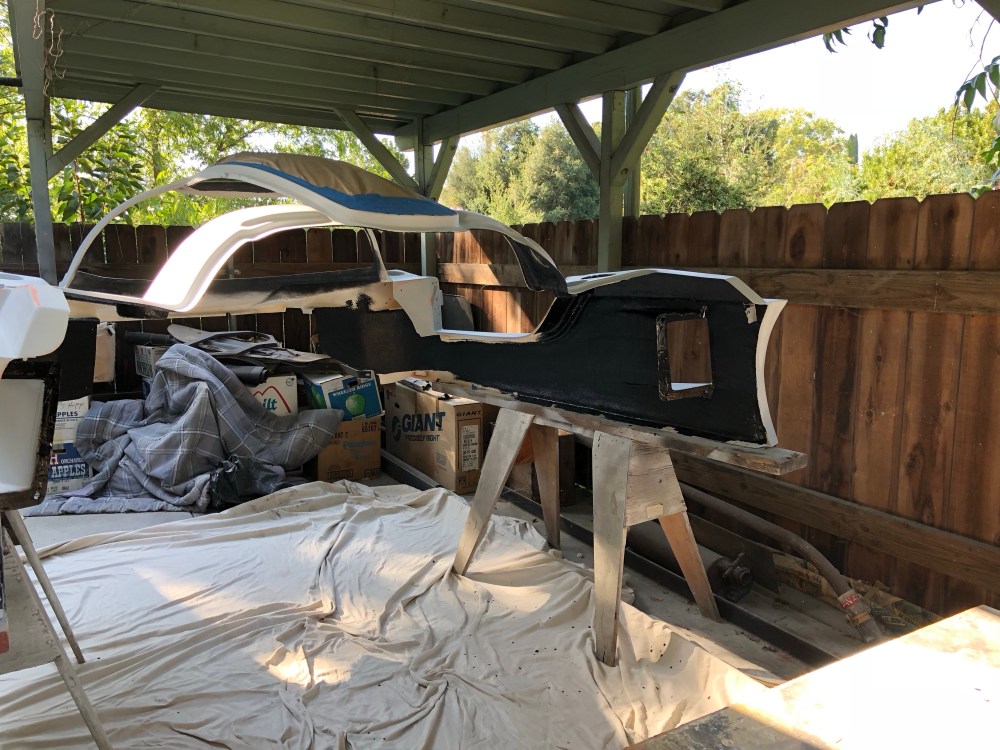
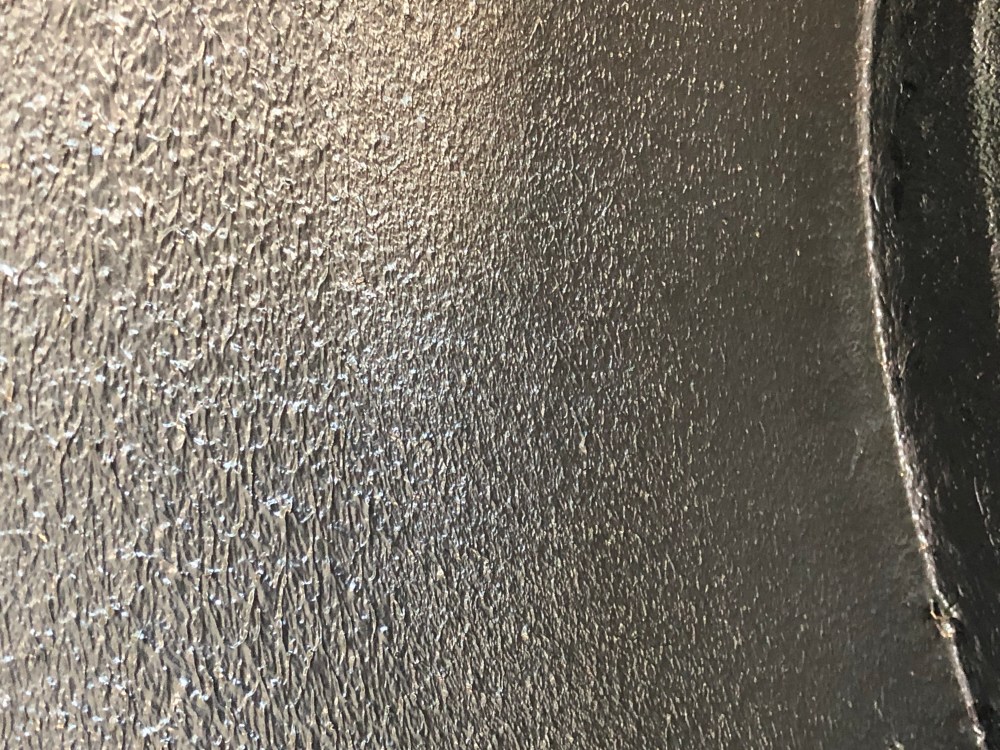
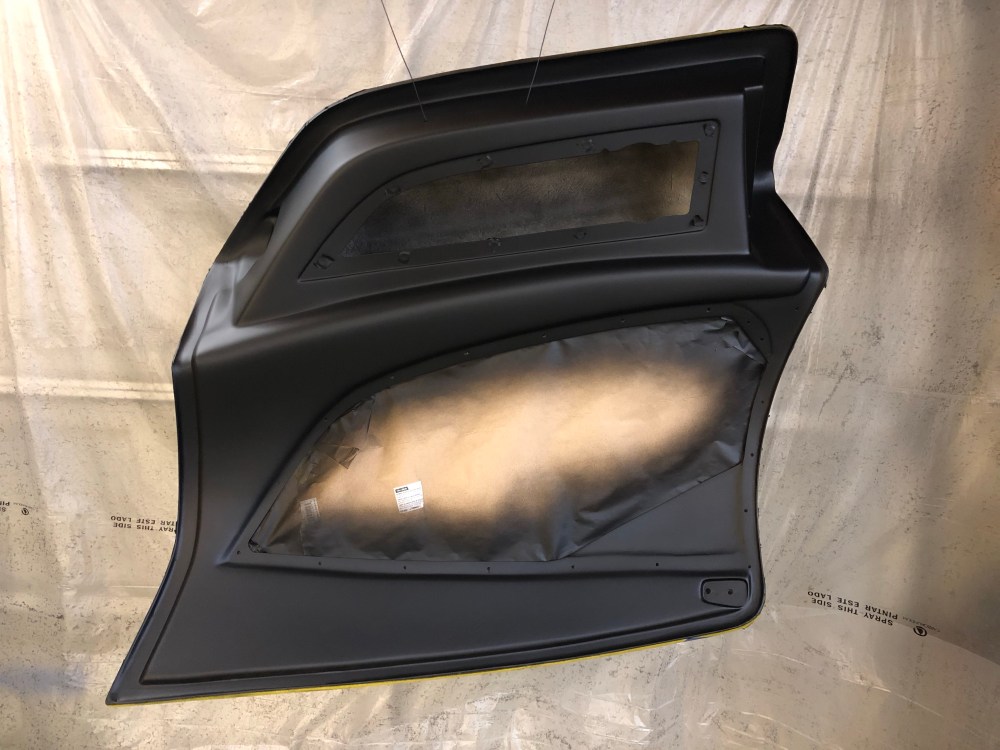
After priming was completed I wanted to paint the undersides of each body panel black. I also wanted to apply some underbody liner – basically truck bedliner. The purpose of the bedliner is to serve as a protective barrier against rocks hitting the underside of the body. I also hoped it would damp any noise generated by debris/wind hitting the body panels. I purchased a 4-liter kit of U-Pol Raptor from Amazon. It’s pretty easy to mix and use. Instead of applying via the included spray gun I used a small paint roller with 1/2″ nap. Rolling on the bedliner minimizes any overspray issues and the 1/2″ nap was perfect for creating a nice textured finish – it’s much rougher than what you’d get with the gun application method. I used 2 liters and hit everything I wanted with 2 layers.


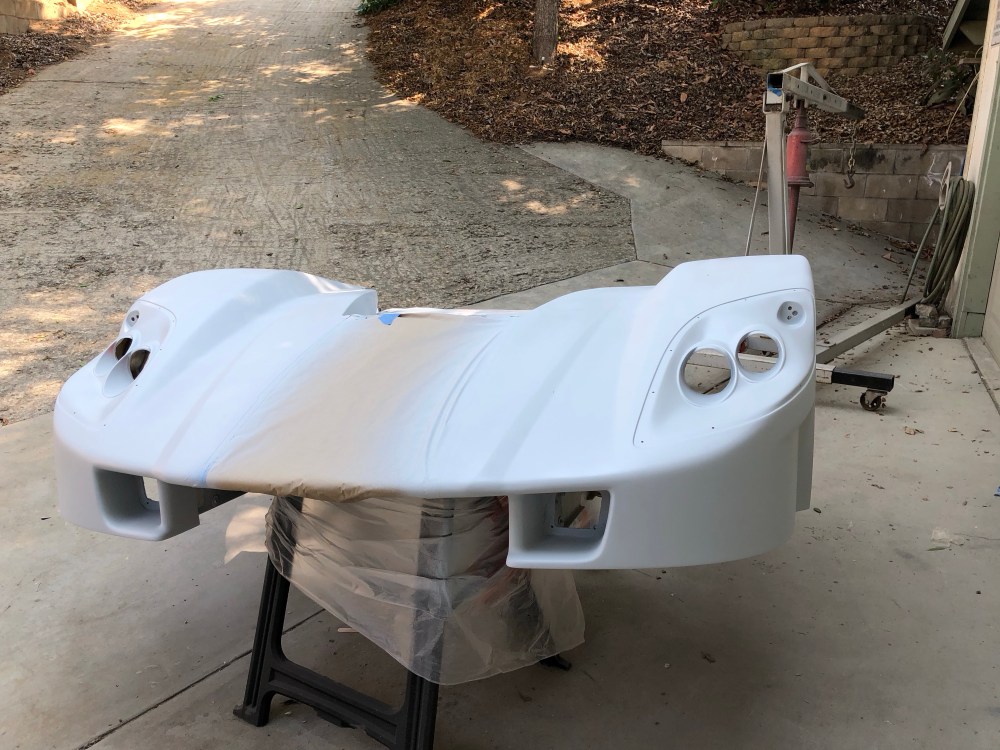
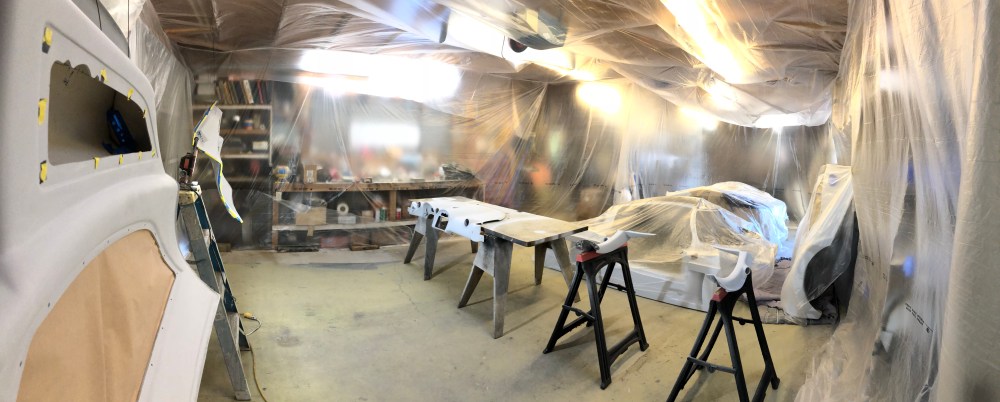
With the undersides painted and coated it was time to move onto the “cleaner” phase of painting. For that, we’d need to make a temporary paint booth to keep contaminants from mucking up our paint before it could dry.


Black base coat and soft touch painting on interior – CHECK!
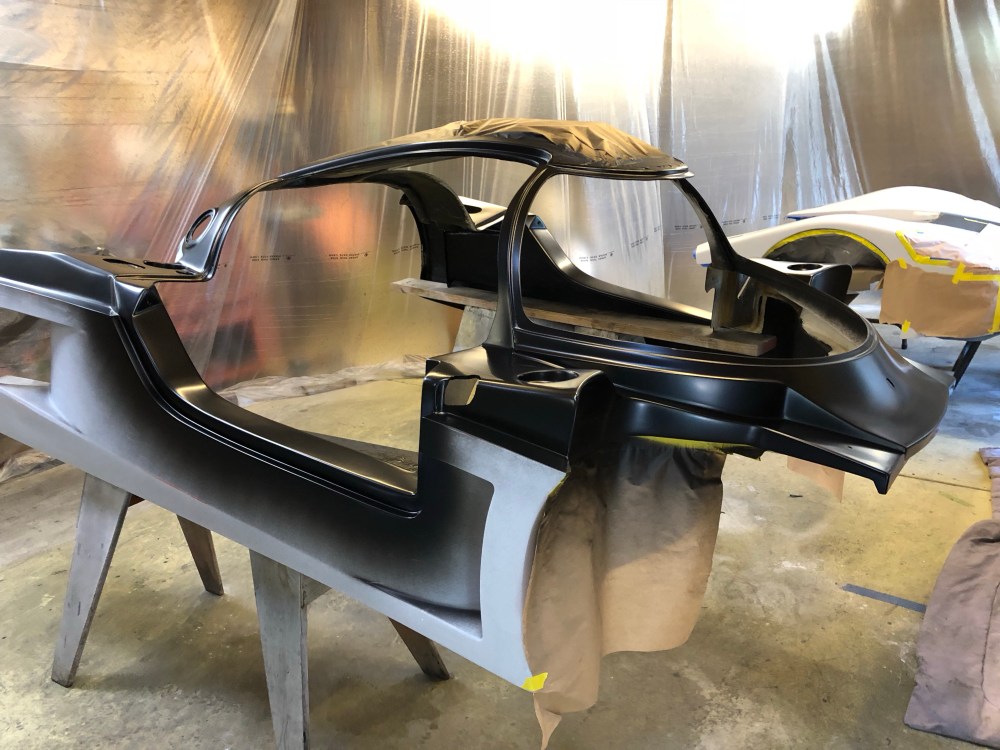
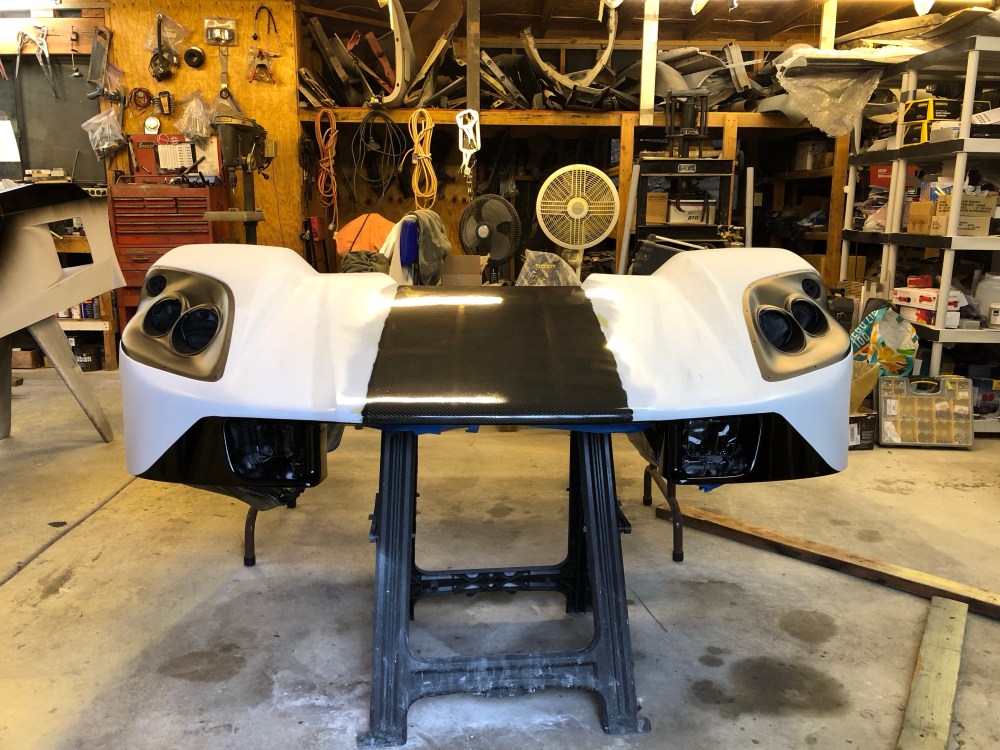
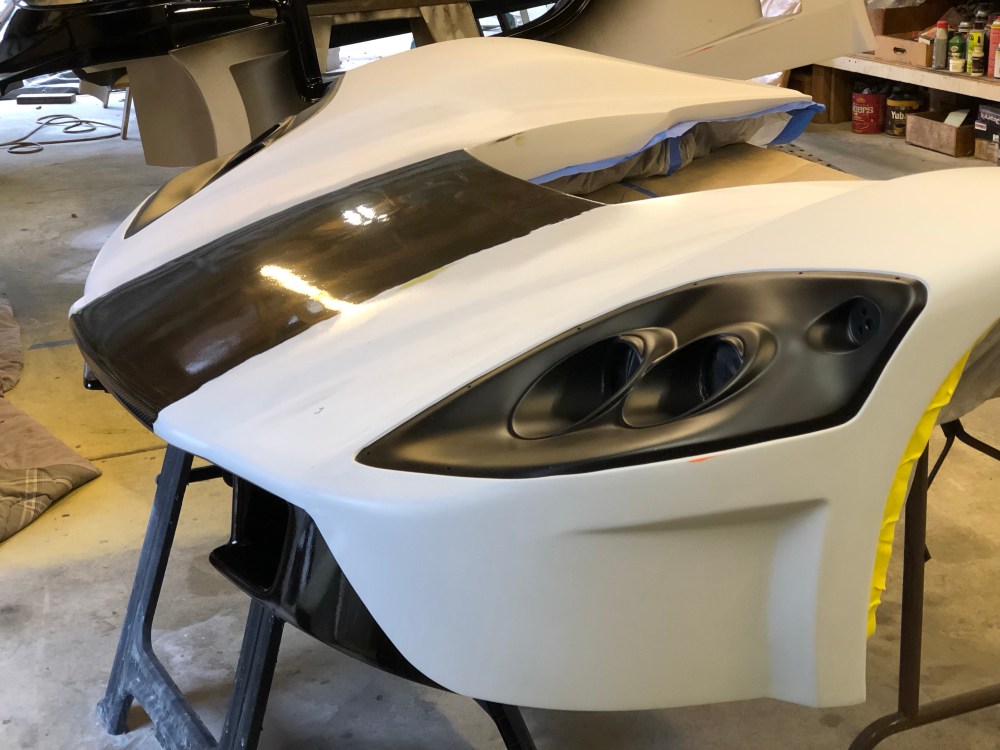
Next up was to add black base coat and gloss clear coat to the exterior surfaces. I know I said I was planning to plastidip the car – but there are certain areas I wanted to use “real paint” on now; my fingers are crossed I won’t have to make any repairs to the center down the road.

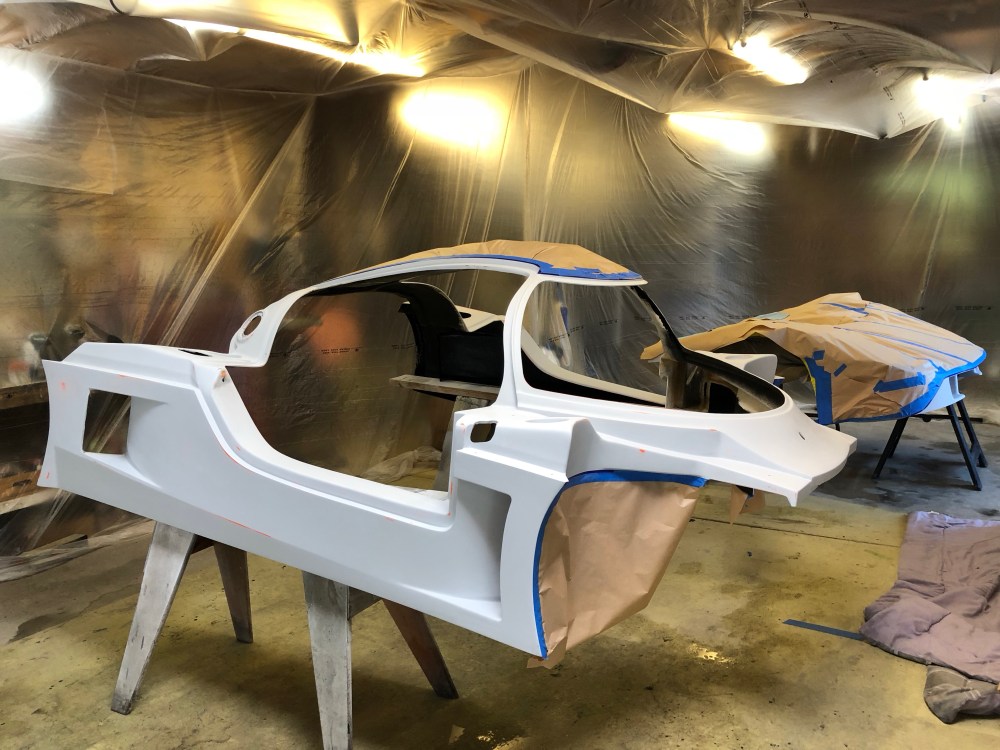
… uh-oh …


I’m holding off on moving forward with the plastidip until the base coat/clear coat has longer to cure – I’m going to give it a few weeks just to be sure. Several installer websites I reviewed stated they wouldn’t dip a car with paint newer than 5 weeks so that’s about what I’ll be shooting for.
Complete paint on spider and clear coat carbon panels – CHECK!
Next up is to prep the chassis for final mounting of the center! Before mounting the center I wanted to apply more sound damping/noise blocker to the spider. On the exterior vertical walls I added a layer of Damplifier and Luxury Liner Pro. This combination really kills the loud rapping noise the body makes if you hit it with your knuckles. To secure the LLP, I bonded adhesive mount studs in several locations – I didn’t trust any adhesive would be strong enough to keep the LLP in place for years.

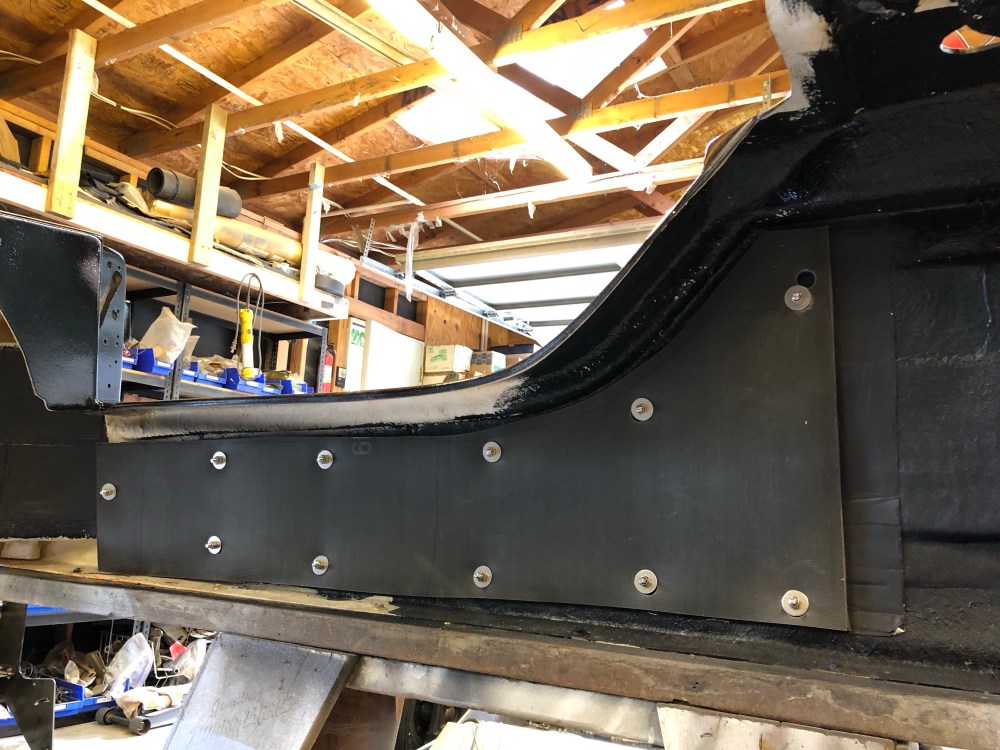

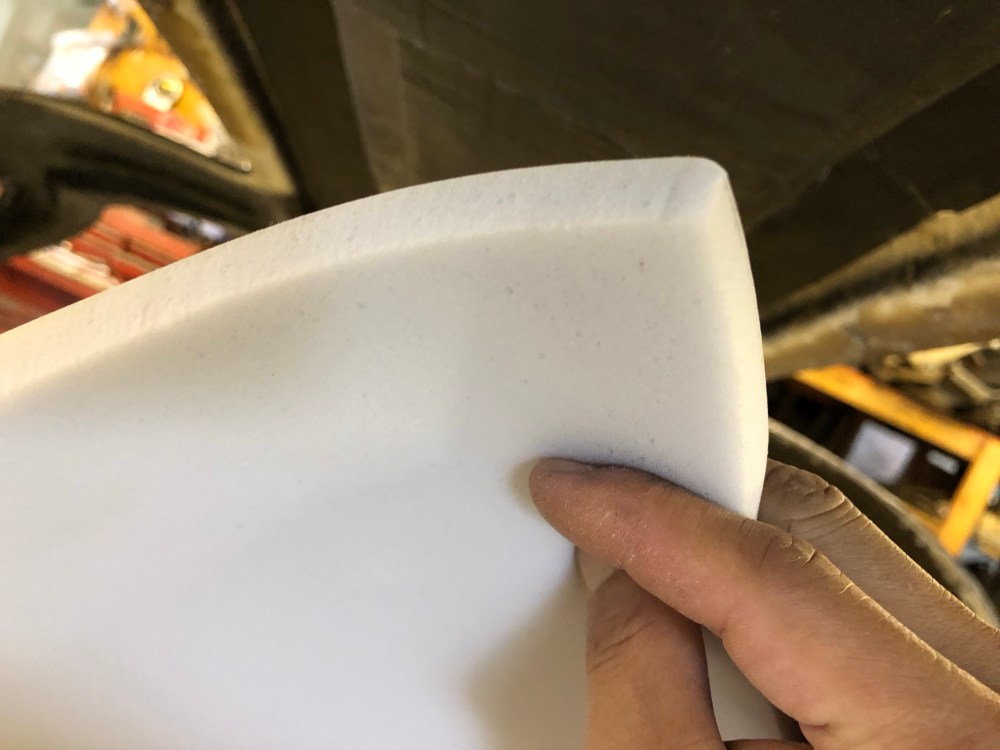
The Mega’Zorbe stuff has a heat resistant adhesive backing – but be super careful, anything that touches the adhesive that isn’t the surface you want to place it on will cause the Mega’Zorbe to come apart. Put your fingertip on the adhesive and when you pull it away, the Mega’Zorbe will “break” and you’ll pull away the adhesive and a bit of melamine with your finger. Lots of care is needed when applying the stuff so you get it exactly where you want it.
Mega’Zorbe acts as a sound and heat blocker; it’s a highly porous material. Sound and heat get in but can’t get out – at least that’s my take on what it does. It’s lightweight and is better suited when you need to apply it upside down like on the roof. It’s primarily meant for sound absorption and secondarily as a heat blocker – it’s not as effective at stopping heat compared to Heat Wave Pro for instance.
The addition of Raptor bedliner, Damplifier, LLP, and Mega’Zorbe to the interior of the spider really does a lot to deaden the noise the body makes. I’m hoping this will go a long way toward killing wind and debris generated noise.
I’ll also be applying more sound and heat treatment to the ceiling panel once it’s ready to be installed – more on that later.
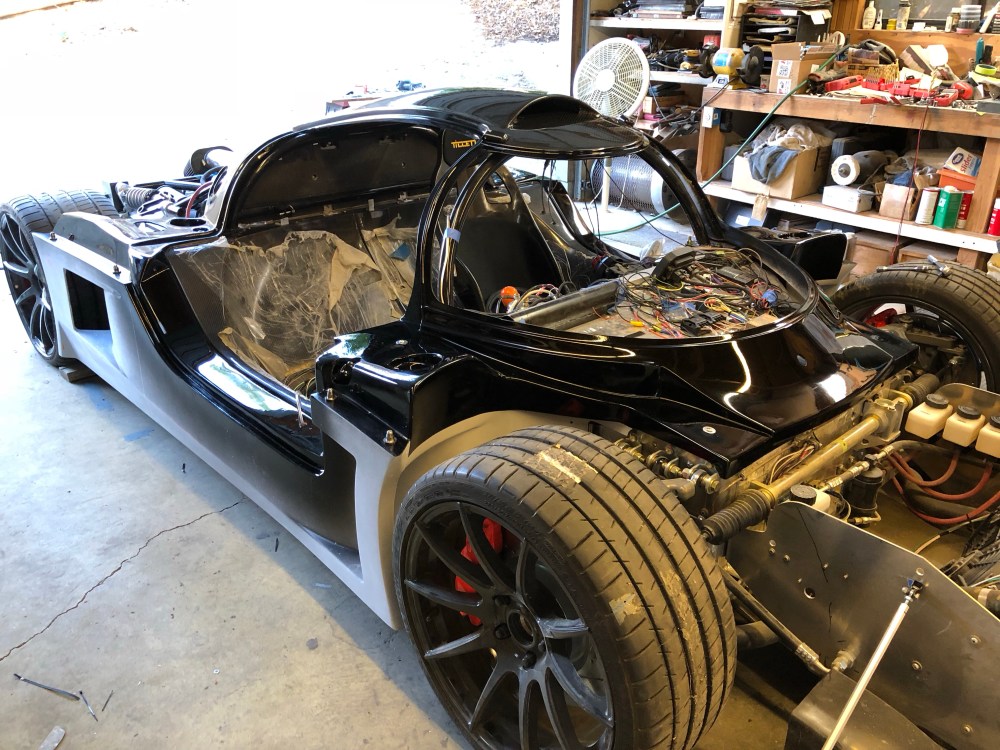
Mount spider – CHECK!
I’ve been really working like a dog these past few weeks to get ready for this next part – windshield installation. I’ve been dreading this moment for a really long time now, especially since I did a test fit of the windshield and found I had 1/8″ to 1/4″ gaps on either side. Anyway, the critical thing about this whole operation is that Bob was heading off for a 5-week (much deserved) vacation and if I didn’t get everything ready for windshield install before he left, I’d be flying solo on this. I knew I wouldn’t be able to do this myself and I didn’t want to take the chance on having one of those on-site windshield repair guys helping me – I’ve heard horror stories and I only have 1 shot to make this right. It’s been a really hard push for me to get everything completed up to this point so we could do this together before he left.
It was a long day of busting our humps to get things prepped for windshield install by early evening the day before Bob was due to leave but we did it!
It seems windshield breakage is a rite of passage for many SLC builders – and it’s one tradition I really want to break with ;). I didn’t want to chance having the glass crack a few months from now so I decided we would install the windshield and use ZERO PRESSSURE at the outside corners – wherever they were is where they’d be when the dust settled. I also didn’t want to spend a ton of time reworking the fiberglass in this area to get the fit perfect.
Screw it – my plan was to mount it as-is using urethane sealer. A trip to Lemon Grove Body Shop supplies and I was given the option – “you want the good stuff, or the best stuff”?
I left with 2 tubes of “the best stuff”.


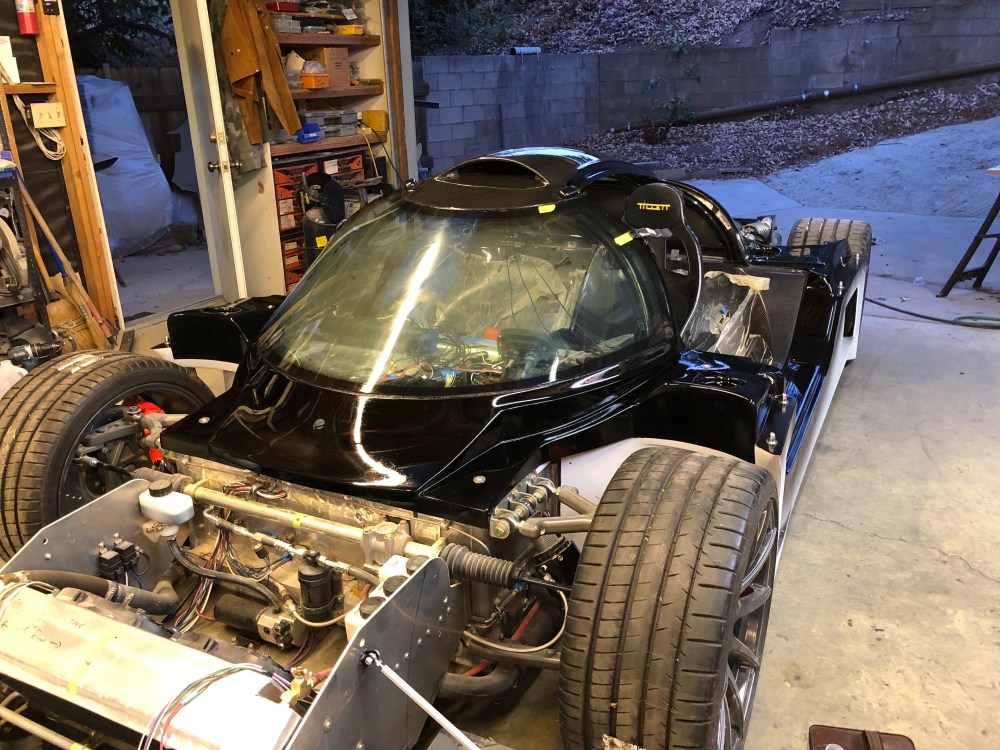

Install windshield – CHECK!
I was feeling pretty stoked walking into the garage the next morning and seeing the windshield installed. Man, what a hustle it was getting that thing in before Bob left!
