I shifted focus back to getting the interior squared away in preparation for getting the rest of the body back onto the car.
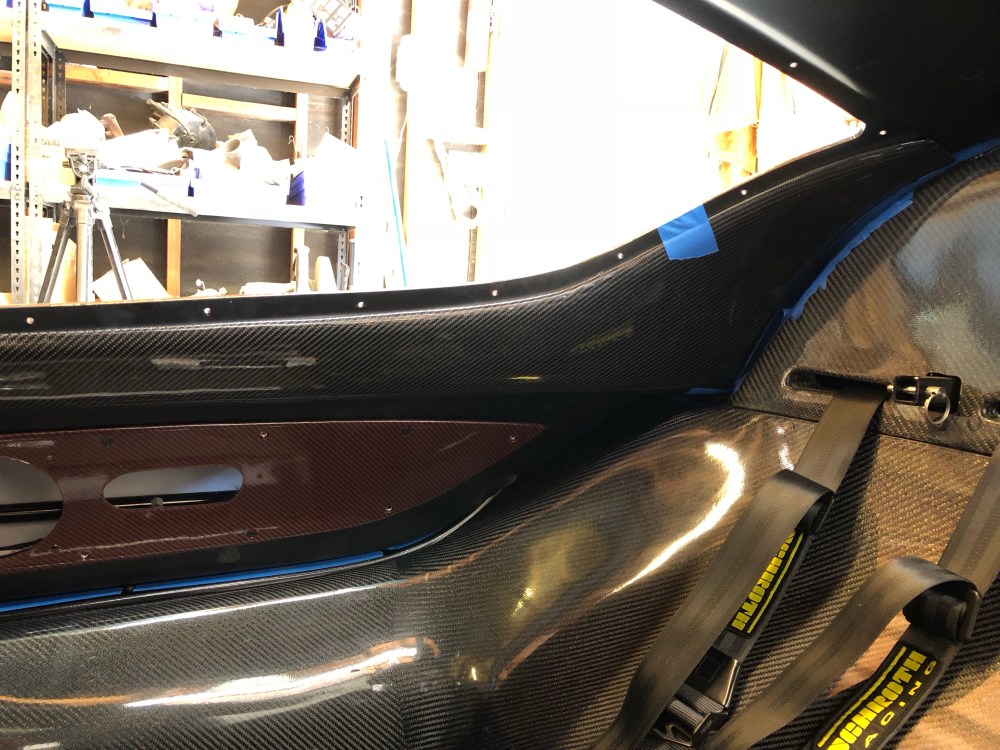
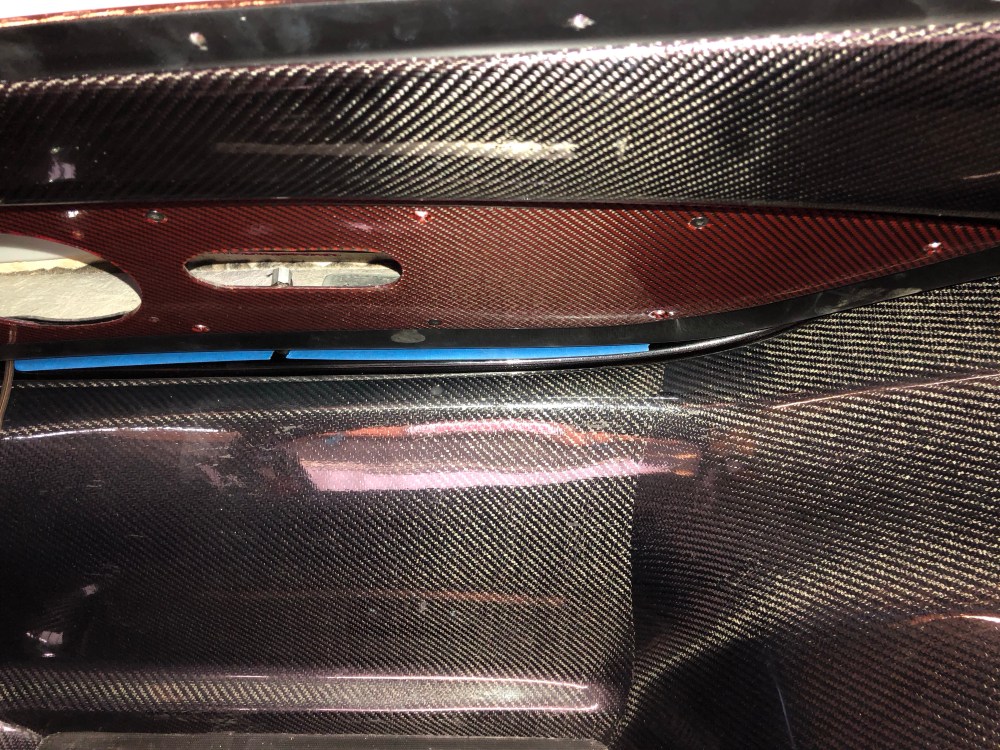
A-Pillar covers:
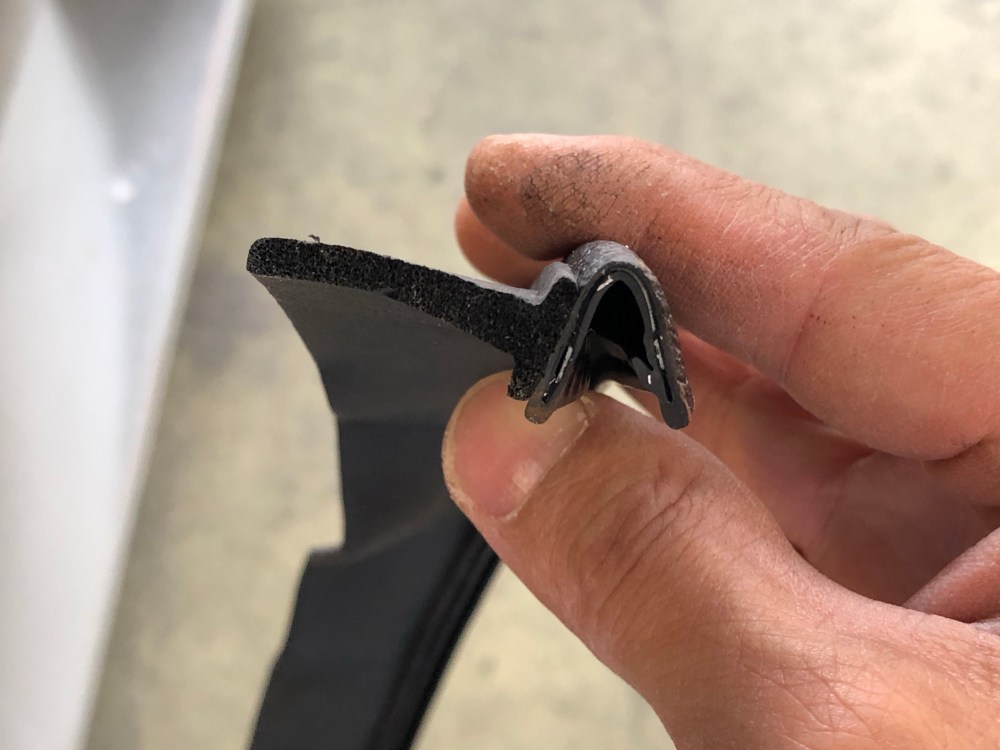
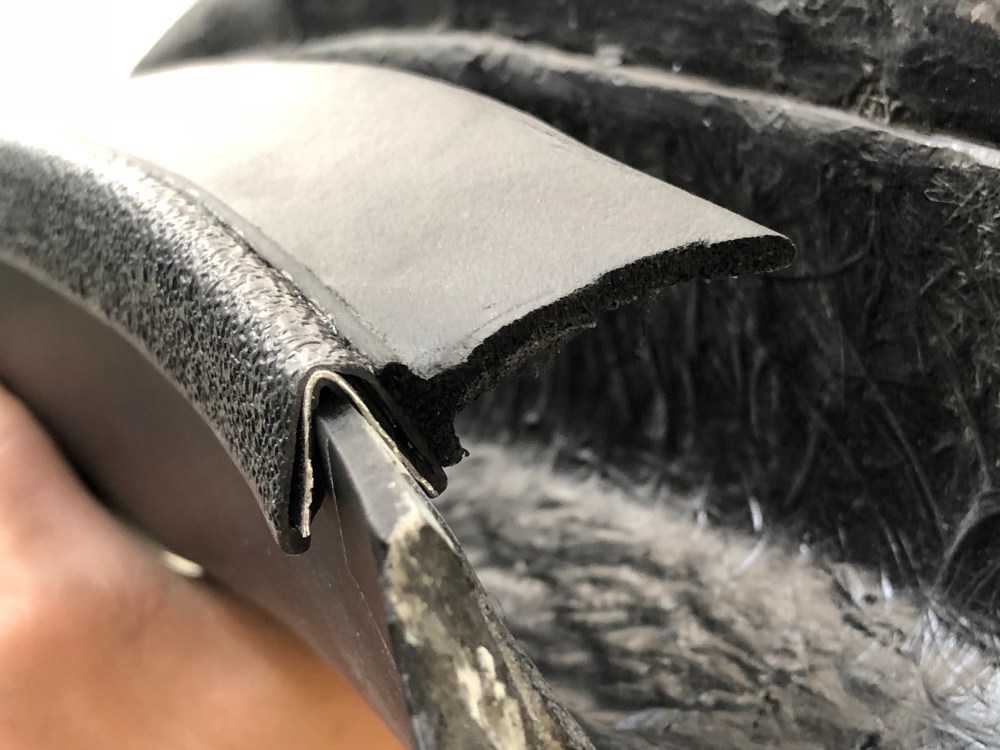
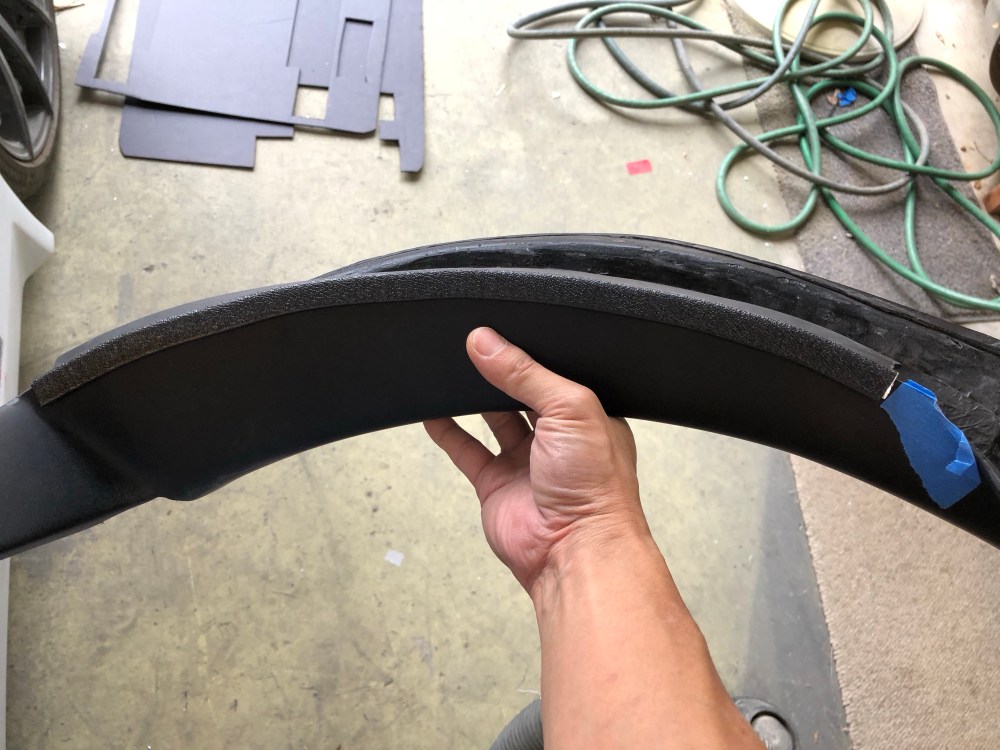
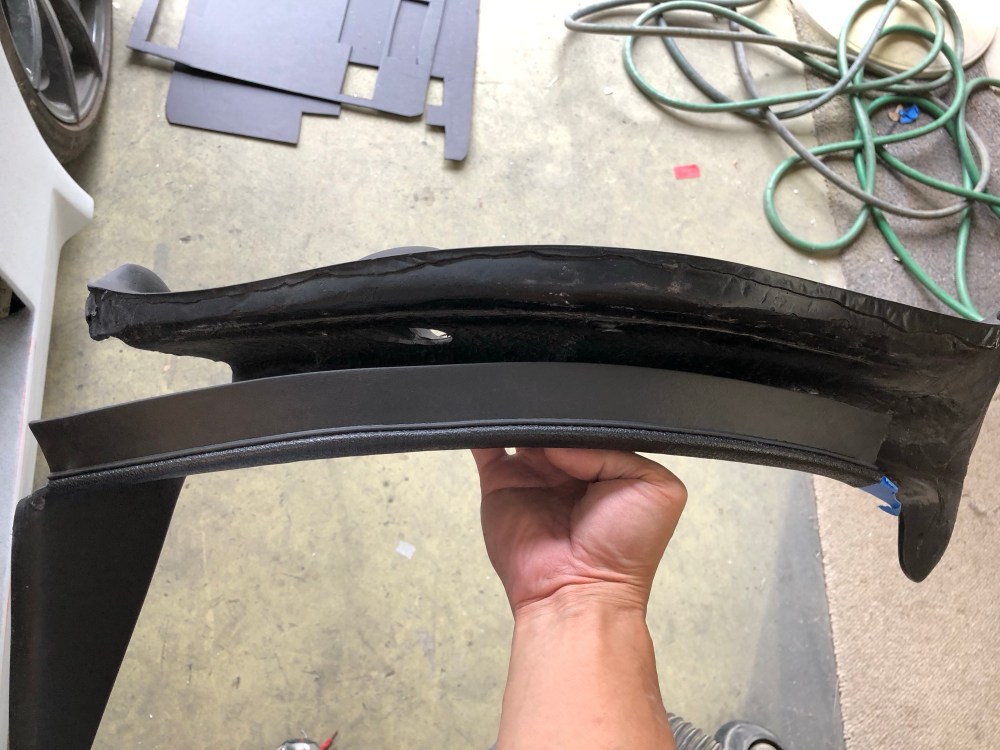
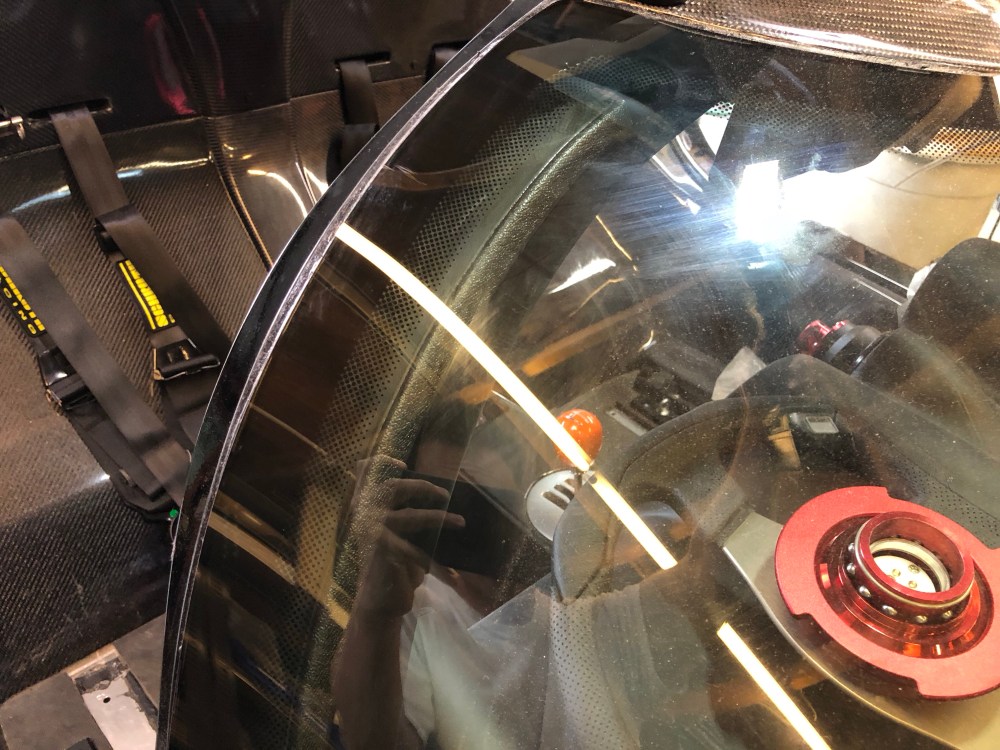
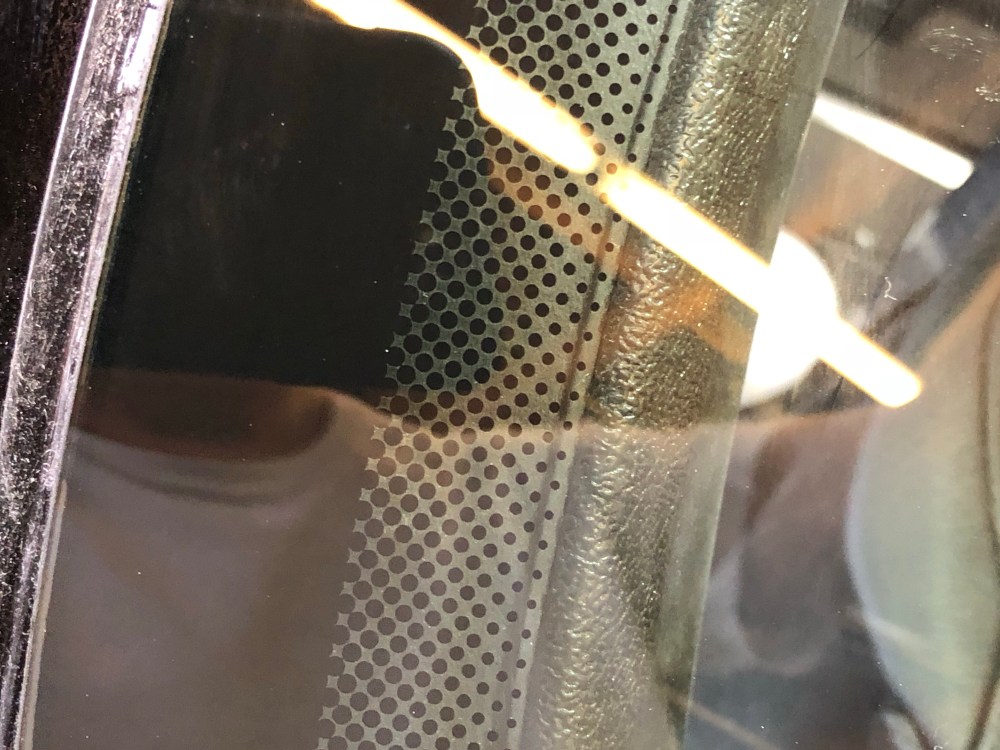
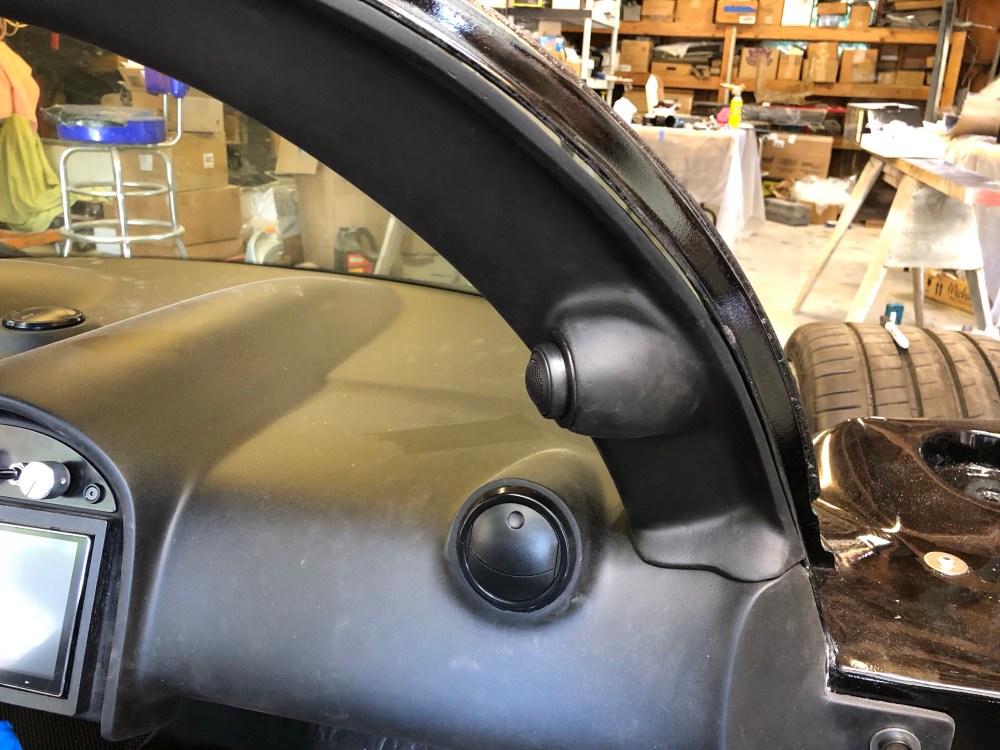
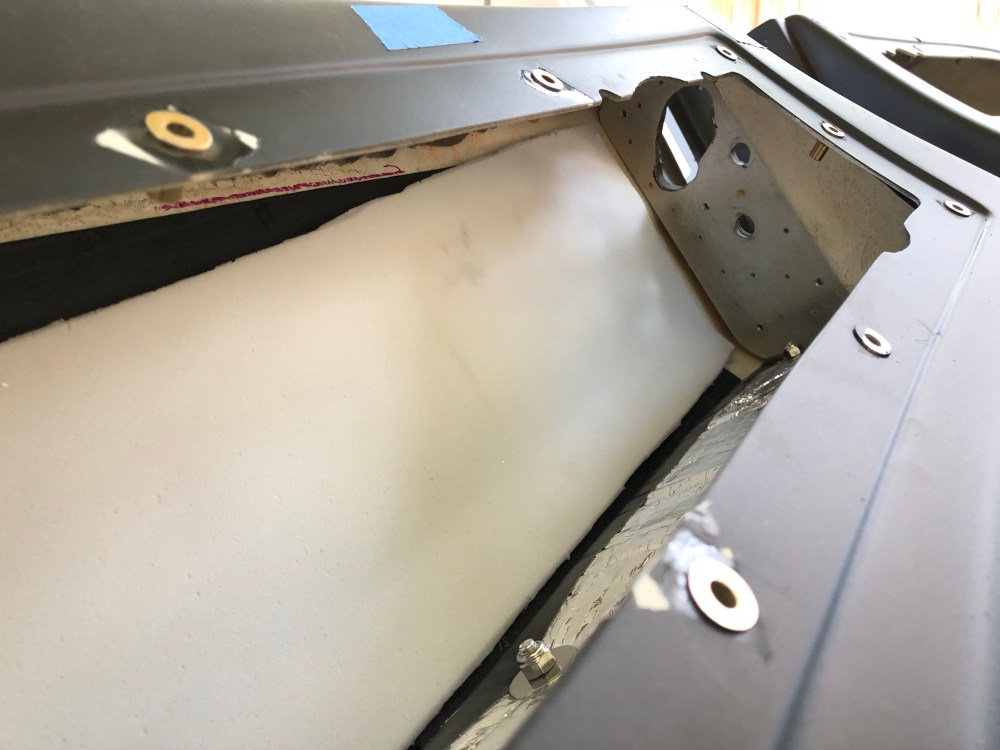
The front edge of the a-pillar covers is pushed forward quite a bit – well past the black edging along the exterior perimeter of the windshield. The result is if you install the a-pillar cover as-is you’ll be able to see the front roll hoop from the outside – not very pretty. Unfortunately the cover needs to be fairly wide because it needs to be wiggled back and forth to get it installed – the wider the better otherwise you’ll be fighting the cover to get it in, and you’ll likely damage any finished surfaces as you do so.
To hide the front roll hoop, I purchased edge seal PN 1120A868 from McMaster and ran a strip of this along the front edge of each a-pillar cover.
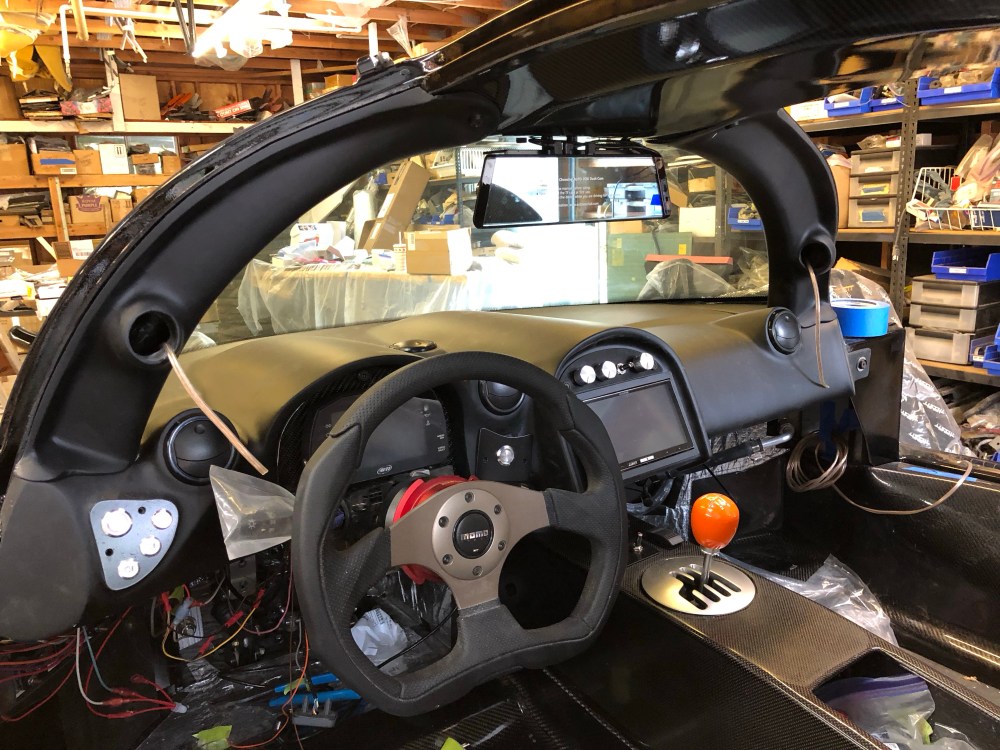
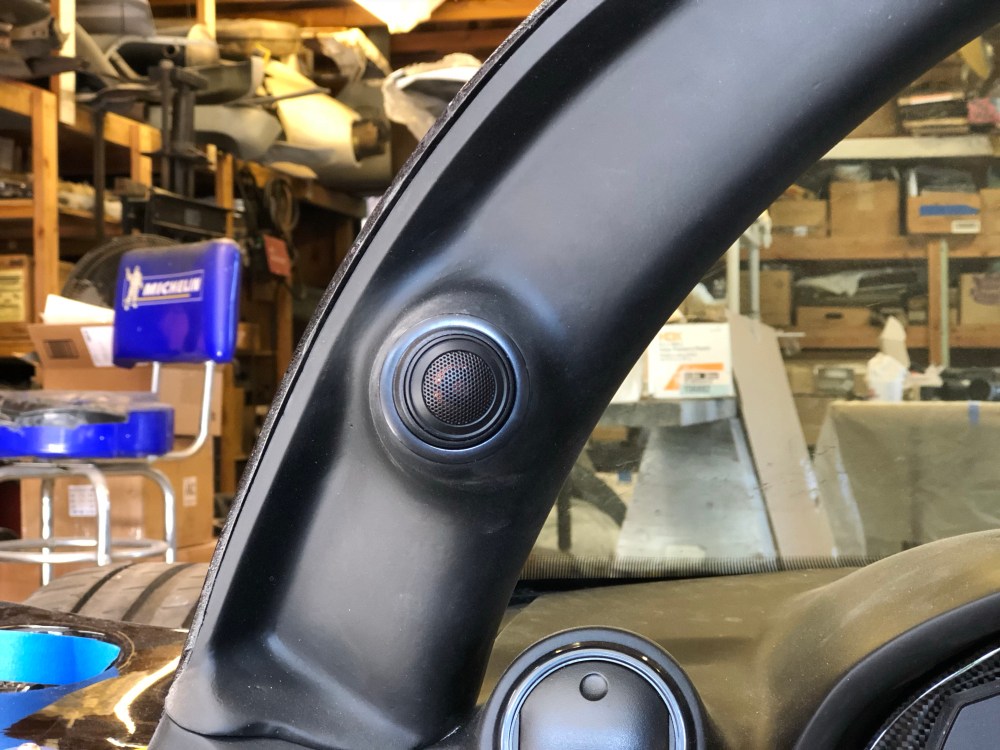
I carved out a few minutes to do something non-critical and fun stuff – I installed the a-pillar tweeters. I tried to fabricate the “pods” so each tweeter could point to my head only – forget the passenger!
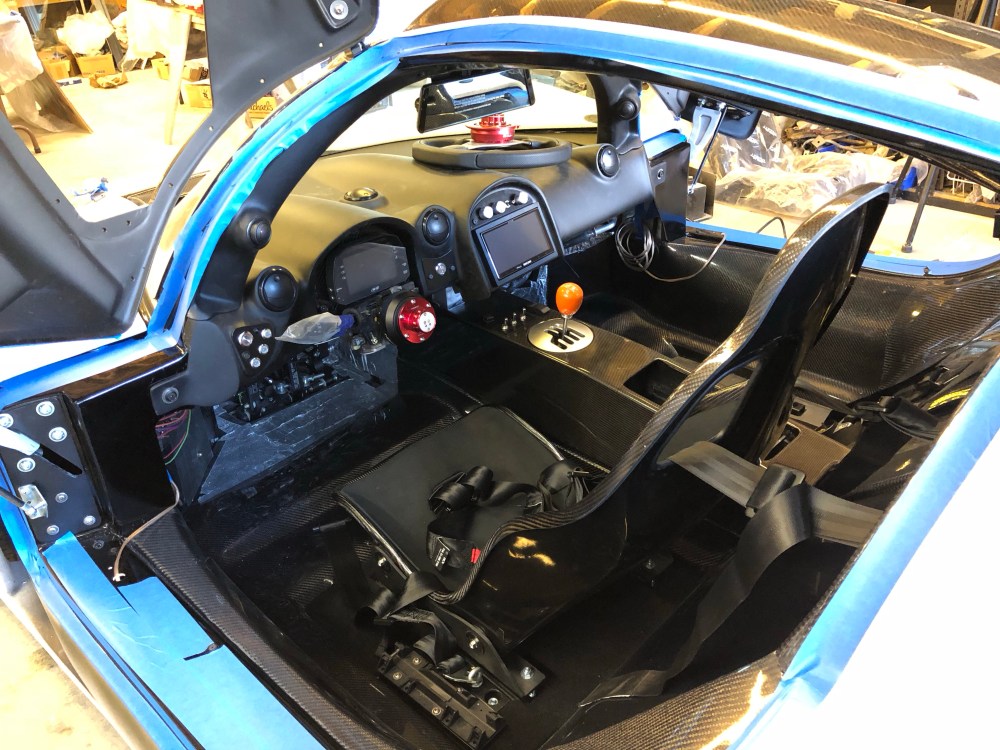
More fun stuff – the driver’s seat and harness have also been installed. After getting all the belts adjusted it feels pretty awesome being strapped in! The vroom vroom noises I made seemed so much more meaningful after tightening the belts down so much I could only whisper.

Doors:
I added more sound and heat blocker to the interior of the doors. I’m down to my last few pieces of Damplifier and I’ll be scrounging for scraps to finish things off – I’m probably just going to order some more Yep, I ordered more.
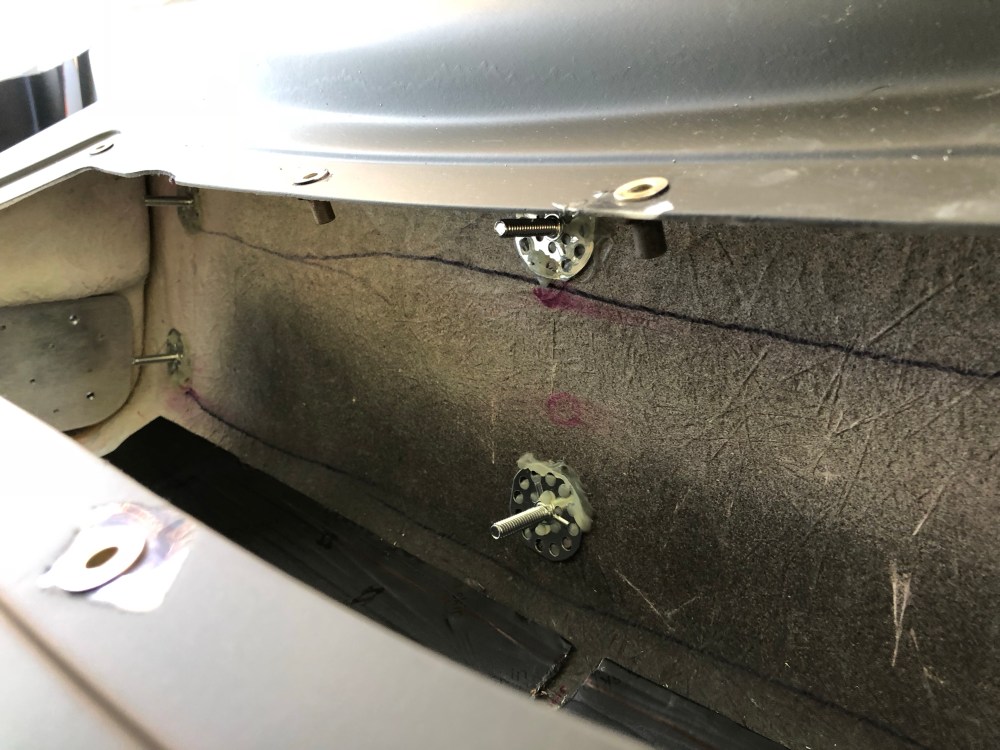
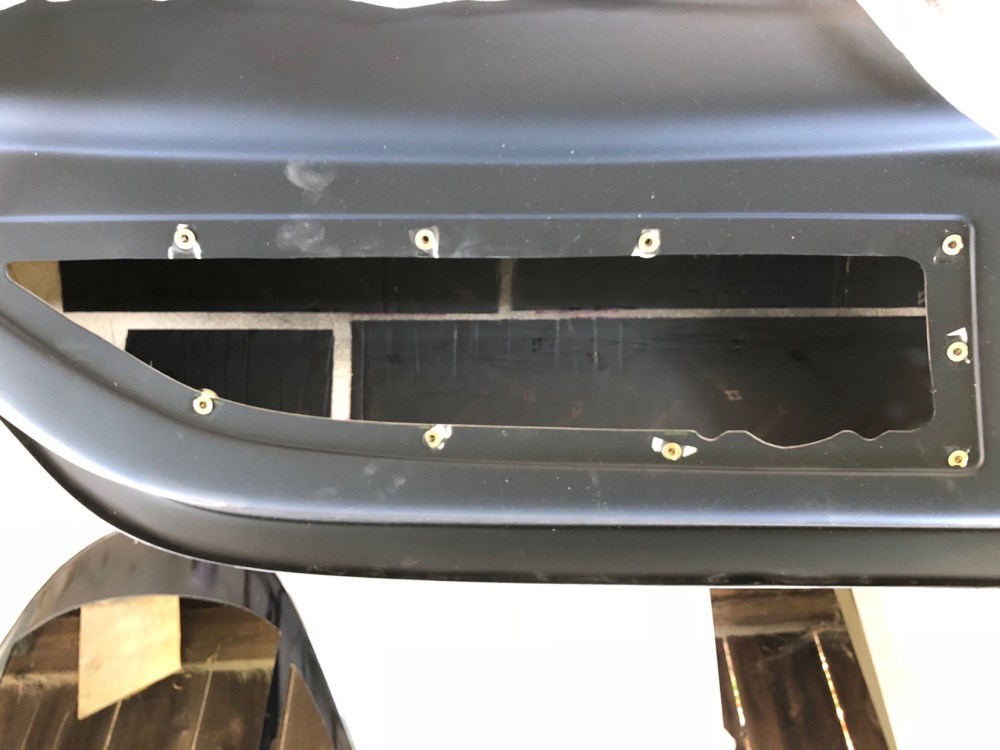
The door is constructed using an inner and outer door skin, bonded together. The main portion of the door is essentially a rectangular shaped tube with the upper and outboard faces part of the exterior skin and the inboard and lower sides part of the interior skin. The main portion of the interior surface gets cut out for access and is replaced with a door card.
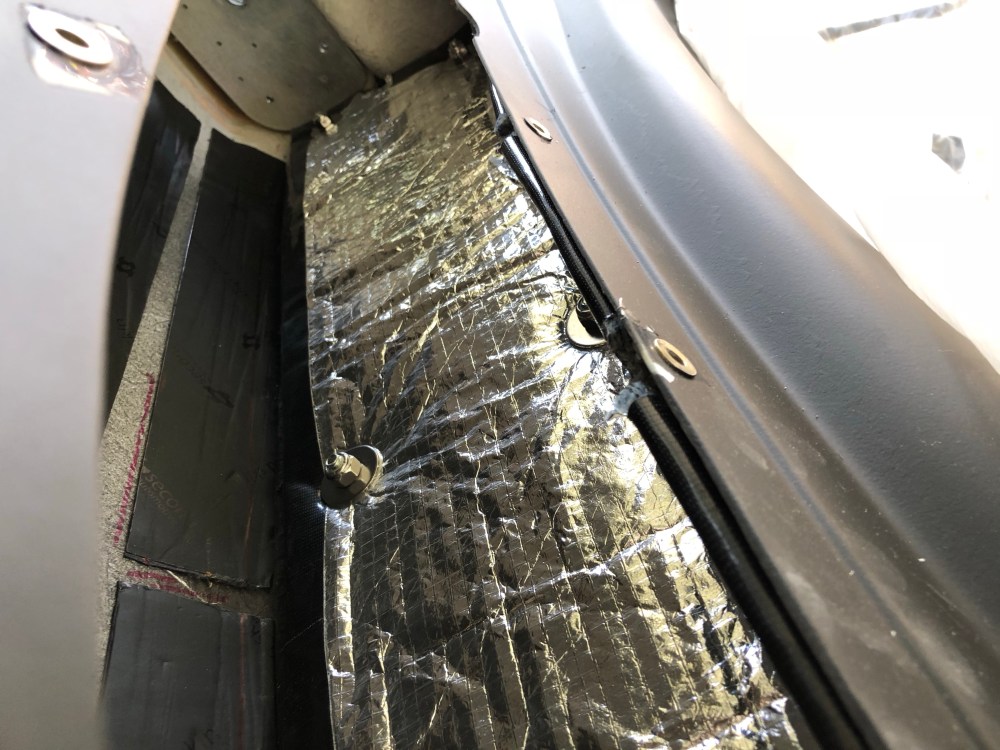
On the upper surface I’ve bonded 6 adhesive-mount studs. I then applied a layer of Damplifier, Luxury Liner Pro, and followed it all up with some Heat Wave Pro. The Luxury Liner pro isn’t recommended for use on ceilings (or in this case upper door skins) because it’s fairly heavy stuff. LLP is normally installed using spray adhesive or velcro. However, I figure the use of bonded-in studs and locknuts ought to be strong enough to keep the LLP in place without rattling.
On the outboard side I applied a layer of Damplifier and followed up with a layer of Mega’Zorbe. I would have preferred to go with LLP/HWP but my gas strut pick-up point is too close to the exterior skin and the gas strut would interfere with the bulky sound/heat blockers. Mega’Zorbe is soft enough that it won’t interfere with the gas strut’s operation.
Insulation of the interior and lower surfaces will follow once I’ve locked down a few more details.
I can’t believe I’ve used as much sound deadener as I have – when I purchased my box of B-stock I thought I was out of my mind but at the time it was a bit of an impulse buy. To date I’ve consumed about 60 lbs of sound deadener alone! I have at least another 60 lbs in Luxury Liner Pro and another couple in Thermal Block/Heat Wave Pro.
Confession time: I have another order in with Second Skin for more Damplifier Pro**. I know, I have issues.
This is not your typical super-LIGHT coupe.
** I had an issue with this order and when I called Second Skin to let them know they went above and beyond to make things right – A+ service!

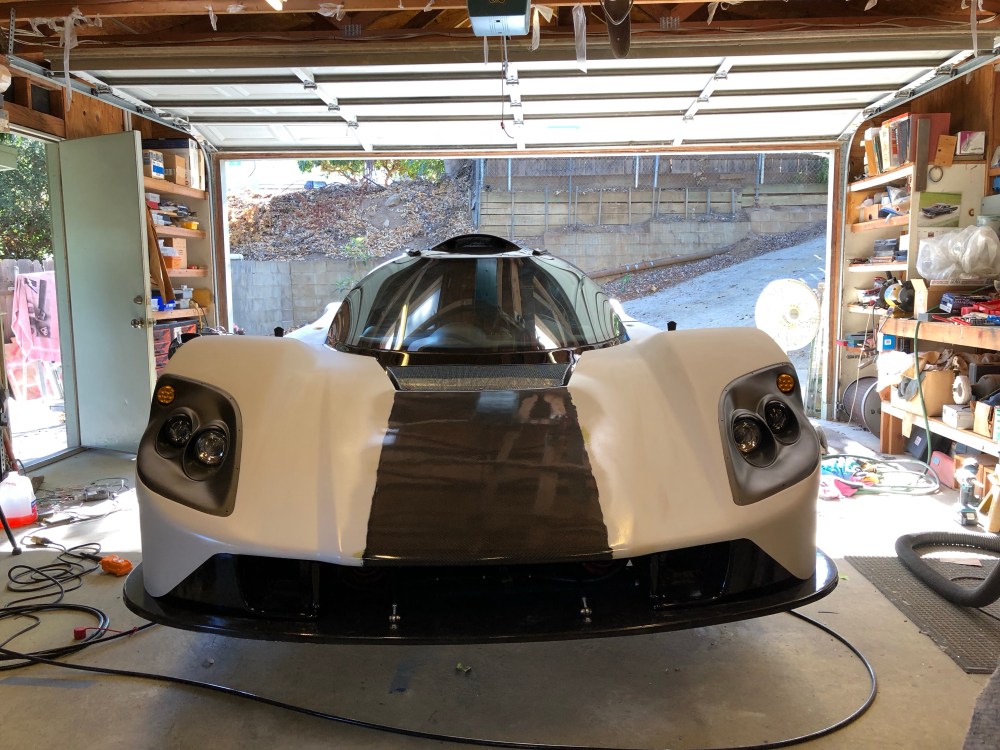
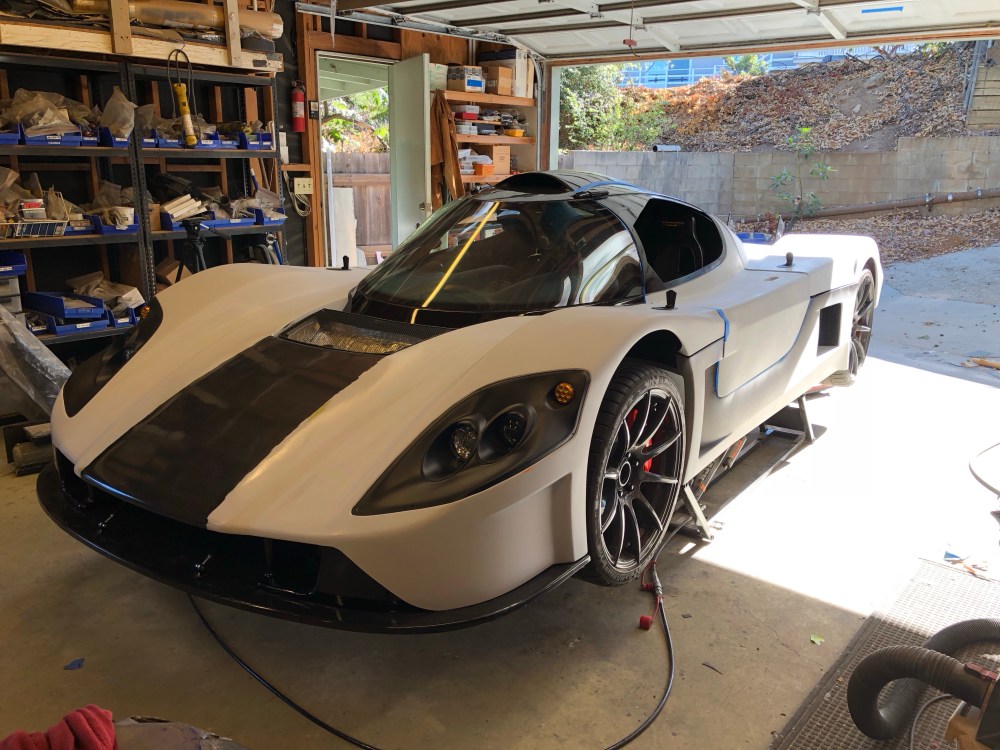
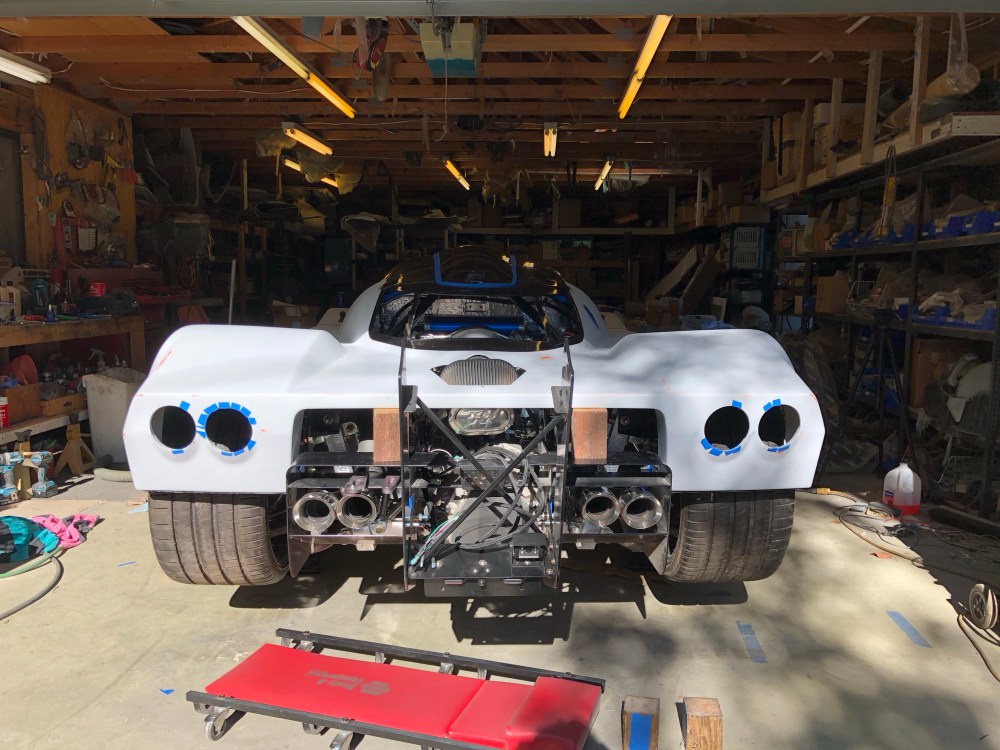
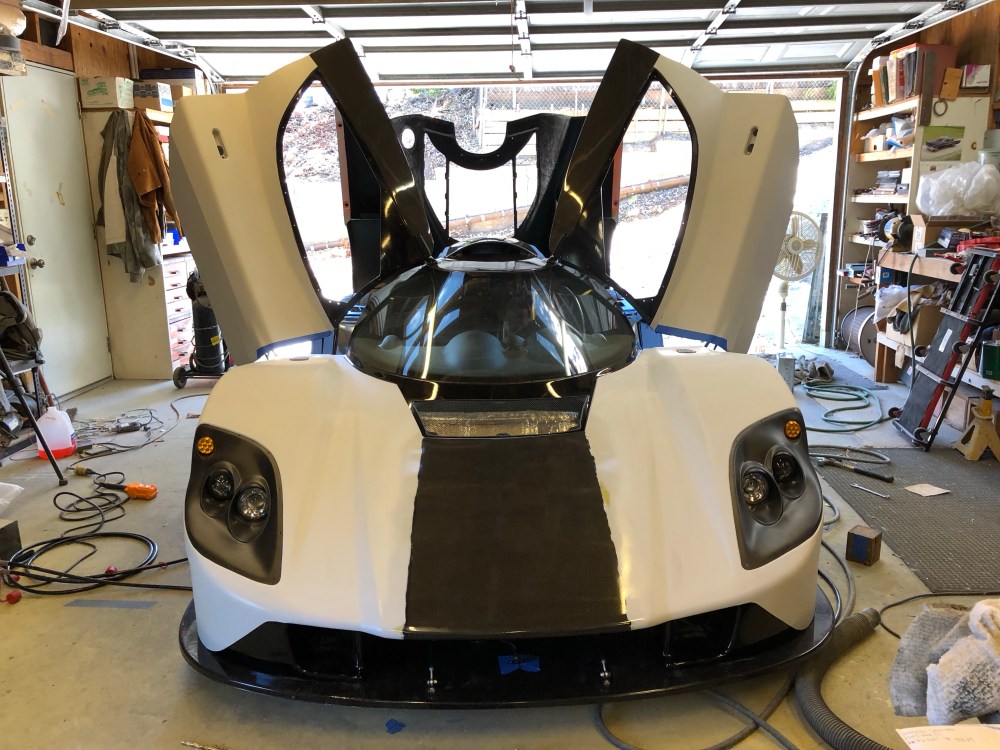
I then rough mounted the doors and bodywork – this was the first time getting the body back together after priming and boy does that really change the look of the car!
In another effort to make myself giggle I carved out another few minutes to temporarily mount my door cards so I could finally see what the interior would look like. In the cycling community the anti-carbon folk preach about how a bump will cause the bike to shatter beneath you, sending thousands of tiny carbon shards into your nether regions. With so much carbon on this car it will be death by a bajillion carbon shards that takes me out, not the 10 thousand pound tractor trailer.

Play time over, I need to really knuckle down and stay focused!
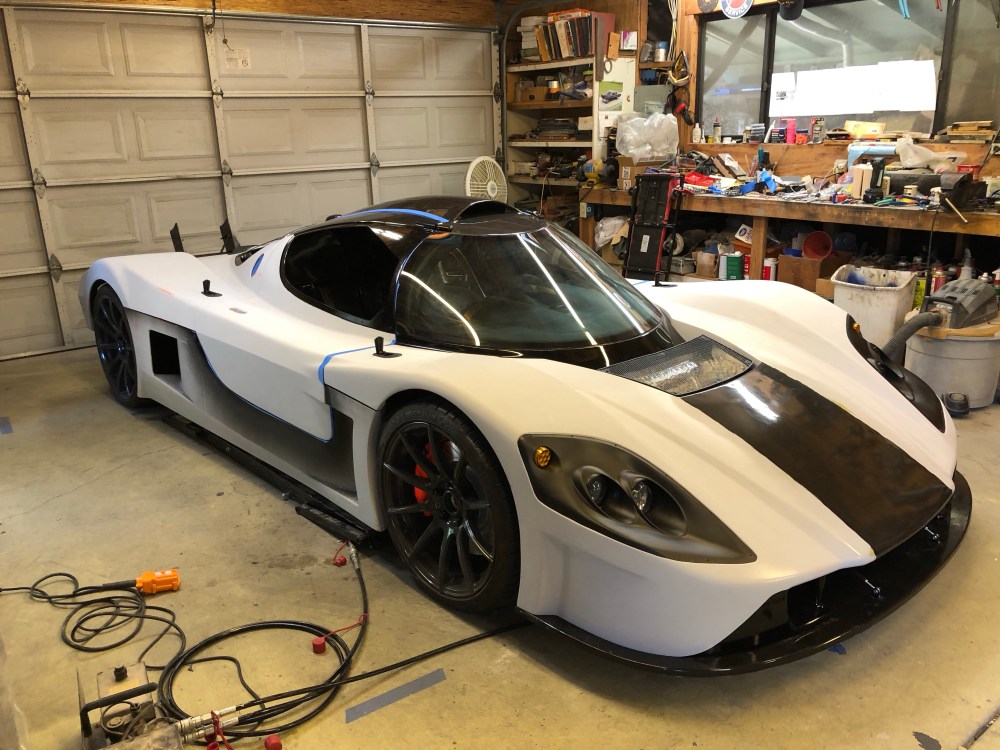
I’m really digging this storm trooper white/black look. I also like the contrasting black along the mid-body. Something to think about as I consider paint options. With the plastidip I’ll have the flexibility to try out several different colors and paint schemes before making a final decision. I never thought I’d like white much but this photo really speaks to me.
Hawt. Giggle.

While reading this post, I kept thinking the same thing about the storm trooper look as well. With the amount of additional carbon fiber on the outside of the body, I’d be very tempted to go with that look on the first plasti-dip to see how it all looks together. I originally planned for my body to be the whitest of whites, but of course like most things some how that all changed over a weekend when I went to get some stuff powdercoated and took the whole color scheme a completely different direction. With my front wheels being a different shade of bronze than my rear wheels didn’t help my choice since I have to get them redone now anyways.
LikeLike
Also, thanks again for taking the time to keep this blog updated. Always love getting emails when you post a new part.
LikeLike
Thanks for the feedback! It’s funny how your concept of what the car should be changes throughout the build. I’ve already got enough dip here to do the car in 2 totally different colors, white was never even on my radar. I’ll move forward to use this stuff up but I’ve got white on the list of future colors. Just another reason not to pre-buy too much ahead tough to not let tour fingers and credit card do the clicking when you’re on a spree. Those Black Friday sales had me pretty amped – biggest sale ever, blah blah … lol
LikeLike