I’ve opted to ditch the RCR supplied Koso gauge cluster and I’m using the Aim MXS Strada display. It’s a really nice package and falls somewhere between reasonably priced to pricey but it checked all the boxes I needed.
*Post-build update: Heads up! For those choosing to use an Aim dash or some other aftermarket system that pulls engine data from the CAN system, be aware – you may have issues reading/accessing the OBD2 diagnostic port if the dash system is in use. Apparently the dash pulls too much current from the CAN system which then shuts the OBD2 diagnostic port down. When I went to have my car tuned we couldn’t get any reading from the OBD2 until I physically disconnected my Aim dash display. It would be a good idea to wire in some type of toggle switch that could be flipped to shut power down to the dash when going for a tune. Alternatively you could wire the power signal to your fuse box and just pull the fuse when you go for a tune. Thanks to Allan for this gold nugget of trivia!
Aim MXS display:
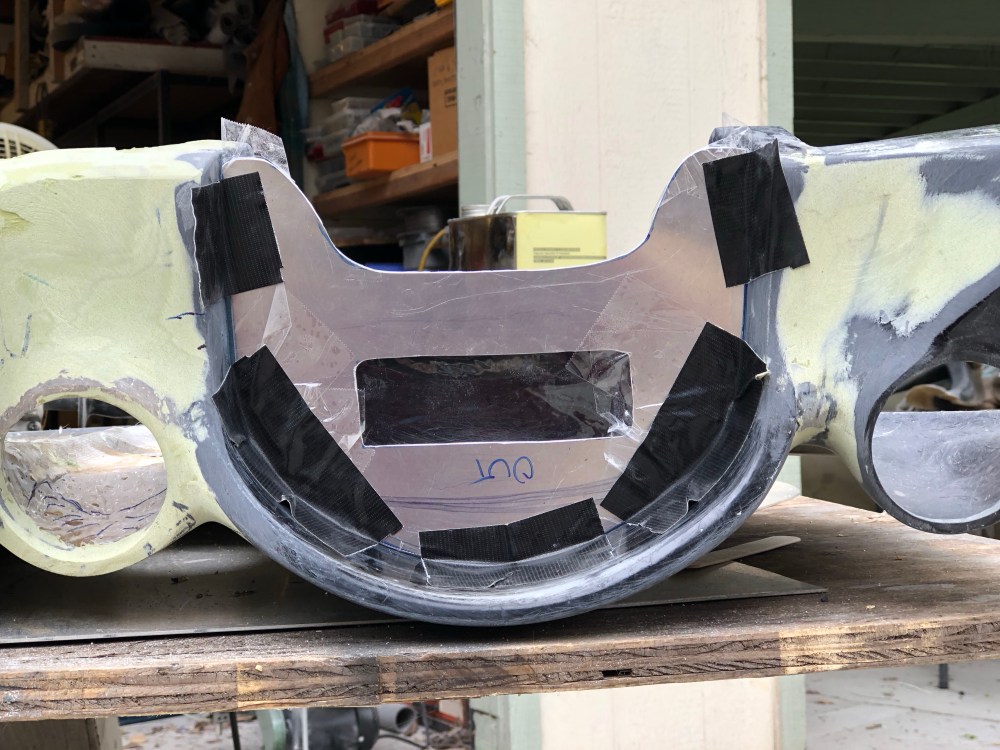
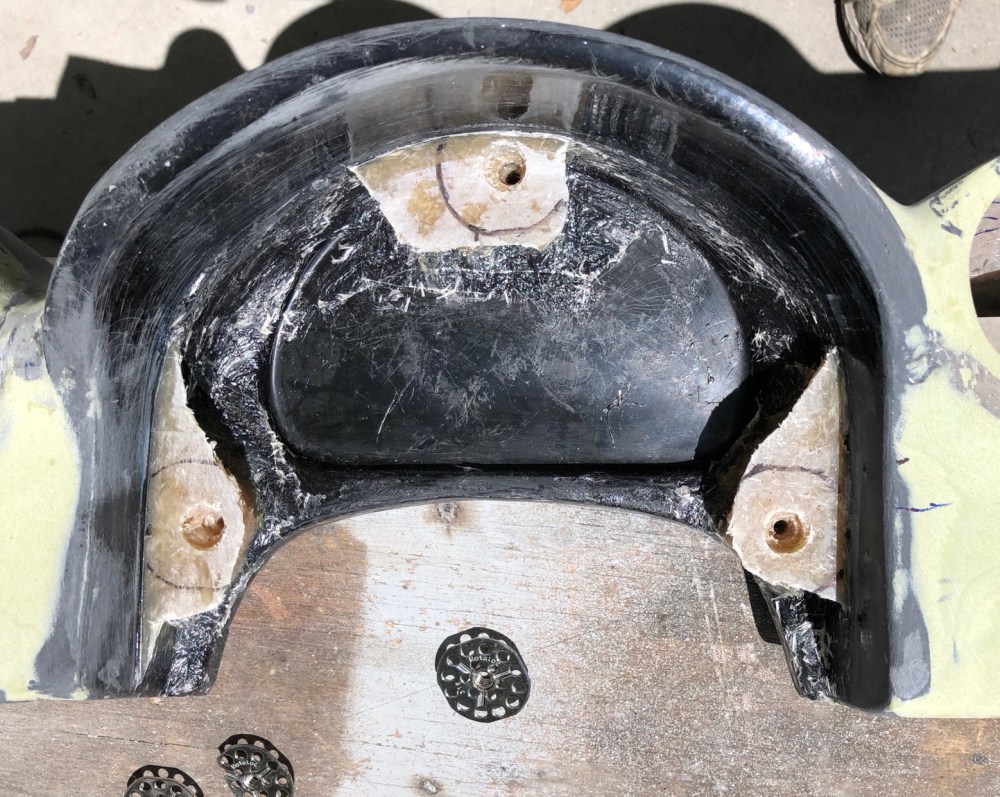
The AIM MXS display mounting bolts are installed from the rear. I wanted to be able to install and remove the display without having to remove the dash altogether so I had to come up with a way to mount the display without having to do so from behind.
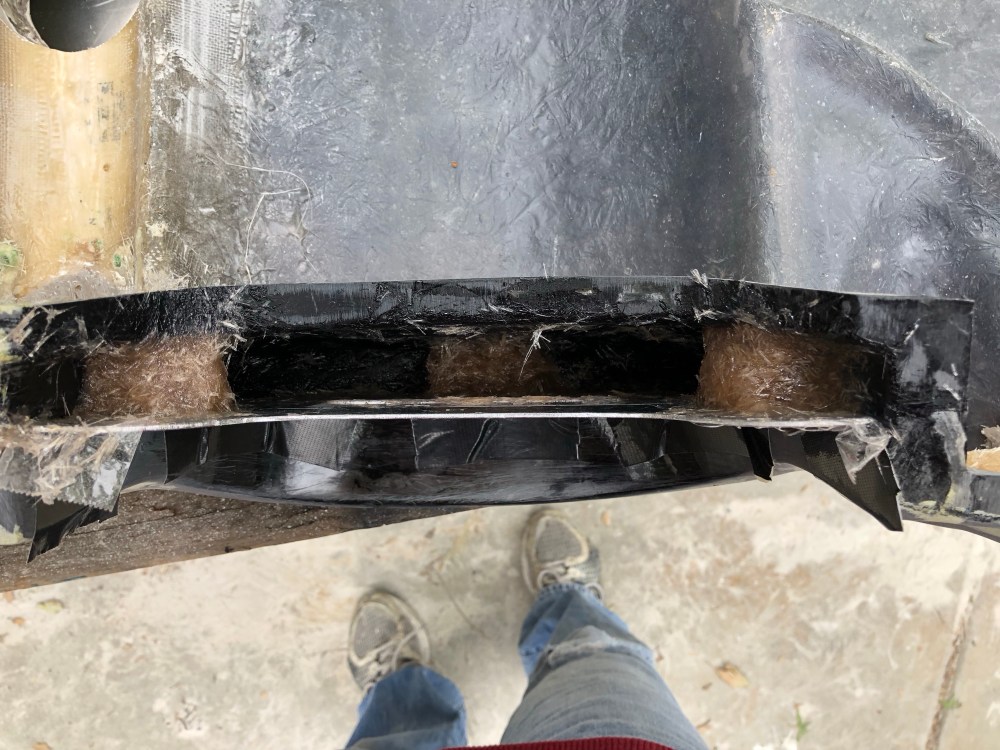
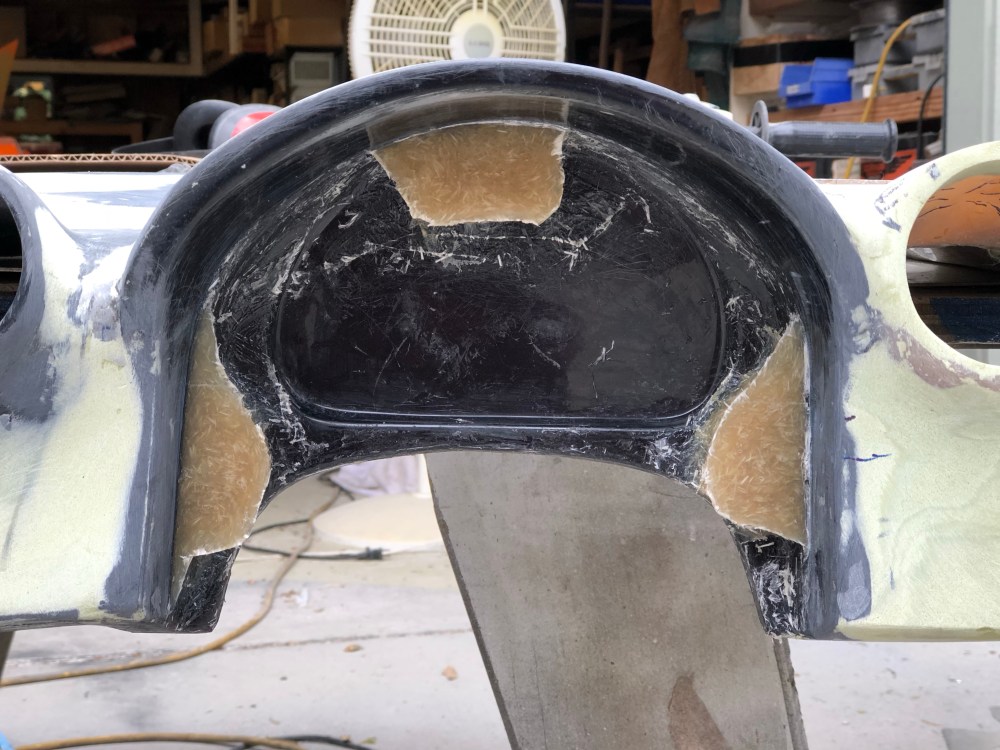
My solution was to make an aluminum plate that the AIM display would first be mounted onto. The display/panel would then be attached to the dash via bolts that can be accessed from the front. I also wanted to push the display about an inch further toward the steering wheel; mounting it directly onto the existing panel would have pushed it further back than I’d like. Instead of making spacers I filled the ~1″ gap using reinforced resin.


Aim input channels:
The Aim MXS/MXG Strada displays are primarily meant for cars that don’t require any logging capability and limited sensor data. As delivered, the unit is capable of reading up to 4 channels of analog data – additional channels available, but at a fairly heft price tag. For my car, the 4 channels I’ll be using with the display are:
- Fuel level (requires 0-90 Ohm converter sold by Iron Canyon Motorsports)
- Engine oil temperature (requires additional temperature sensor from Aim)
- Headlight on/off
- Turn signal on/off
In addition to the above 4 channels I’ll be able to monitor parameters recorded by the engine CPU; this data is sent to the Aim display via the two CAN signal wires available from the GM engine diagnostics port. These CAN source channels include:
- Vehicle speed (more on this in a sec)
- Engine RPM
- Engine coolant temperature
- Oil pressure
- Intake air temprature
- Battery voltage
The GM crate engines don’t come equipped with very many sensors so there’s not much to pick from. The above parameters are about the minimum required to monitor the engine’s health.
A note on vehicle speed – I’m not running a reluctor ring on my axle nor any other device to monitor tire rotation to compute vehicle speed. Instead, I’ve installed a Dakota Digital GPS sensor which feeds a signal to the ECU’s VSS input. Currently, there is a fairly large discrepancy between DD’s indicated speed and what my ECU is reading. I believe it’s possible to crack into the ECU’s coding and revise the transfer function so the ECU displays a corrected speed, matching whatever’s being sent by the DD GPS unit. I haven’t taken the car down to a tuner to verify this is possible. If it’s not, I’ll have to purchase the separate Aim GPS sensor to read vehicle speed ($$$).
Post-build update: So I ditched the Dakota Digital speed sensor and purchased the Aim GPS08 sensor. The DD GPS signal was changing a bit slowly for my liking and I eventually lost the speed output signal – I think while troubleshooting other systems in the car I inadvertently reset the DD GPS unit and now it needs to go back through re-calibration before it’ll output (an incorrect) speed. Rather than having a tuner recalibrate my speedo to compensate for the DD’s signal I’ve thrown in the towel and purchased the Aim GPS sensor. The good news is my speed reading updates quicker and doesn’t feel as glitchy when I watch it as speeds increase. The bad news is the sensor costs about $300 and I now have a DD GPS unit that’s mostly useless. I had the car tuned and its off-throttle behavior is improved – in my case, I don’t believe the DD GPS feeding a signal to my engine’s VSS is doing anything to help with off-throttle behavior or engine idling.
To display remaining fuel level, the Iron Canyon Motorsports converter takes the RCR supplied sensor’s output and converts it to a 0-5V signal. If you’re using the “Strada” version of the MXS, you’ll want to order the converter with Flying Leads. If you’ve purchased the full boogey MXS system (not the Strada) then you’ll want the converter with the 719 Binder leads. Hook up is fairly straightforward, just follow the included instructions. Select one of the analog inputs on the Aim (I chose analog input 1), terminate your wires, and install them into the AMP connector. Getting the display to recognize the input is the real challenge! The software is not the most intuitive. The basic steps are:
- Create a sensor called “Fuel level” or similar, assign analog 1 input to this sensor.
- Calibrate the sensor.
- Create a calibration table for your sensor.
- Assign it to a field on the display.
- Transfer your updated settings to the display unit.
To calibrate the sensor, I monitored the ICM output signal and recorded its values for every 1 gallon of fuel I poured into the tank. I registered no change in signal between 0-~1.9 gallons – so anything below ~1.9 gallons will display incorrectly. At ~17.75 gallons I had overflow coming out of my fuel vent port*. With the fuel vent line installed it’s possible to get the tank completely full but to avoid overfilling my tank I’ll be targeting a fill volume of ~17 gallons instead of pumping the tank until the auto shut-off engages on the fuel filler nozzle. I believe there’s too much variation between builds and sensors to be able to use someone else’s calibration table so you’ll have to do this for yourself. Be sure to use gasoline during the calibration as the sensor uses electrical resistance to sense fuel level, and water and gasoline have different resistances.
*Post-build update: With my fuel fill line connected I’m now able to get more fuel into the system – about another 2 gallons of fuel. So with everything hooked up the SLC can hold something along the lines of 20 gallons including whatever’s in the surge tank. That said, I’ve driven the tank down to <2 gallons on one occasion and it was pretty eerie – I could hear the sound of the fuel pumps spinning. I think the noise was working its way back into the main tank where the sound was then amplified and eventually made its way into the passenger compartment. At first I thought maybe my pumps were going out but once I filled the tank back up the fuel pumps came back down to their normal (slightly noisy) sound.
To monitor engine oil temperature, I ordered an extra 1/8″ NPT thermocouple along with a patch cable and installed this into the threaded port available on my engine oil cooler adapter. Setup is a bit simpler with this – you just use the software and identify the channel (analog channel 3 in my setup) as a Aim specific thermocouple, give it a name, and assign it to a field.
The headlight and turn signals just that – I pulled voltage signals from my steering column’s lighting stalk and inputted these into the Aim display. If the display senses voltage above a threshold level it’ll turn a light on.
The Aim display is available in two flavors; “normal” and “street icon”. The normal version has 3 lights located on either side of the main display. These can be programmed to come on for just about any event. For the street icon version, the lights have an icon next to them; a small headlight, a high beam symbol, gas pump symbol, engine oil symbol, etc. The nice thing about the street icon version is it’s very quick and easy to see what alarms may be triggering – red flashing light next to your engine oil symbol? Probably means you’ve got an engine oil pressure problem! Blinking red light to the right of the display, 3 down from the top? It’ll take you a bit to remember that you programmed that particular light to warn you about engine oil pressure and not coolant temperature. My only gripe about the street icon version is I’m too cheap to purchase an expansion hub to get more analog channels. The 4 I have listed above use up all my available channels – to get another slot for say, the high beam indicator, I’d have to delete one of the 4 above or pony up the bucks for an expansion module so I can get 5 inputs. Nuh-uh, I don’t need it that bad. But now I’ve got a useless warning light on my dash that I can’t use for something else because it’s got a high beam symbol next to it.
I just checked the Aim website and it looks like they may have updated the street icon version; instead of having a warning light with a symbol next to it, it appears the warning light IS the symbol. It cleans up the display a little and looks a little more polished than the version I have.
Output channel:
The MXS Strada has one additional feature that’s really neat – it can send out a ground signal when some condition or alarm is met. For instance, it could be programmed to disrupt the AC “on” command to your AC compressor if engine RPM exceeds some predetermined value. Wha? Why would anyone want to do that?
It seems the Sanden compressor included with the Vintage Air system has a maximum recommended operational speed that is LOWER than what it will spin when the LS motor approaches redline. Therefore it’s recommended to turn off the compressor just before the compressor pulley speed exceeds this maximum speed. I haven’t figured out what engine speed this is at but it’s a straightforward task of comparing crank and compressor pulley diameters, determining the relative ratios, and backing out the engine RPM which coincides with max recommended compressor RPM. The RCR supplied Sanden SD7B10 has a recommended operating speed of no more than 6000RPM and a maximum speed of 7000RPM.
I’ll set my Aim display to monitor engine RPM and once that value is met, I’ll have the output channel send a ground signal to a relay that will then disrupt the signal going to my trinary switch, thereby turning off the AC compressor.
Aim programming:
Short and sweet – it sucks. The Aim display uses a program called RaceStudio to program the dash unit. It’s not very intuitive and I spent a good number of hours fumbling around trying to get things set.
Thanks to builder JTyrsing for sending me this link. There’s a series of helpful videos regarding the dash unit here.
Steering column lighting stalk:
Speaking of outputs and lights – the steering column included with my kit was once used on the Oldsmobile Intrigue. KRoberts was kind enough to locate the pin outs for this column at this post. I had a heck of a time troubleshooting my column – when I started testing my electrical system I couldn’t figure out why my lighting stalk appeared to be DOA. I ASSumed that the various outputs from the stalk would be in the form of a +12V signal. Of course not. Here’s what I learned:
- The low beam and high beam lights output a ground signal.
- **The indicator (or parking lights) outputs a +12V signal when the stalk is on the parking light position. When the stalk is in the low beam position the indicator behaves like a diode – no ground signal, no +12V signal, it just seems to be dead.
- **The left and right turn signal outputs behave like a diode. Again, not a ground signal, not a +12V signal, it just seems to be dead. The only way to verify you have your wiring hooked up correctly is to place a load on this wire and visually verify you have blinking lights (or a steady light when the stalk is in the low beam position).
**I suspect my turn signals were behaving as they did because I had them hooked up to LED-specific flasher relays. JTyrsing tested the same lighting stalk and was able to measure +12V from the indicator and turn signal outputs.
It took me a long time scratching my head to figure out what was going on. Thanks to Allan for suggesting that the stalk might be sending out a ground signal!
