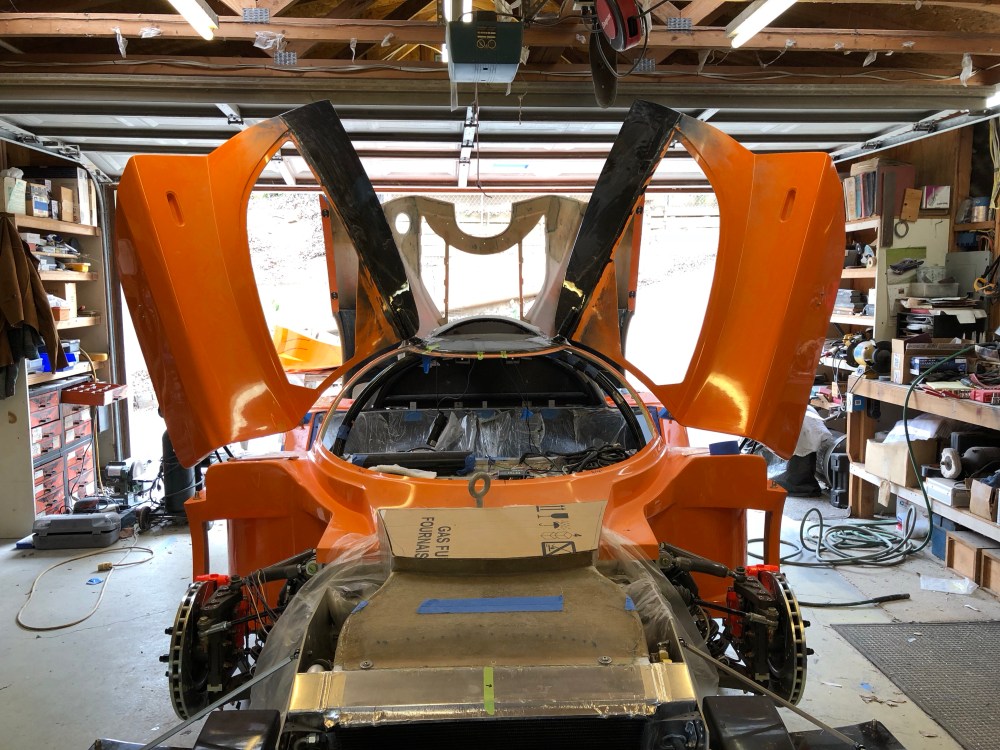
Now that the rear end of the car’s just about wrapped up it was time to shift my focus back on the center. I needed to get the doors hung and the striker pin installed so I could get another rough fitting of the door, this time with the spider on the car – recall I had already verified the door operation in post 31 (Roughing the body).
Upper door hinge:
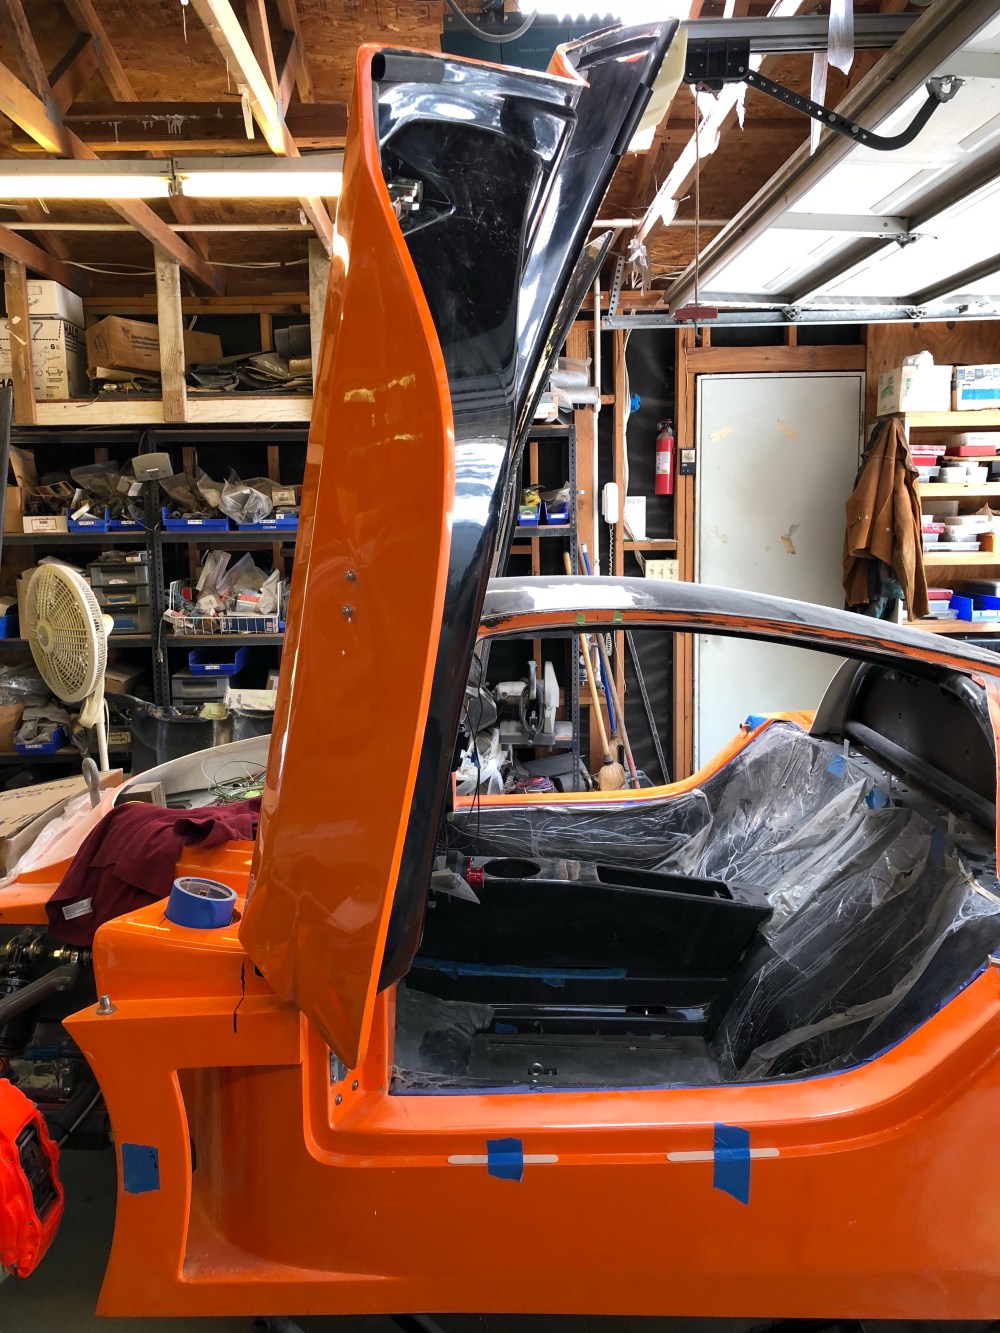
Now that the resin’s fully cured on my door upper I can install the upper hinge hardware. There are slight circular depressions where I believe you’re supposed to drill through for the hinge hardware but I didn’t trust them (and I’m glad I didn’t, they didn’t line up with where I ultimately put my holes!).
I sanded the resin flat and used a template to locate the hinge hardware. The hardware is secured to the door and roof structure via 2x 1/4-20 bolts for each piece. The hinge has a neat ball/socket assembly that allows you to adjust length and offset independently.


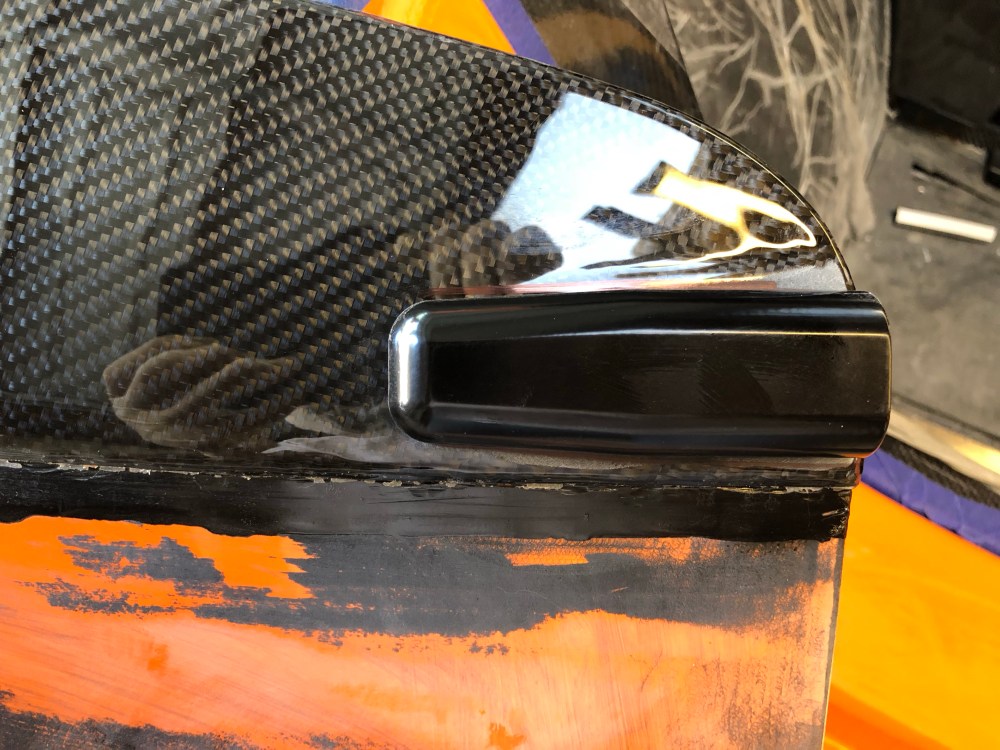

Bear claw:
The locking mechanism that’s supplied as part of the bear claw can’t be used – there isn’t enough space for it once it’s installed onto the door. You’ll need to remove the locknut and cap screw to remove the lock.

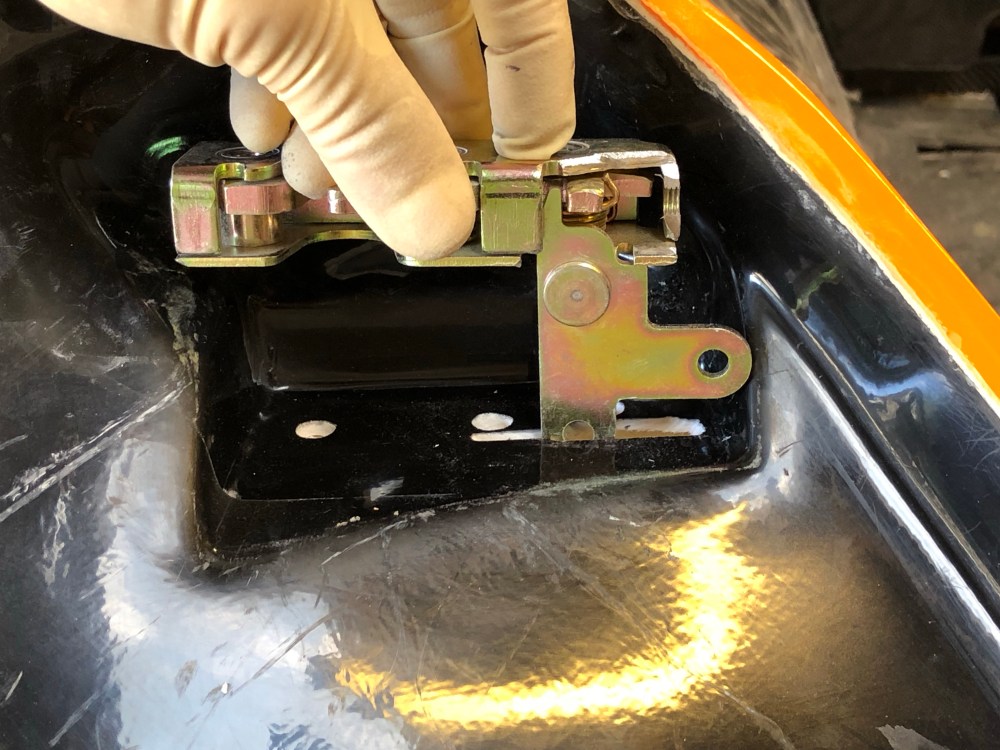
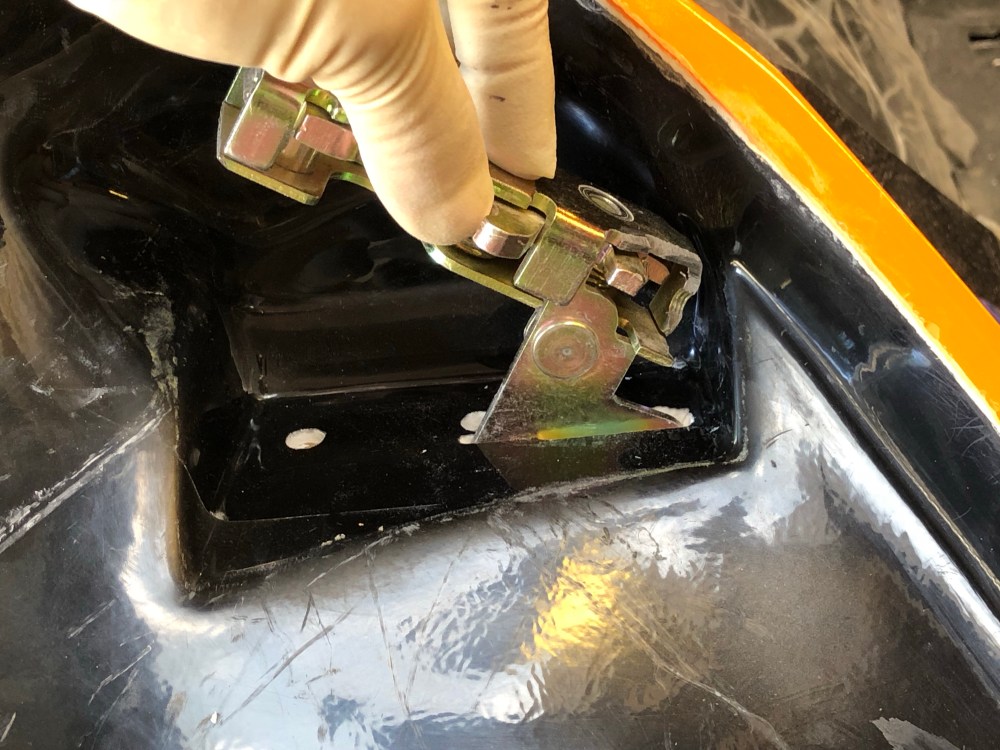

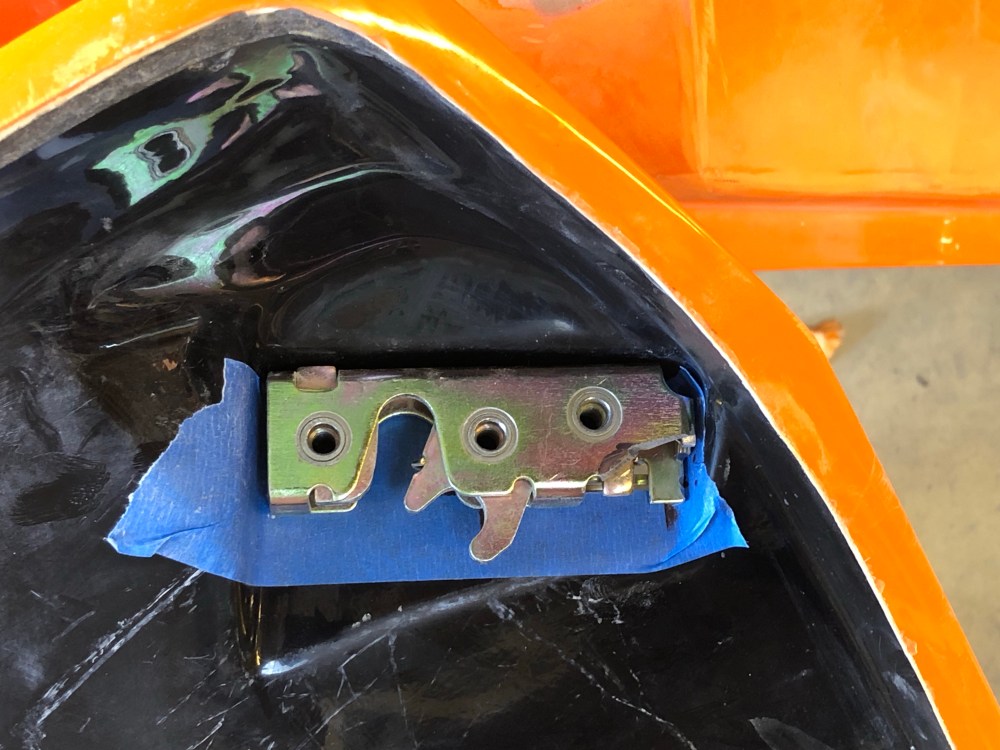

I couldn’t come up with a good way to locate the door lock striker pin so I went way basic.

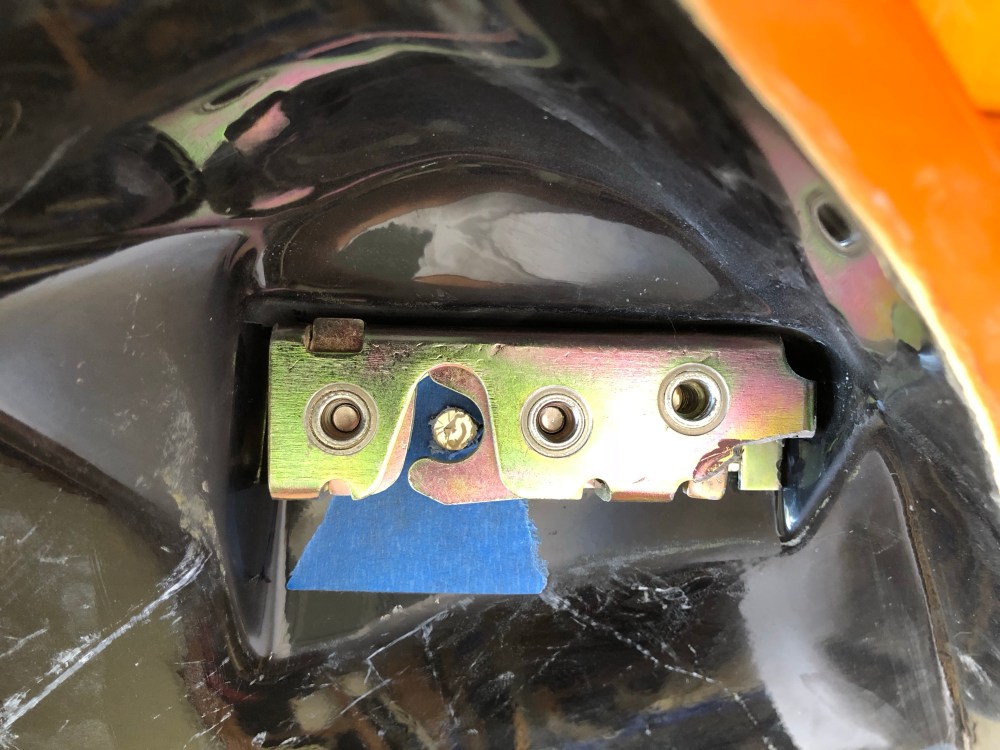
I placed some blue painter’s tape on the spider about where I thought the striker pin would go. I then closed the door after adding pieces of weatherstripping to help simulate how the fully completed door would sit in the frame. I also taped a few popsicle sticks in place to help set a consistent door gap. With the door now closed, I could reach inside with a pencil and mark the location of the striker pin. The pin requires a 3/8″ hole; if your hands are small enough you can reach in from the engine section and secure the pin by installing a nut from behind. Lucky me I have small hands! Otherwise you would have to remove the spider completely to secure the pin well enough to test the fit.
Drumroll …
The doors fit and the latches worked well with almost no massaging needed! What a relief this was, I was really dreading having to massage the heck out of the doors to get a good fit and to make the latching mechanism work. Using the method above, I was able to get the door striker pin location correct without having to Swiss cheese my bodywork.
One thing to note – I will have to shave my door striker pins down just a smidge. They’re a bit too tall right now and they rub on they *just* rub on the doors. I expect over time, and with vibration, the pins will leave rub marks on the door.

1 step forward, 10 steps back – what does that mean?
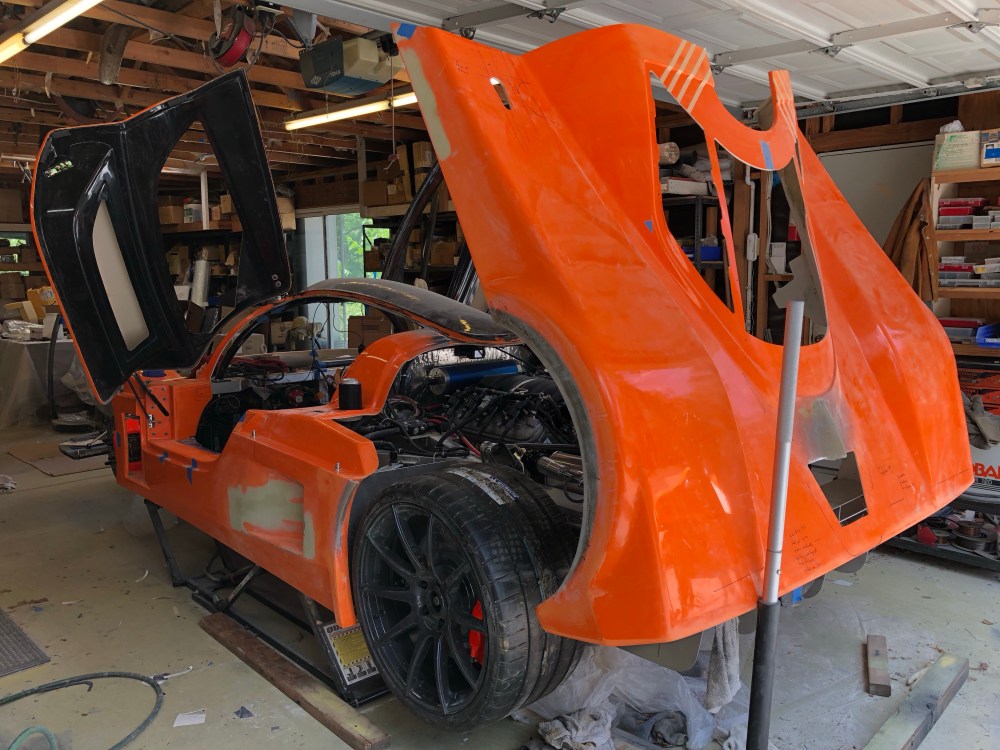
So now that I’ve got the doors sussed the next thing I need to do is to get the roof intake tunnel installed – and to do that, I’ve got to remove the spider. To remove the spider I had to …
- Remove the hood props
- Remove the rear clam
- Remove the front clam
- Remove the doors
- Remove the rear lower wheel well liners
- Remove the spider
With all this bodywork removed it was a good opportunity for me to get some of the larger pieces sent out for powder coating – namely the rear wing stanchions and the rear diffuser. To remove the rear diffuser I had to …
- Remove the lower center “wing”
- Remove all the diffuser attachment brackets
- Remove the rear clam hinge assembly
- Remove the center brake light
1 step forward, 10 steps back!

Cam, really great, simple idea to locate the striker pin in the spyder. Definitely qualifies for a KISS award. You were obviously paying attention in your V.E.classes, (for you non engineers, thats Value Engineering, aka KISS)
Don Davis
LikeLike