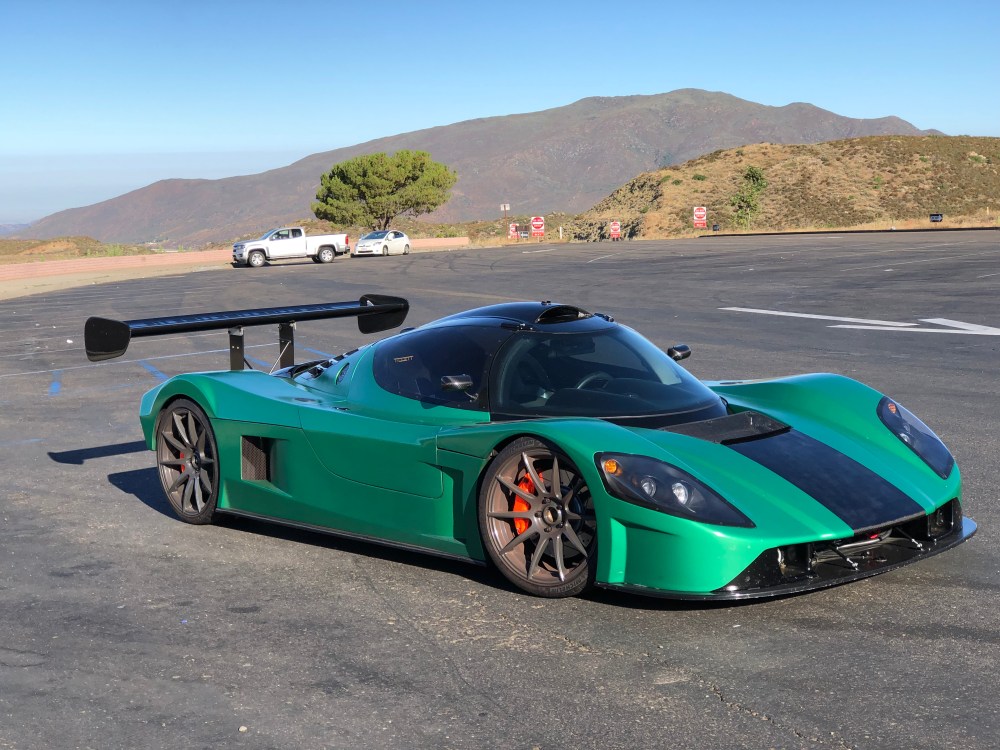
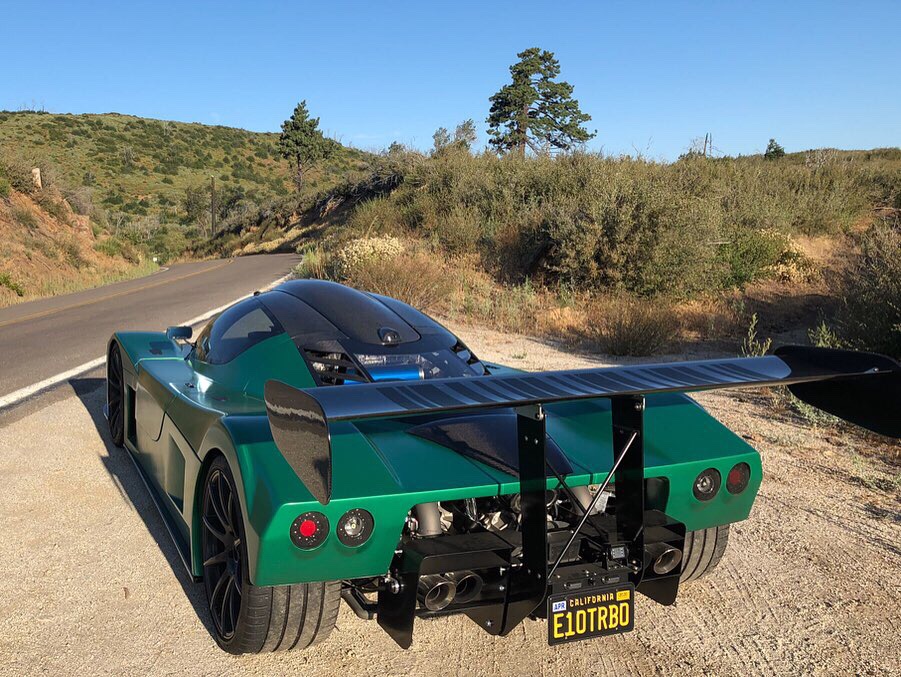
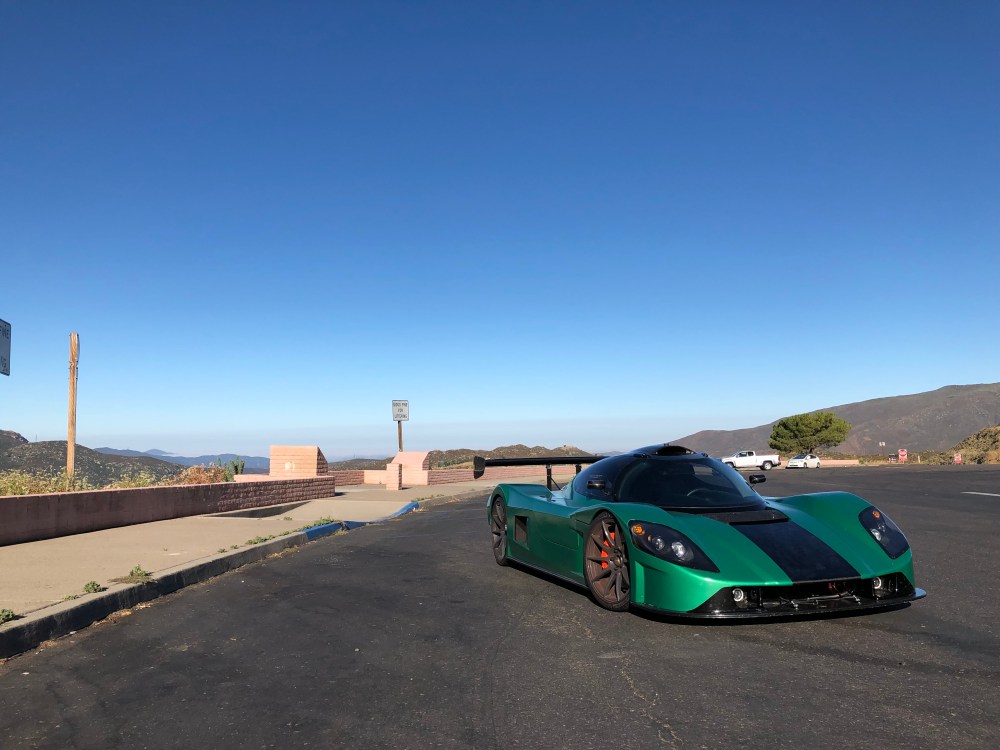
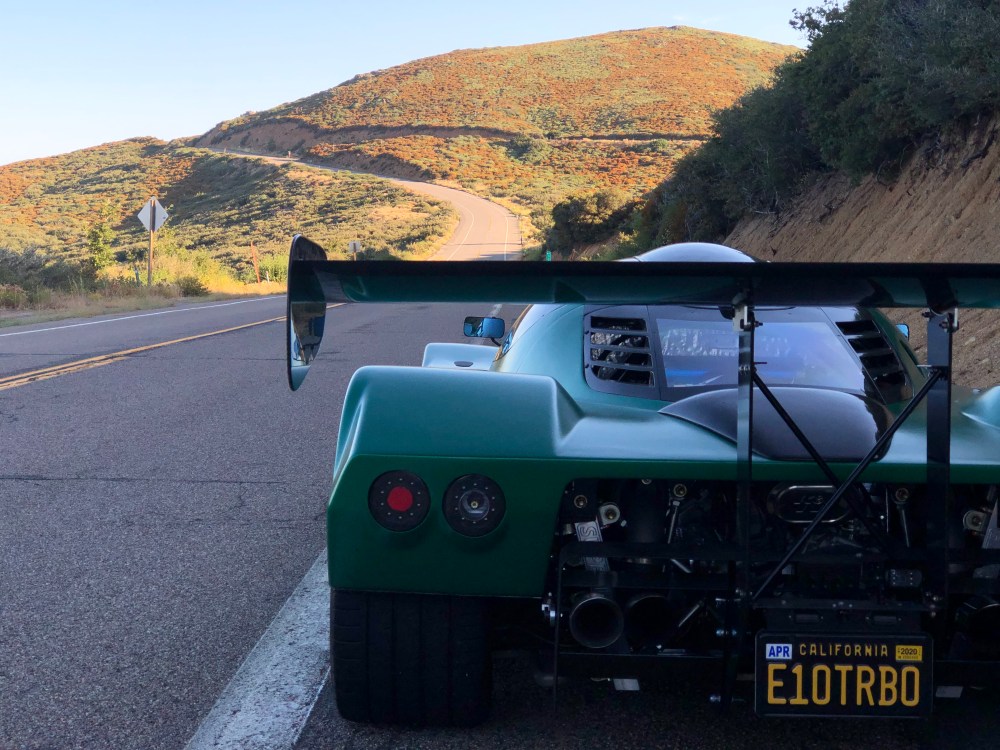
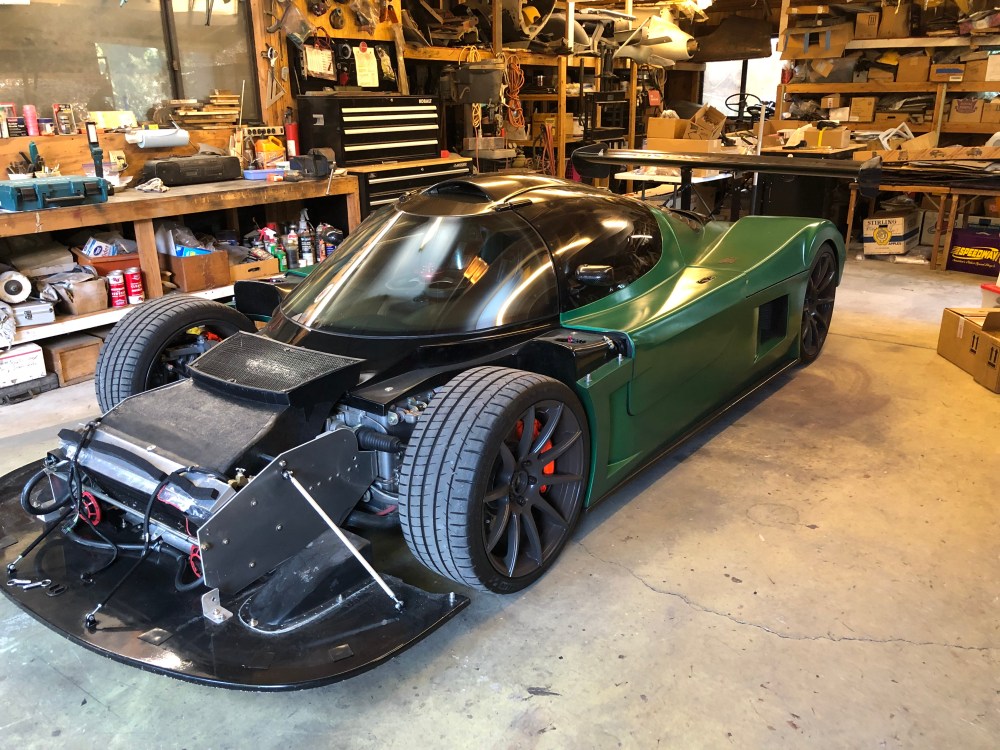
We’ve been getting into the high heat months in San Diego and I’ve been splitting my weekend time between popping by the local Cars & Coffee events and taking the SLC out for drives on the back roads. I’ve found a local loop that’s about 100 miles and if I leave early enough the roads are empty and I’m back home before my family gets up!
Here’s a few obligatory shots:

With the labor day weekend coming up my wife scored a crazy vacation deal for my daughter and herself to stay at one of the resorts in Hawaii. She sold this to me by saying it cost less than $15 for airfare (she used air-miles) and I’d have the entire weekend to work on the SLC.
DEAL!
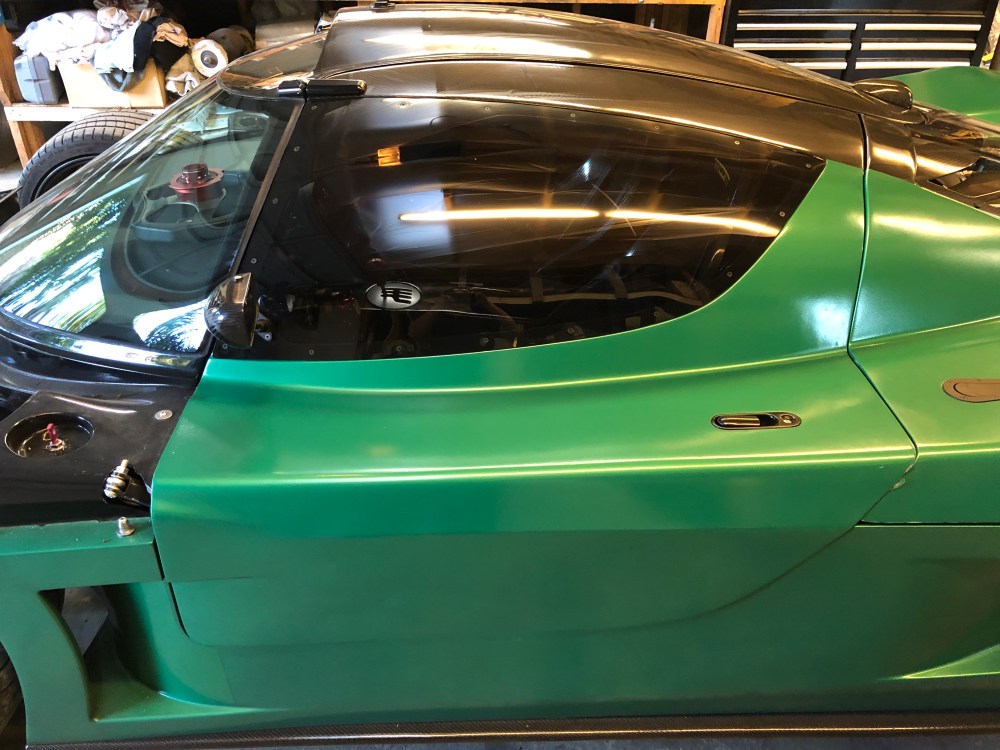
I’ve been wanting to re-dip the SLC for quite some time – truth be told, the green never really did it for me. I’ve learned a lot about plastidip – thanks in part to the many educational experiments Dipyourcar has been performing, and I attribute much of my disappointment with the green to me applying a topcoat to the performance series Nio Green I originally used. DYC recommends against doing this – but I didn’t know that at the time I’d moved forward based on my own experiments. Well, my small scale experiment turned out much better than the full scale, as DYC had predicted. OK, lesson learned, go with what the pros advise!
This time around I wanted to try something a little bolder – I think “loud” works well on the SLC, and who are we kidding – the car grabs attention no matter the color.
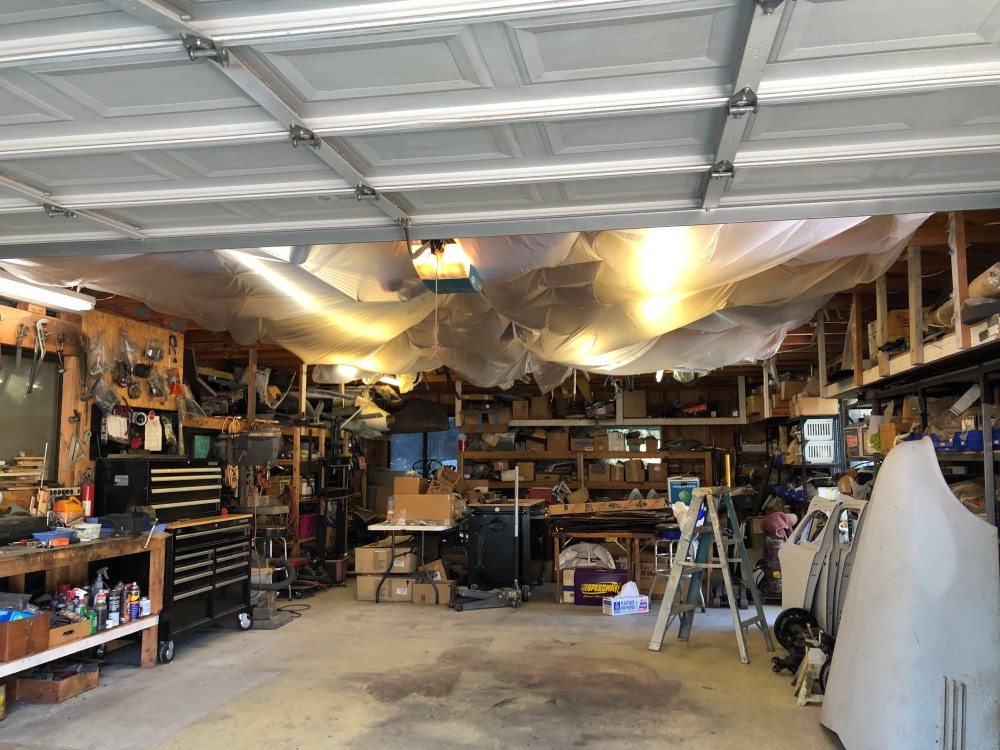
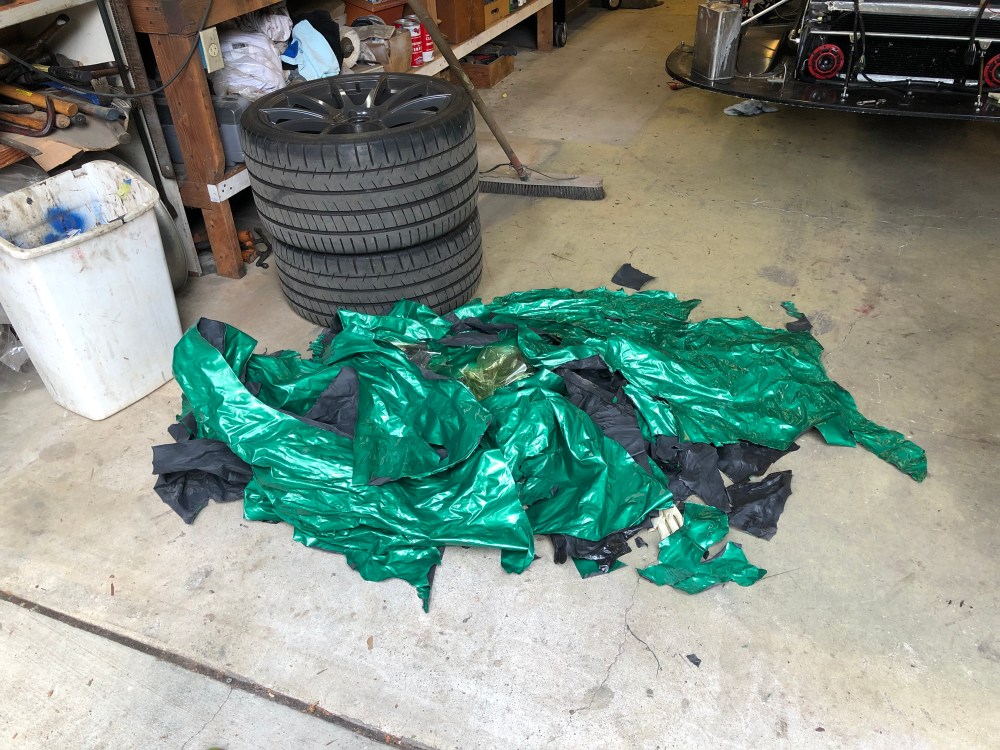
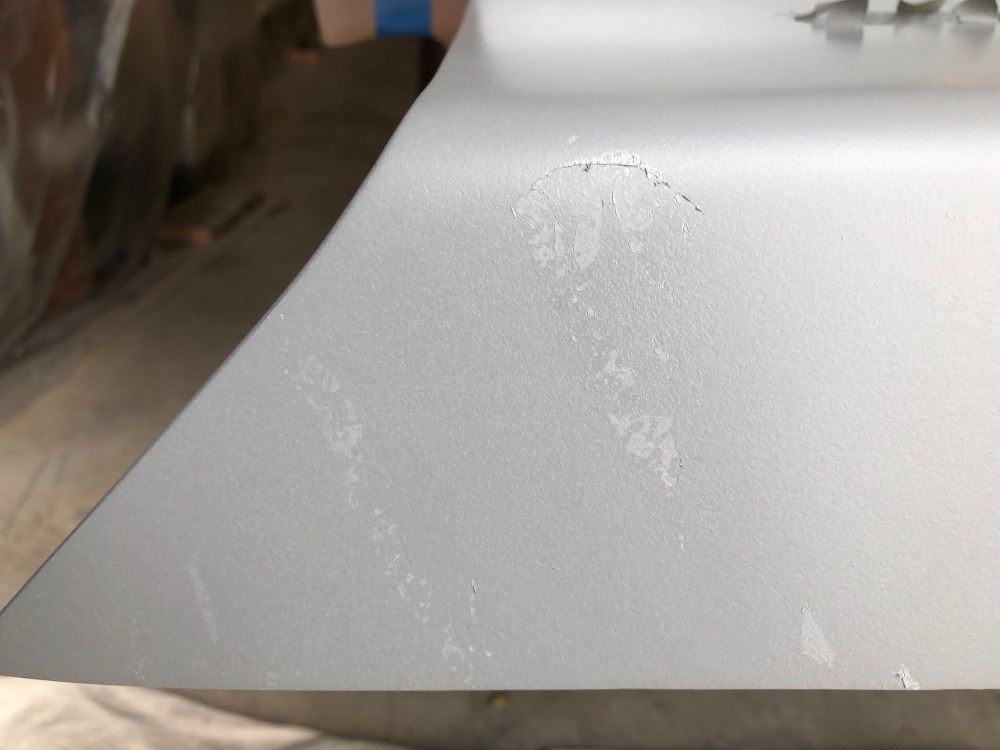
Peeling the green plastidip went relatively smoothly. All in, it took me about 5 hours to take the car apart and pull the plastidip. It would have been MUCH easier had I applied the dip onto a painted surface, as opposed to bare primer. I originally shot the car with 2k primer then did a machine sand using 320 grit/400 grit by hand. Plastidip is normally applied on painted/clear coated surfaces with significantly less texture – the result was that my dip, while I could pull at it without it tearing into bits, was reluctant to let go of the primered surface. This made for slow pulling. I’m glad I applied as many coats as I did as it made the dip super strong and stretchy.


Here’s a short video showing the peeling process:
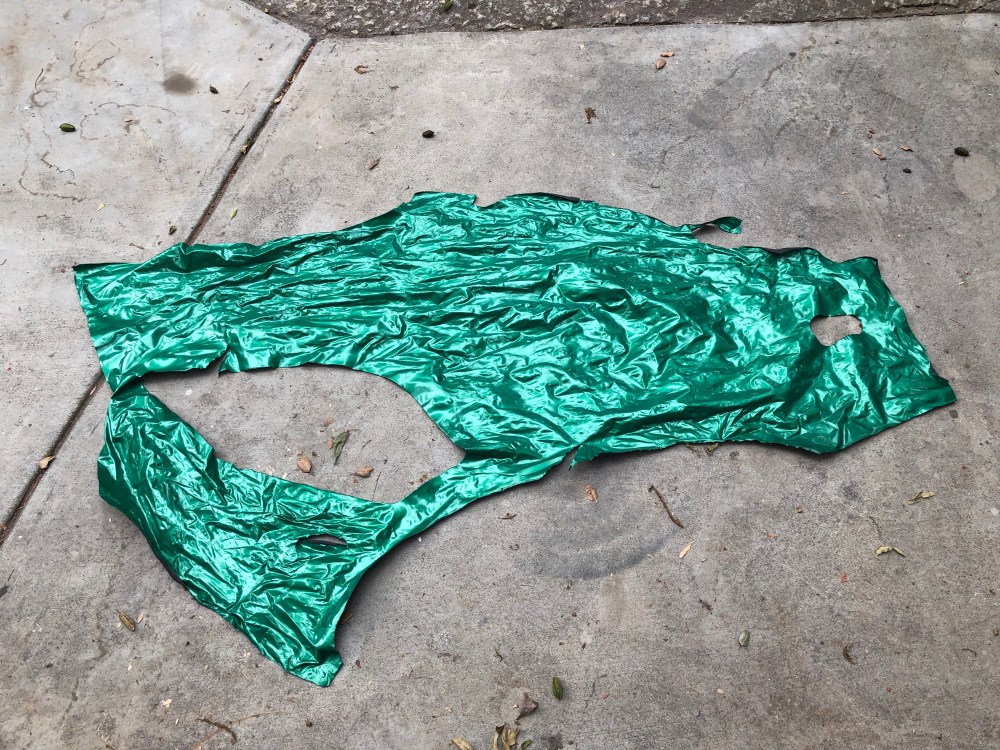
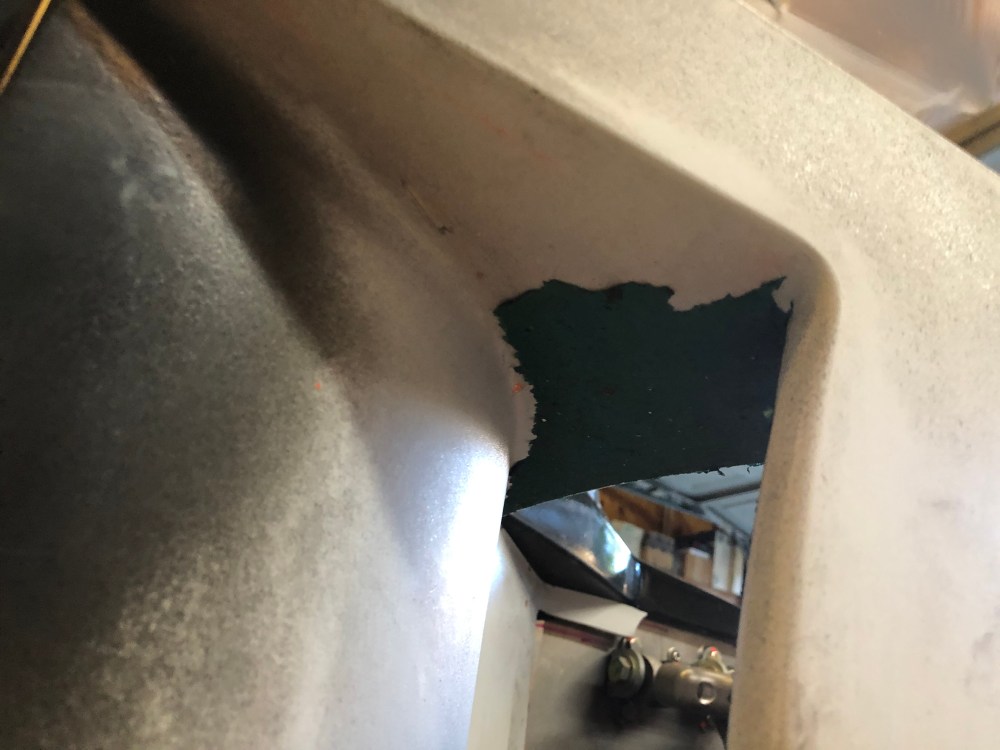
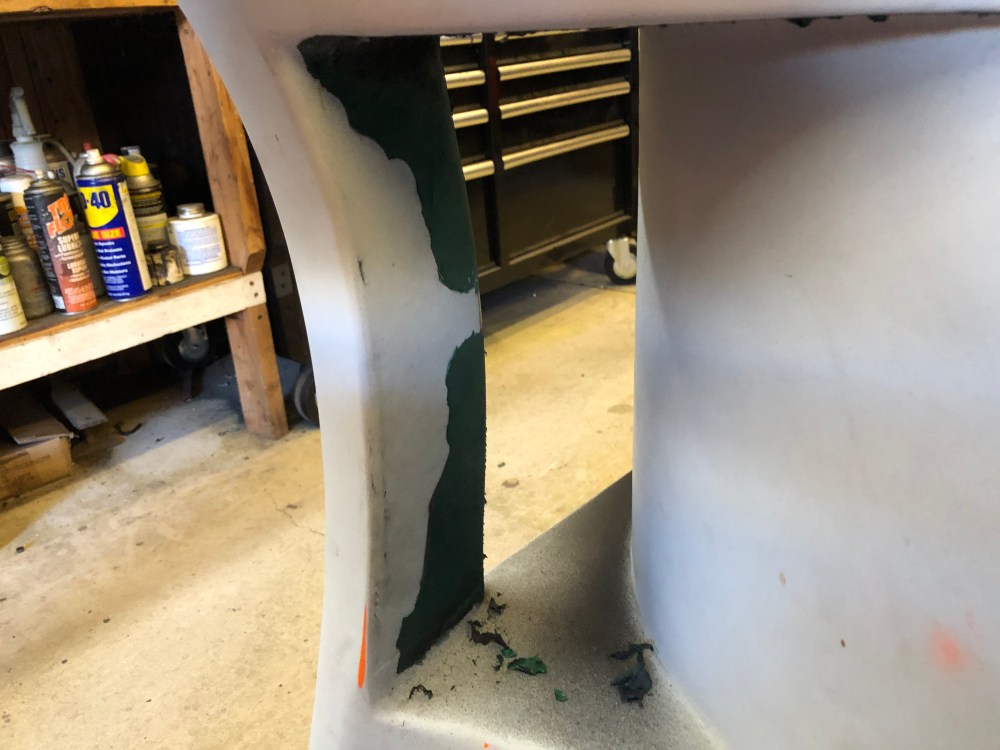
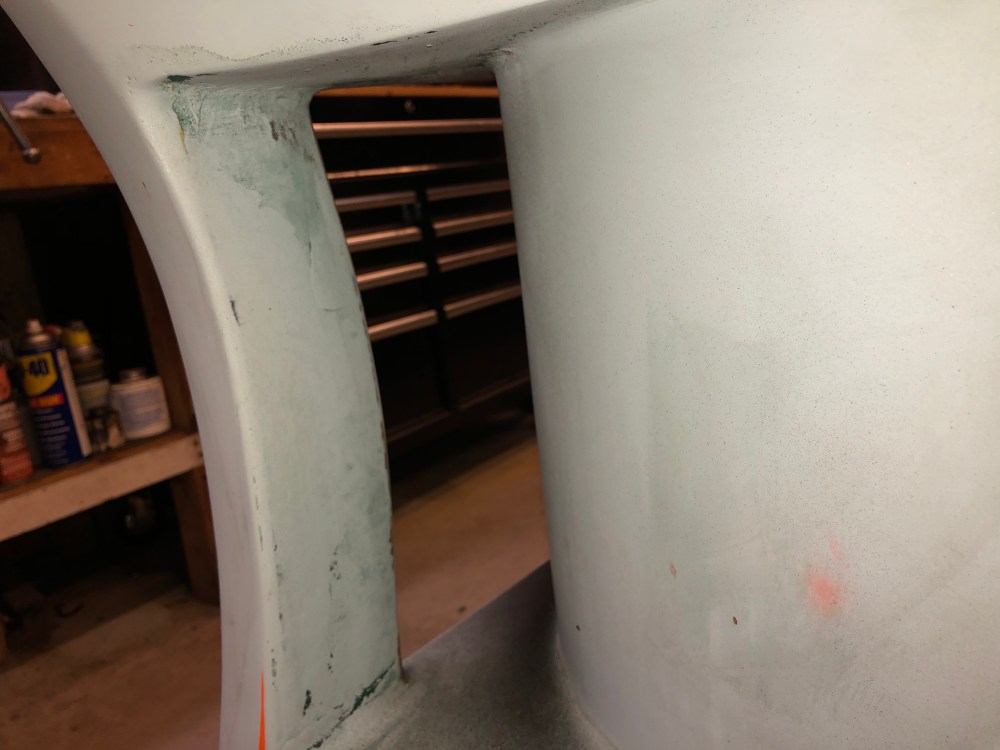
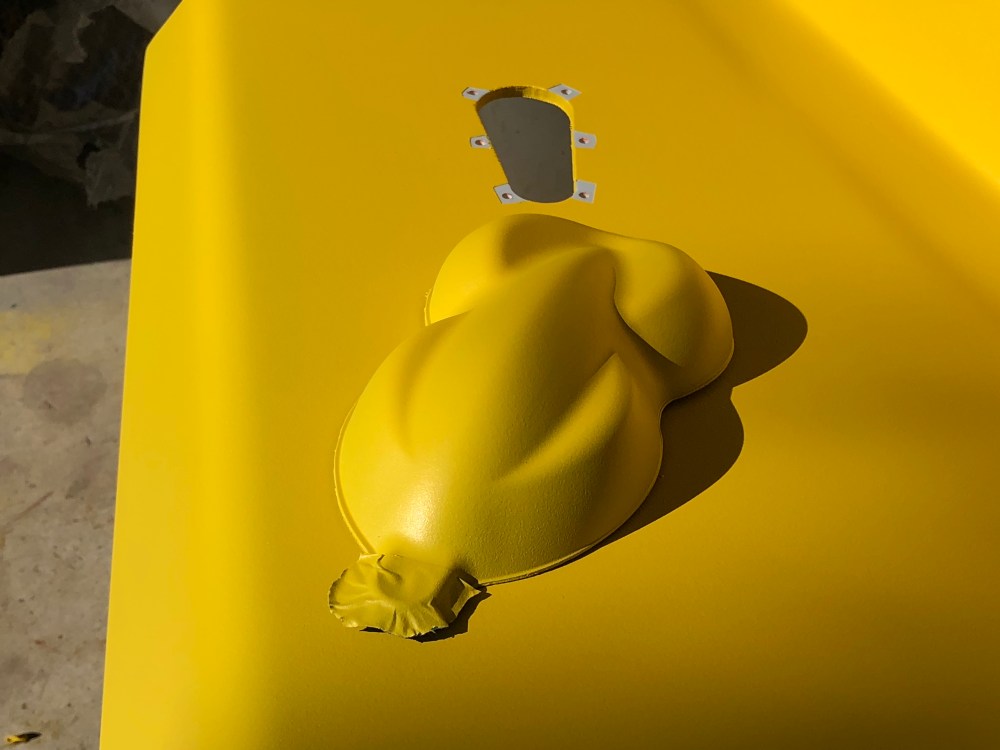
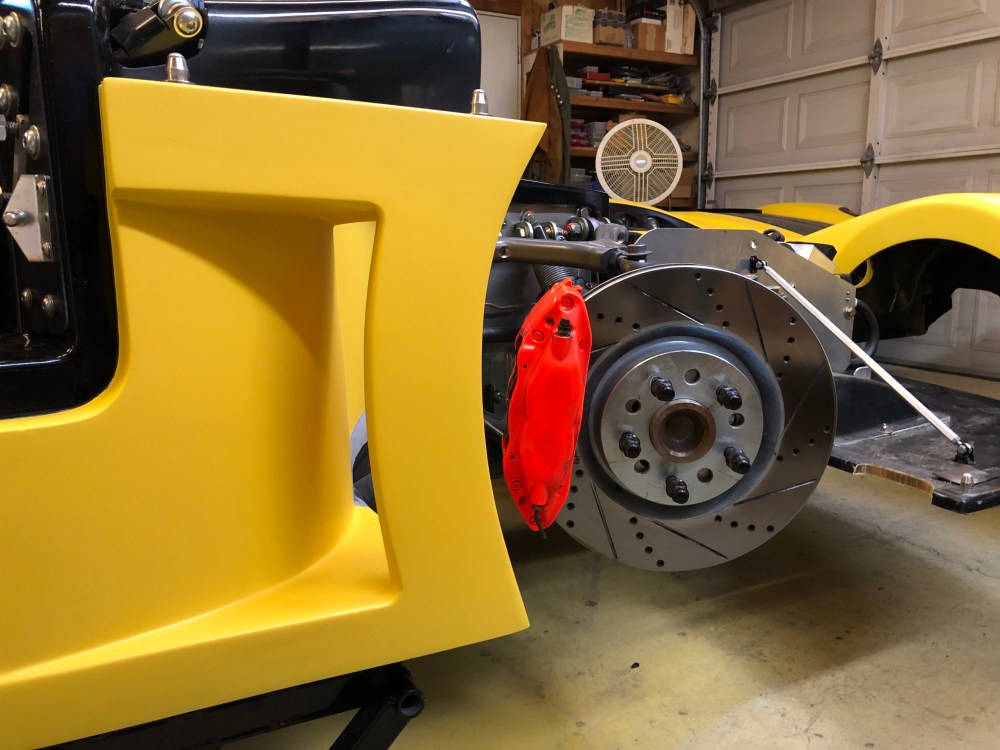
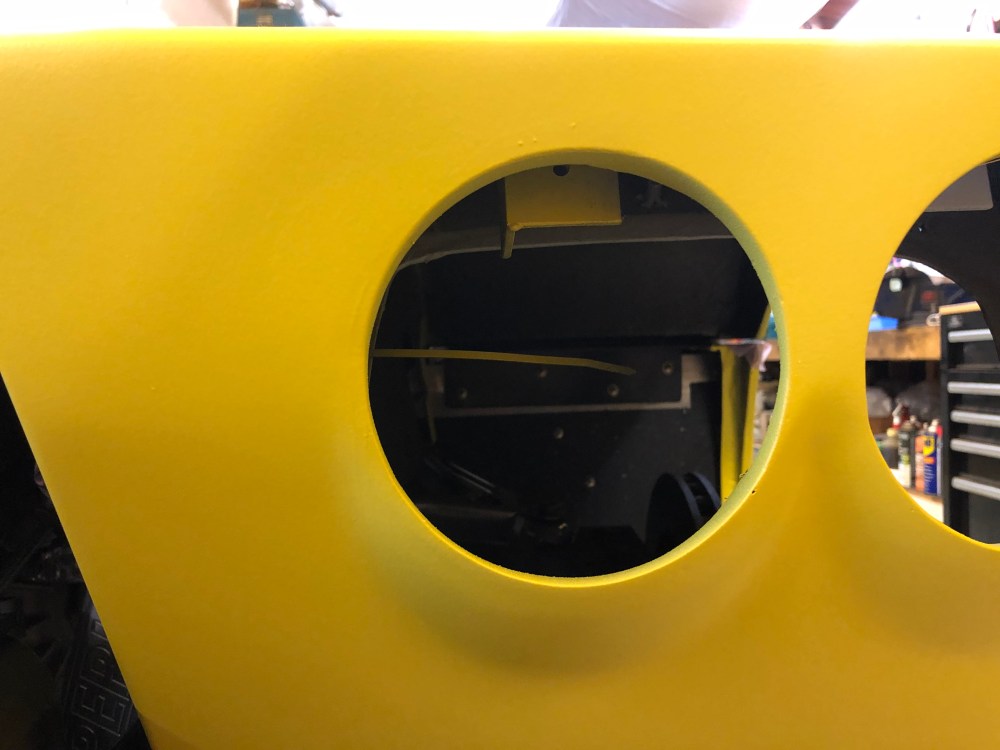
The areas I struggled most with were those that were inverted, such as at the top face of the front wheel vent and side intakes. The dip was relatively thin here due to me not getting a good angle on them while spraying. They came off in smaller pieces but I was able to just rub off any that wouldn’t tear off. My biggest problem area was the inside face of the front wheel vents – having the spider on the car means not having enough access to get a direct line of sight to this area, meaning you’re not getting much dip in here at all.
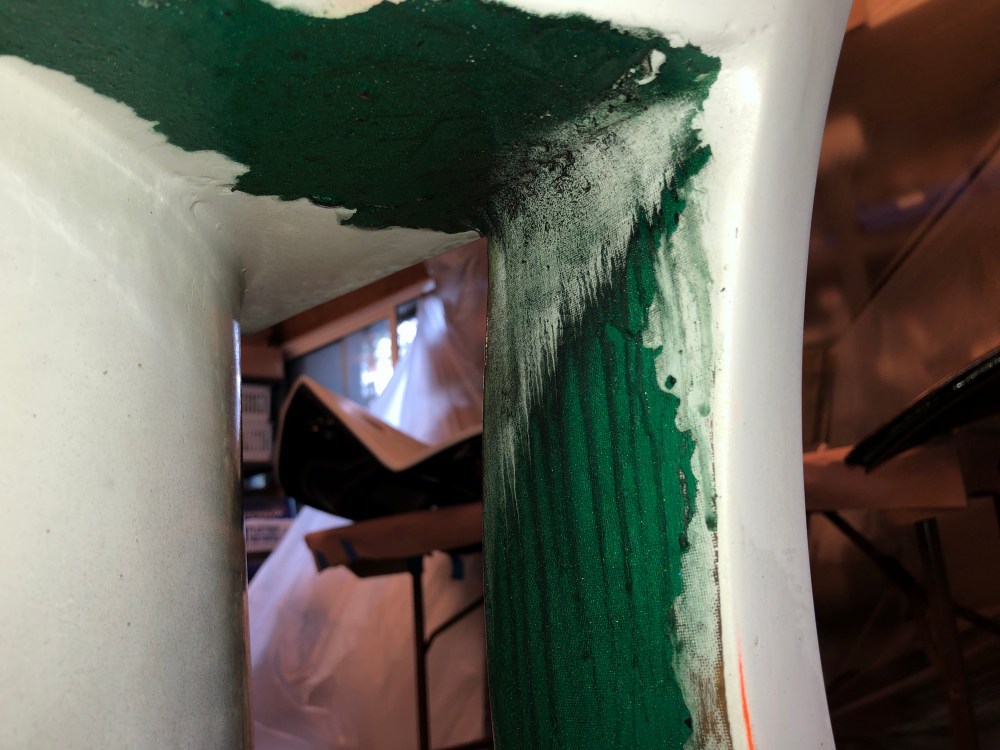
Dip dissolver. I don’t know what it is, but this stuff is amazing. A few squirts of this citrus-smelling liquid, let it sit for a few minutes, then a rag and whatever residual dip is left can be wiped away. Keep a bottle of this stuff handy when you’re removing dip!

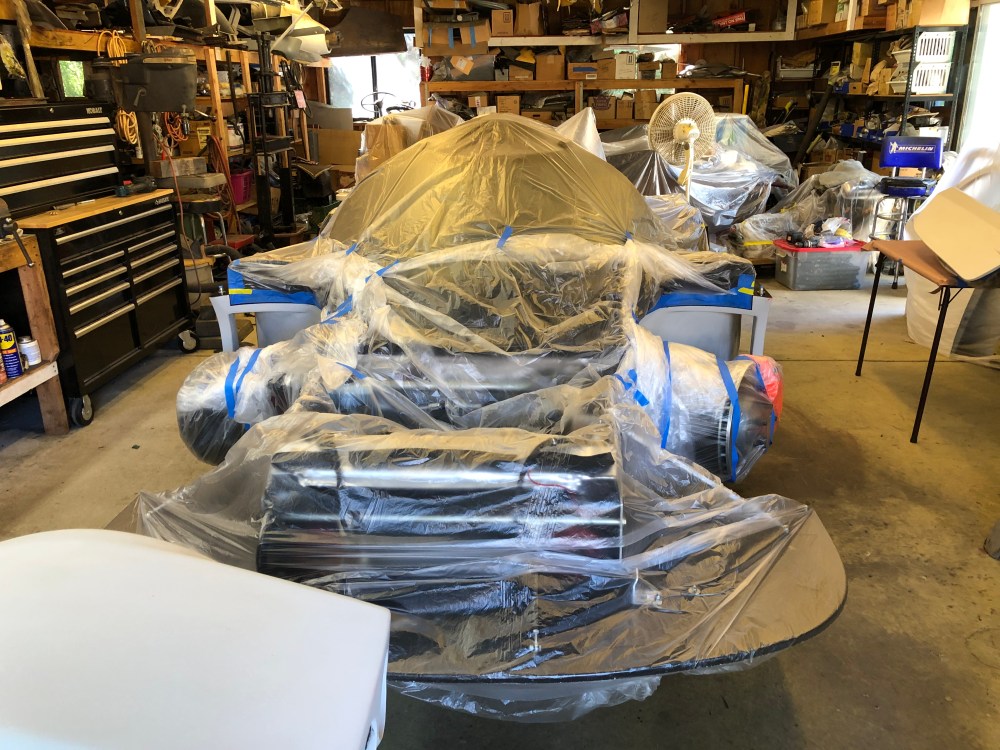
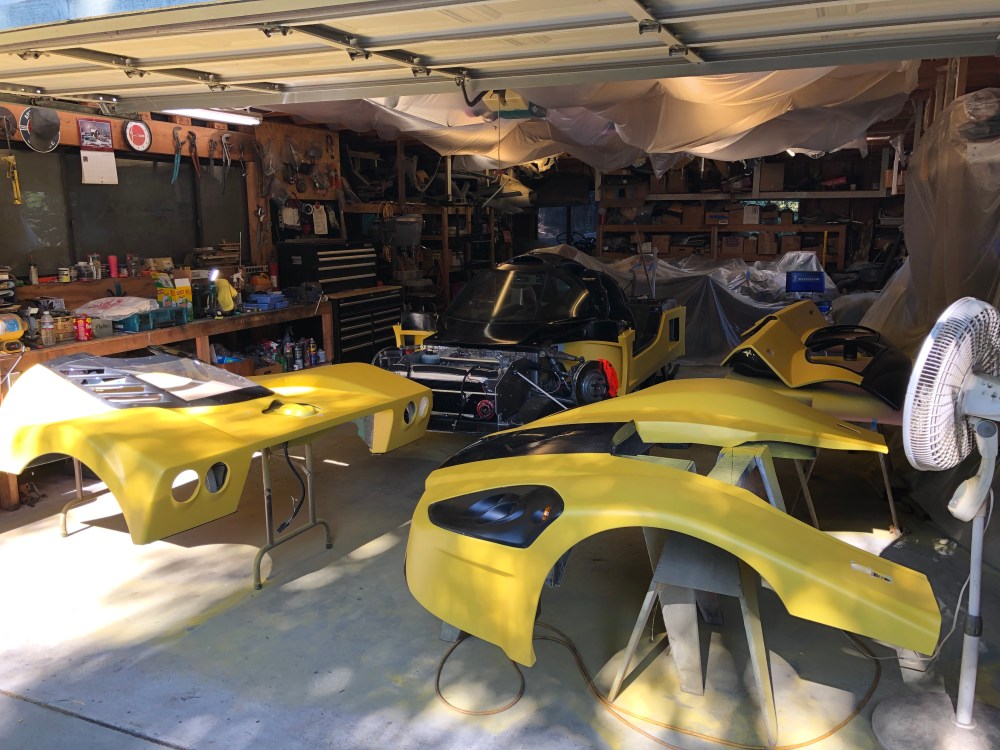
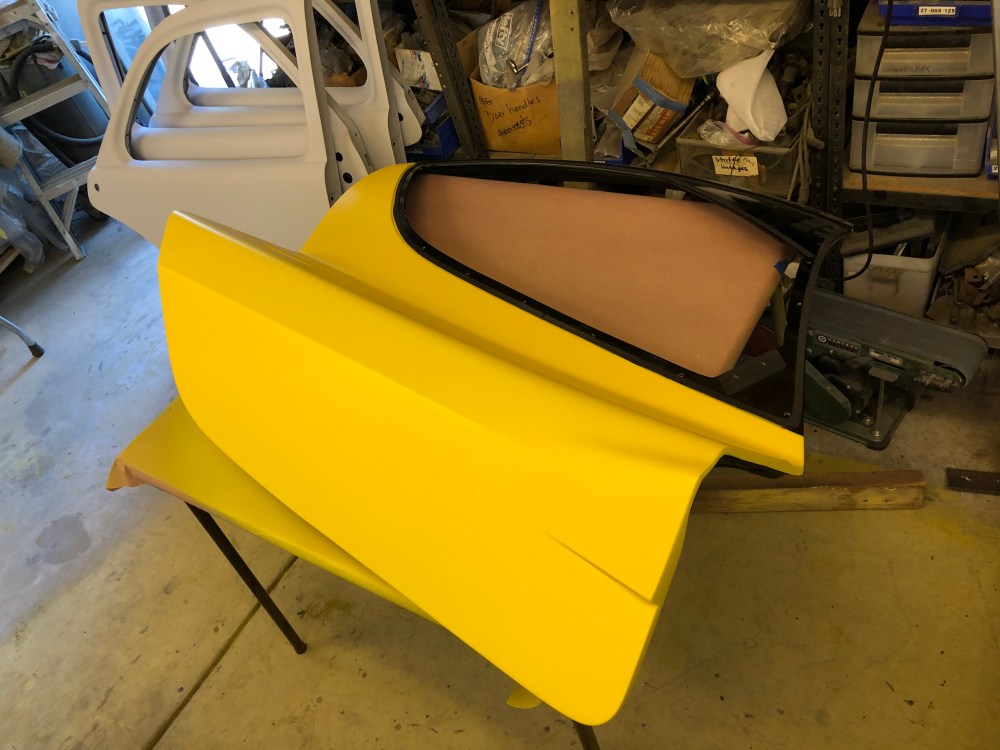
With the green now off the car I hit it with a block and some 1000 grit sandpaper to try and smooth the primered areas down, with the hope that I’ll be saving myself from tired fingers the next time I decide to pull the dip. I’ve gone back and forth in my mind about how I want to dip the car – whether I want to do it with the entire car assembled or in pieces. My preference would be to just do it while the car’s all together but my OCD required me to take it apart. Given that it’s relatively easy to take the front and rear clams off those are no-brainers. When it comes to the doors, it’s a bigger deal having to take apart the door cards. Readjusting and getting the doors to fit just right can also be time consuming. I decided this time I’d do it with the doors off.
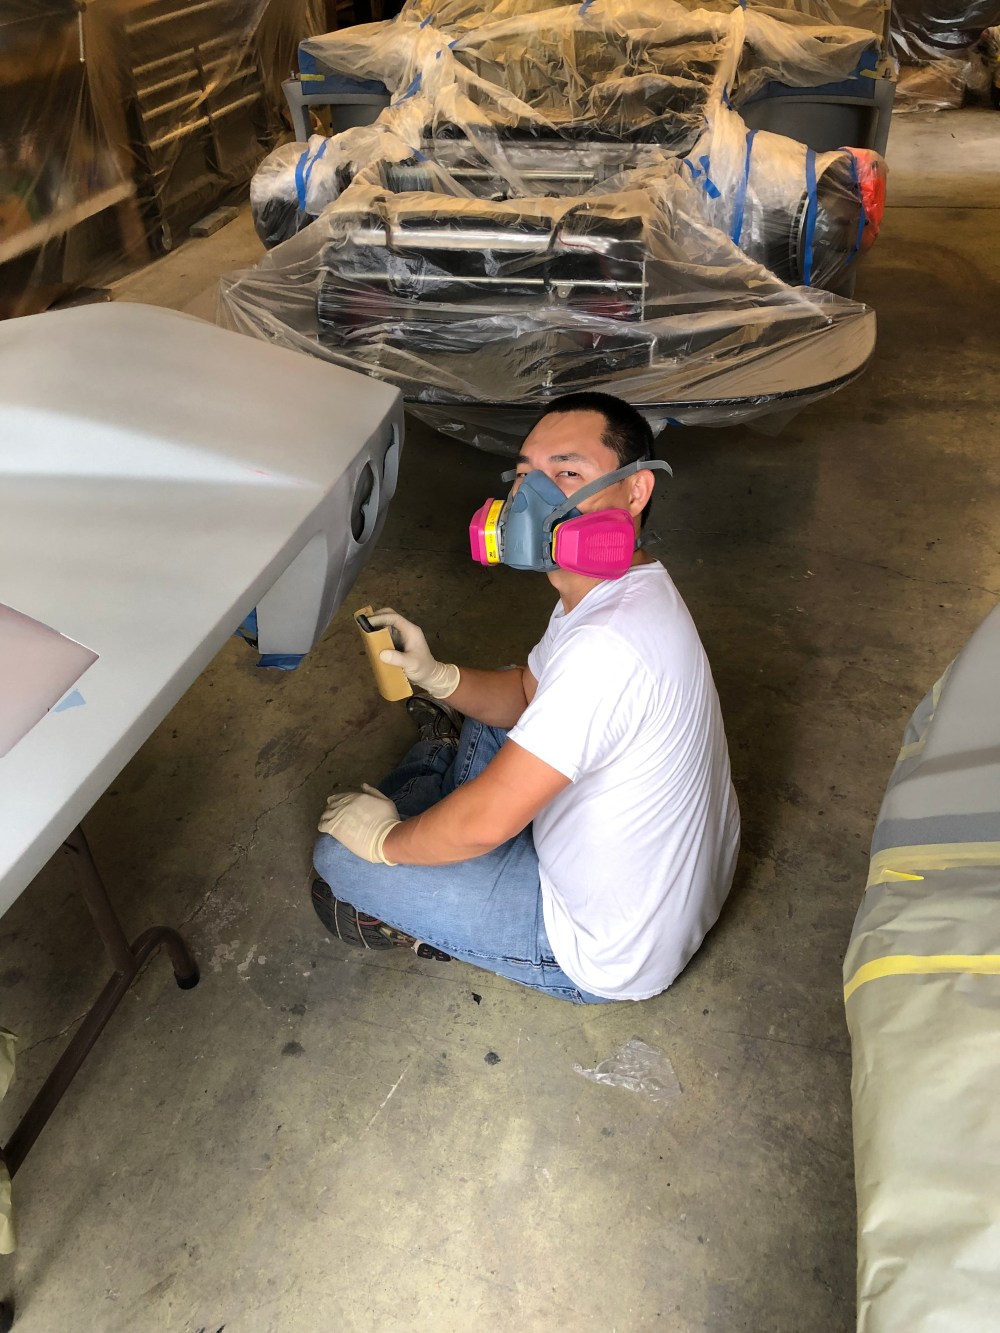
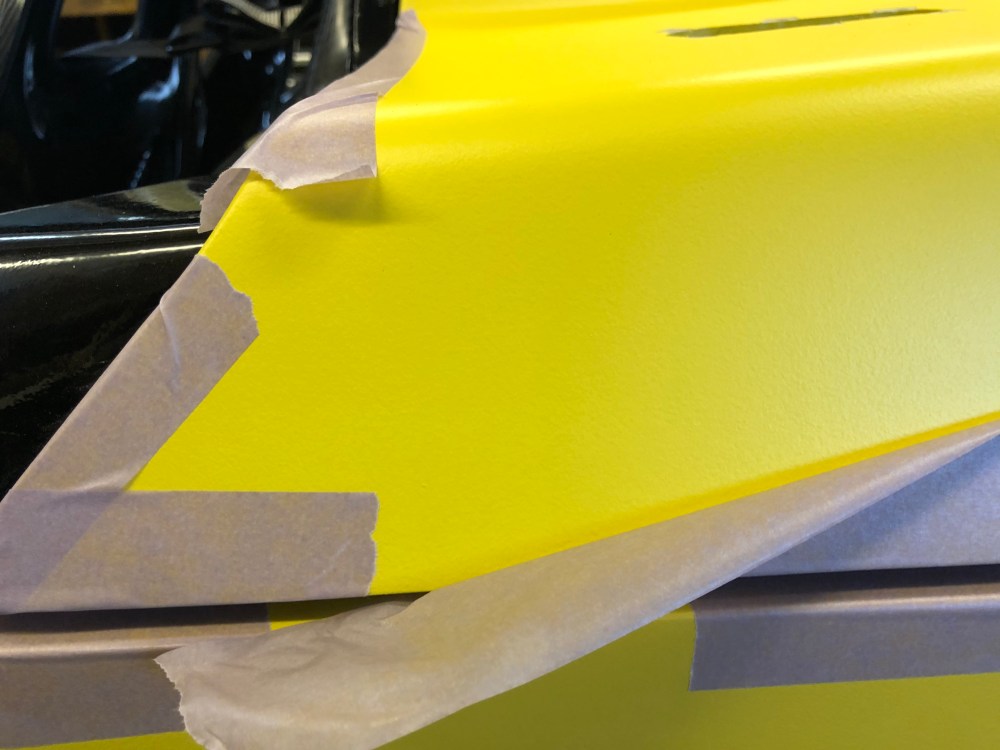
It took me about half a day to clean everything up and mask everything. Not bad – having all the panels off the car makes for easy access. I had attempted to “peel when wet” with my first dip job and I didn’t have much luck – I developed ragged edges or caused the dip to lift, even after giving edges a fresh shot of dip. I’ve found that if I leave everything alone for at least 24 hours, I can come back with a razor blade and score along my tape lines to get a clean edge.
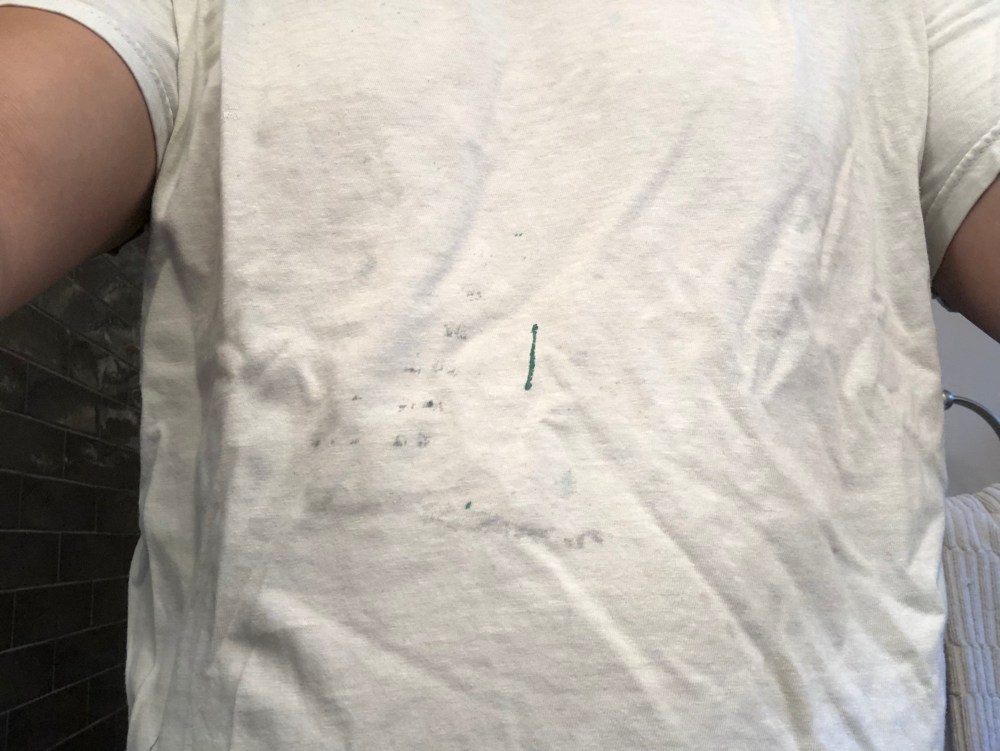
I knew it was going to be a good day when I grabbed a fresh shirt from my drawer and it turned out to be the same exact shirt I’d worn the last time I dipped the car. Some kind of cosmic kismet thing in action here!
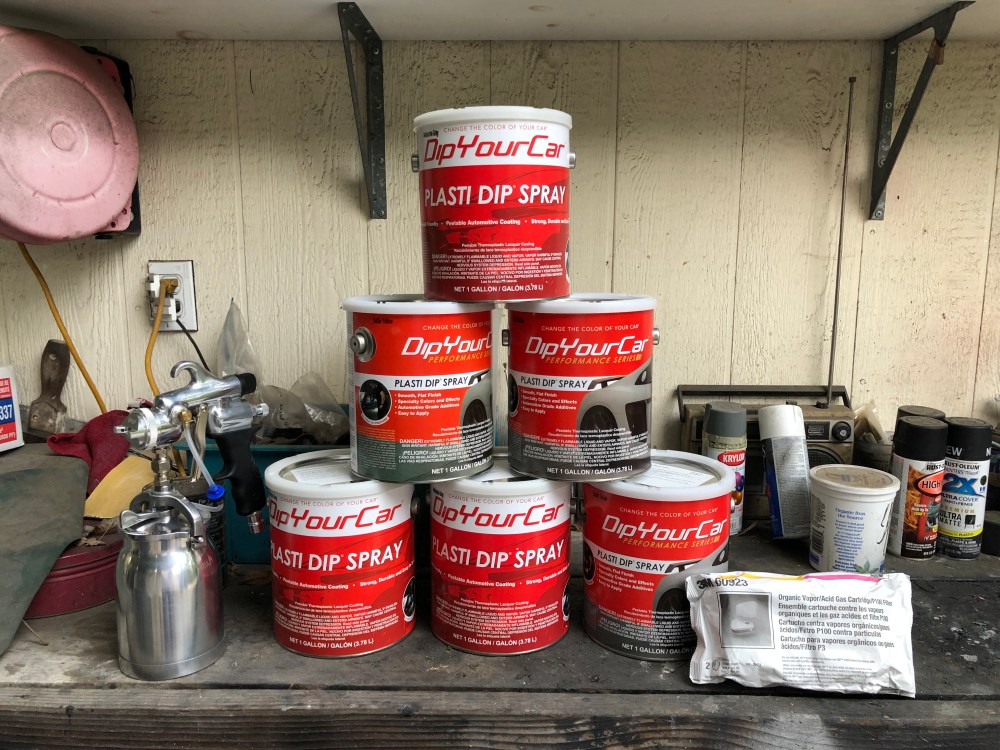
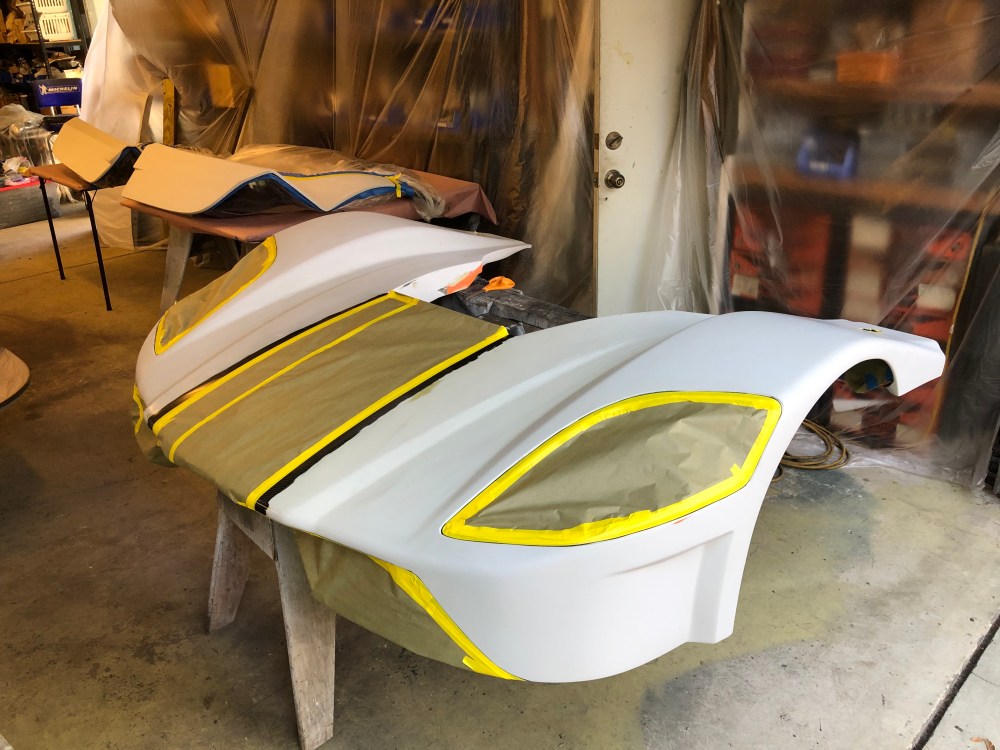
First up – the base coat. I believe the SLC falls somewhere between DYC’s medium and large car kits. The SLC seems deceptively small because it’s so low – but at 74” wide and 164” long, it’s got a lot of surface area! I used ~3 gallons of avalanche grey PDS for the base coat. I did 5 coats of grey, 2 light/medium tack coats, then 3 heavy coats. Of course no dip job is complete without having a run …

I think getting this run relatively early in the job caused me to go a little light on product for each pass. Looking back, I used about 2.5 gallons of black PDS for 5 coats (2 light, 3 heavy). So overall, I used about the same amount of product as before.
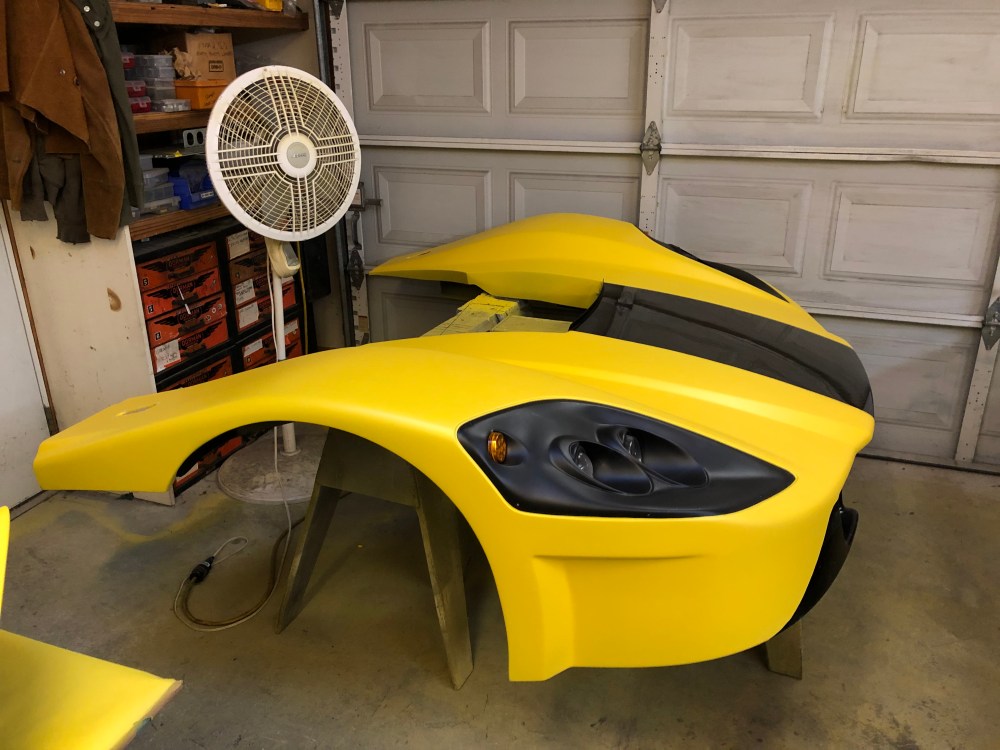
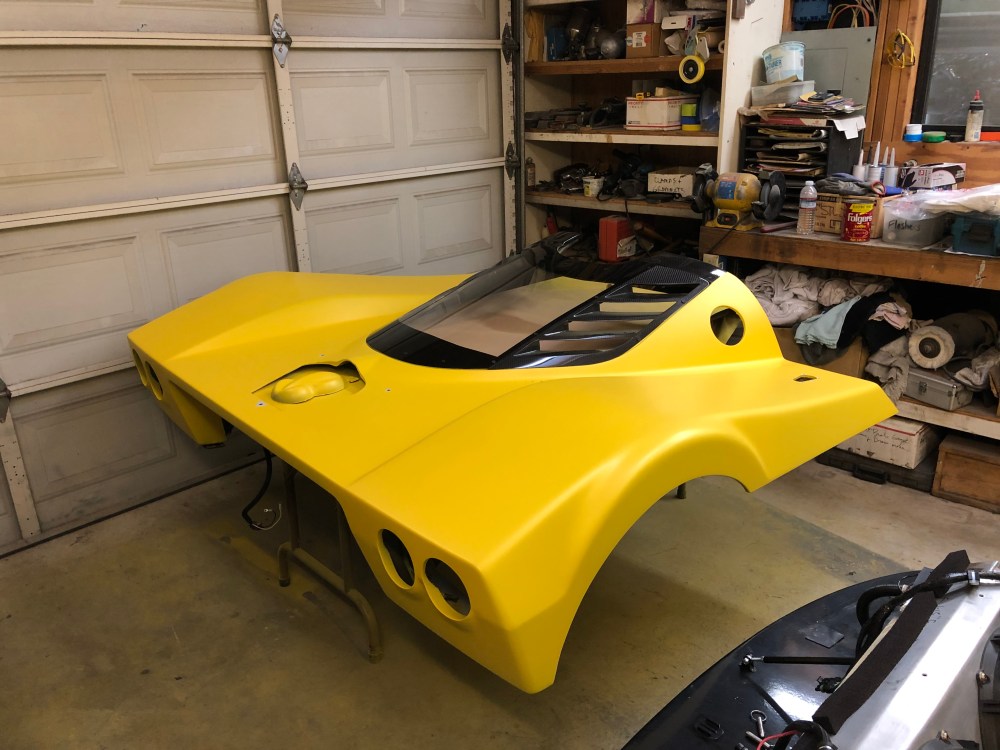
Next up – the color coat! As I said, I decided on something a little bolder this time around. This new color is Sulfur Yellow from DYC. I haven’t been able to find any clear photos of the color so I didn’t know just how bright it was going to be. As with the rest of their Performance Series, Sulfur Yellow comes pre-mixed with metallic flakes, making this line more economical than their traditional PDS + topcoat/flake combinations. And I decided I’d follow instructions this time around and hold myself back from adding any Topcoat.
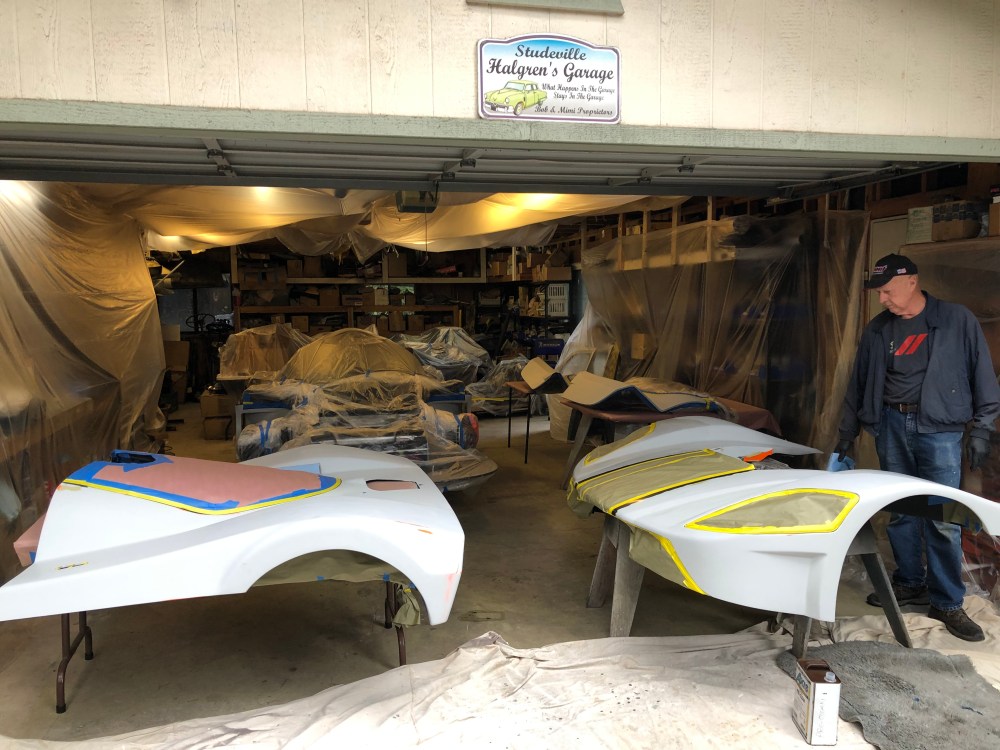
My experiences with the sulfur yellow were a bit surprising. Coverage seemed very poor – it took quite a few coats to get enough coverage that the gray base was no longer visible. I had originally purchased 3 gallons of Sulfur Yellow. A few weeks ago I got super paranoid about running out and decided I’d get a 4th gallon – boy am I glad I did! In total, I got 6+ coats of yellow and used all 4 gallons. I say I got 6 ”+” because I only had a small amount remaining after my 6th coat so I went around and added some more here and there, based on where I though the coverage might have been a little light. Yep, even after 6 coats there appeared to be a few sections that hadn’t gotten fully covered.
For those who love time lapse videos, here’s one of the entire dipping process – YouTube link
In hindsight I suspect I would have been OK with just 3 gallons of Sulfur Yellow. Now that the dip has had time to cure, I believe some of the “lighter” areas I’d seen before may have been due to the lights playing with my eyes. Between the meh lighting and the metallic flake in the dip, I think what I saw was the dip drying non-uniformly, causing the flakes to catch the light differently.
Some information for my fellow California dippers: I had previously purchased this dip outside of California – so the base coat gray and the original 3 gallons of yellow are DYC’s 49-state formulation. I ordered a California Low VOC version for my 4th gallon of sulfur yellow.
- The Low VOC version is MUCH thinner than the standard formulation.
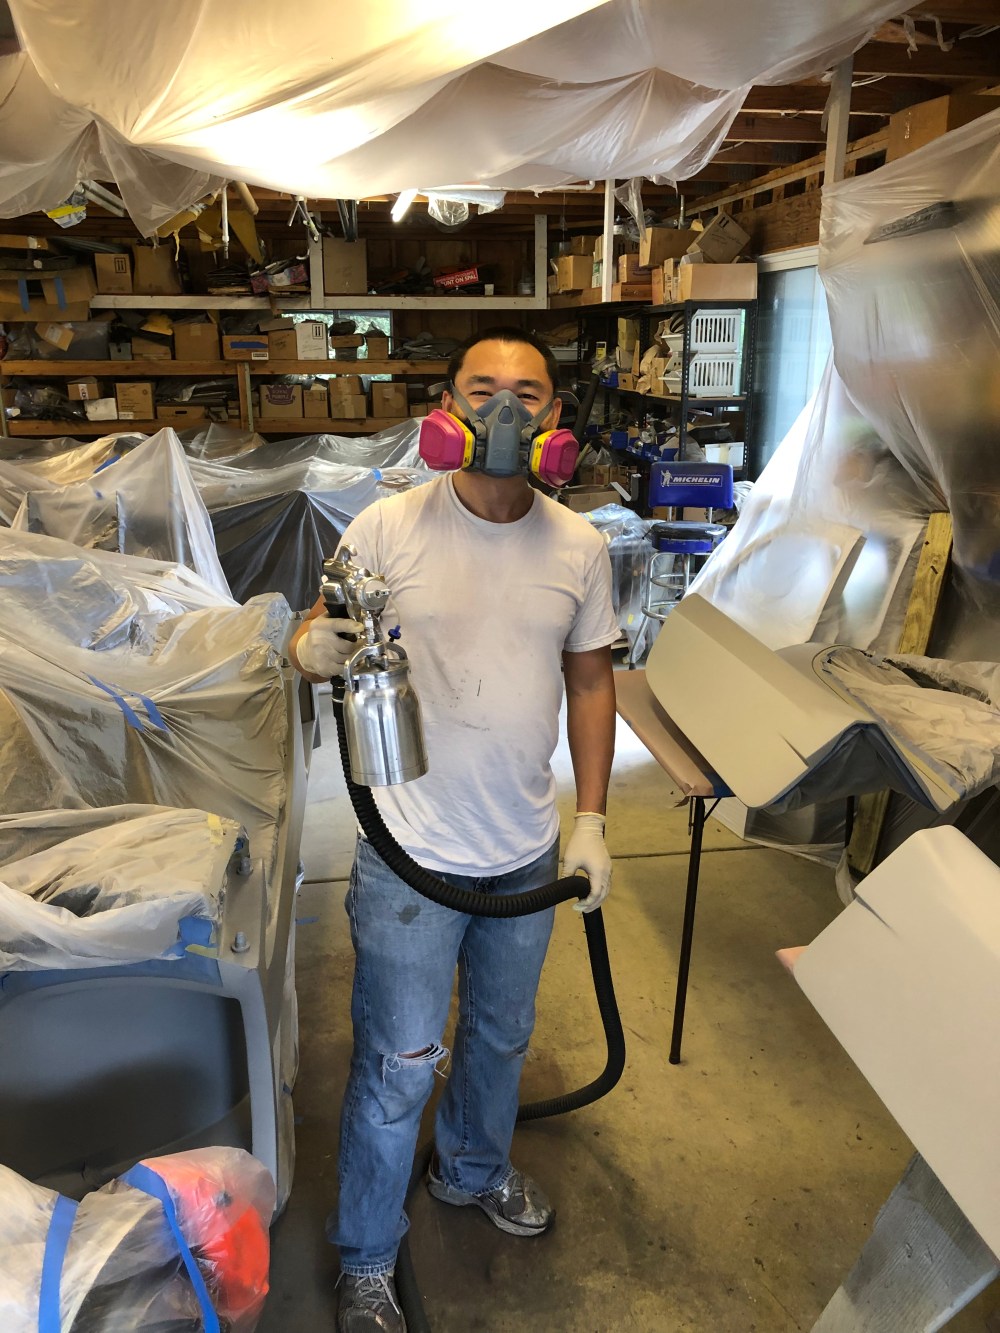
- The Low VOC version atomizes much better than the standard. I’m using DYC’s advanced 3 stage turbine and a TSS EcoTSE spray gun with a 1.8mm tip.
- The Low VOC version is a LOT easier to spray and control, easier for a noobie such as myself.
- Overspray of the standard formulation is minimal, anything that doesn’t make it onto the panel falls to the ground and is easy to sweep away. The Low VOC, because it atomizes so much more, has a lot more overspray – therefore less product is making it onto the body panel. Low VOC cleanup seems to be similar to the standard.
- There doesn’t appear to be any adhesion issues between the standard and Low VOC dip. I probably wouldn’t mix them back and forth layer-wise, but as the final layer over standard PDS/Performance series, it doesn’t appear to have any negative effects.

Now to find some time to put this car back together again!
