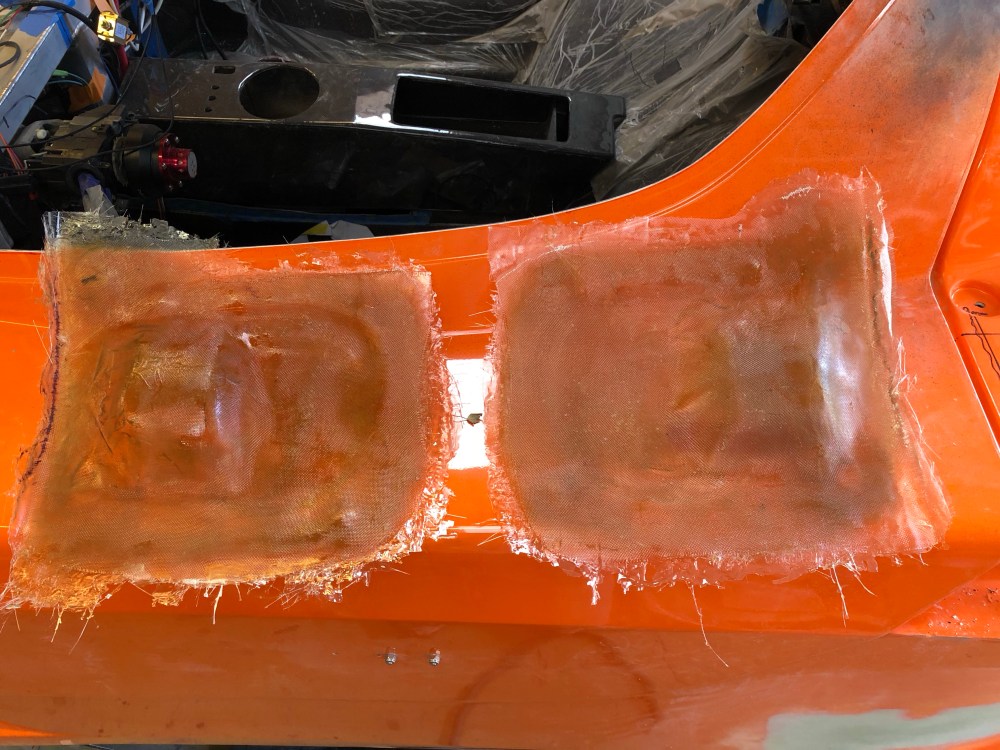
Recall both my headlights and taillights required a larger closeout panel than the recessed outlines molded into the fender liners. They needed to be larger overall to facilitate install/removal and to get line of sight to the adjustment screws. They also fouled the liner contour so I had to adjust the panels by adding clearance humps.
Headlight closeout:
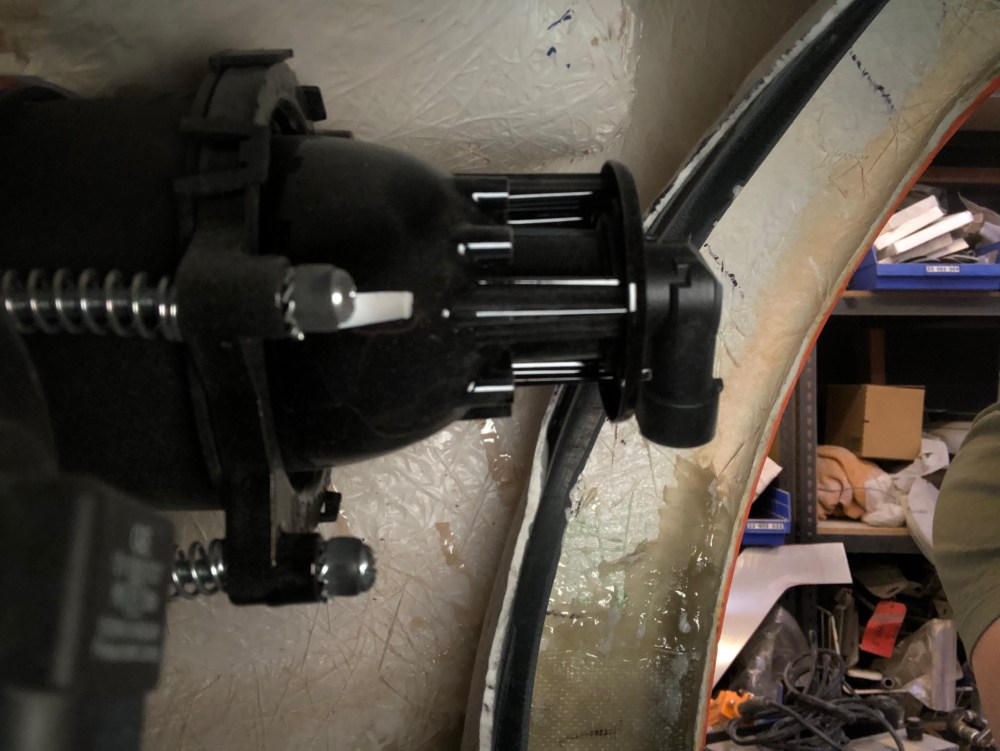
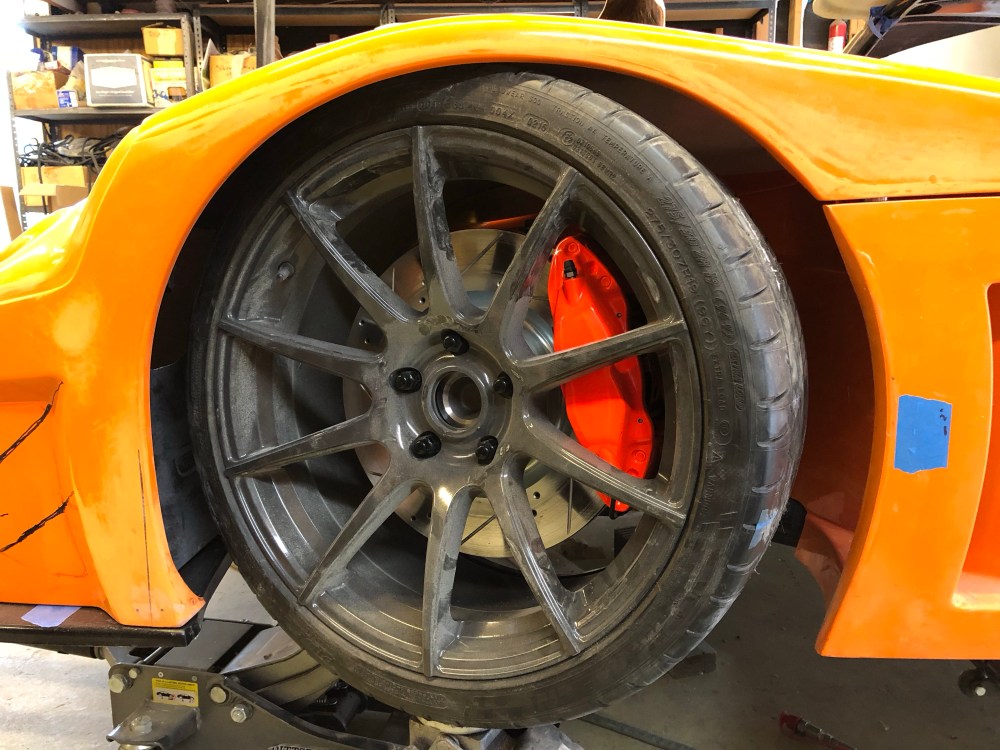
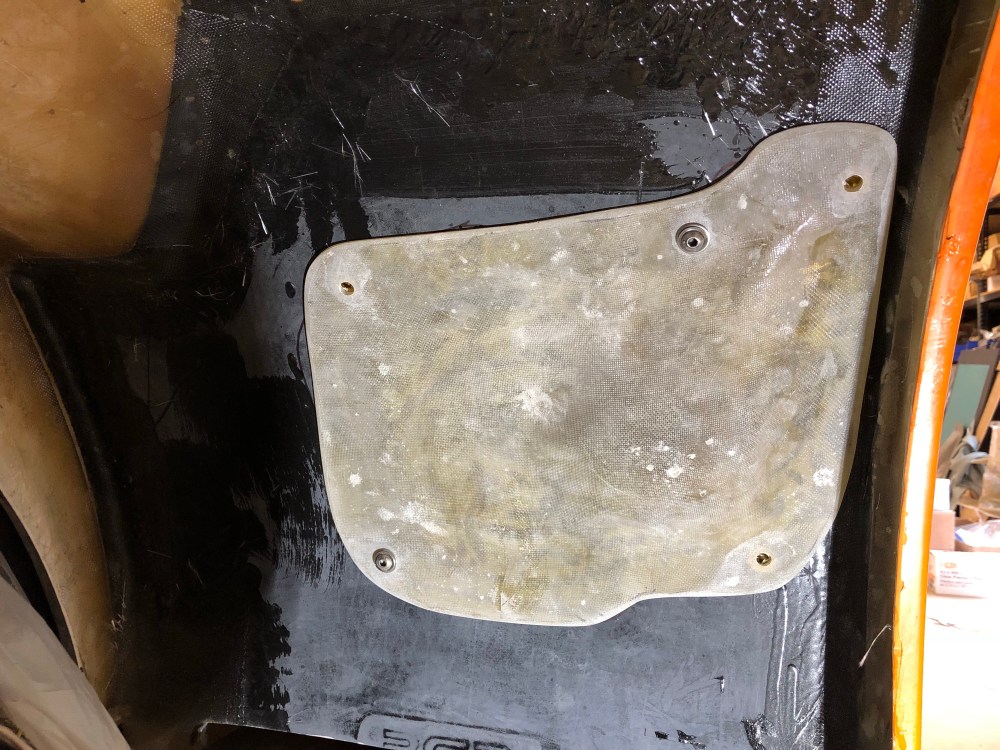
My 60mm high beam projector (located in the outboard position) is longer than the factory supplied 90mm units.To determine just how much room I had to play with I disconnected my front shock so I could articulate the front suspension to simulate compression. With the wheels turned inward created the tightest condition.It’s tight!A combination of foam poster board, gorilla tape, and packing tape created the contoured surface I’ll need to make the closeout panel. I used riv-nuts designed for plastics & composites, McMaster PN 97217A393.A few layers of CSM topped with a layer of glass cloth. I set the riv-nuts in place before glassing so I could use them to mold in little reliefs, making the installed closeout as flush as possible. I don’t currently plan on using a seal of any kind.Both closeouts released, time for some trimming!Trimmed and it fits!
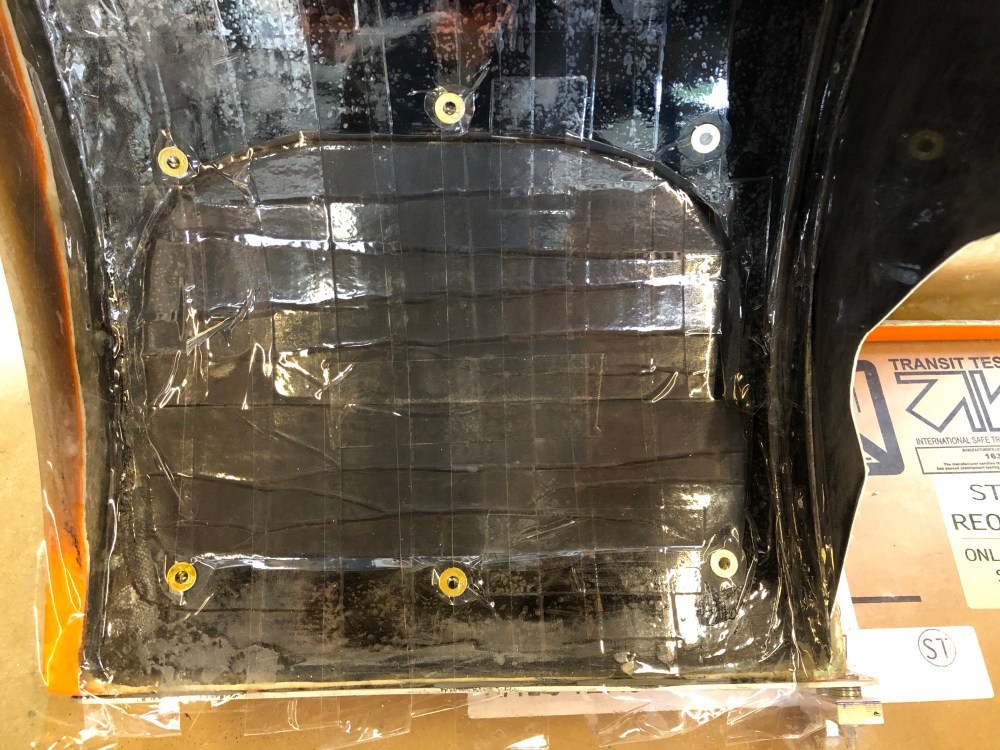
Taillight closeout:
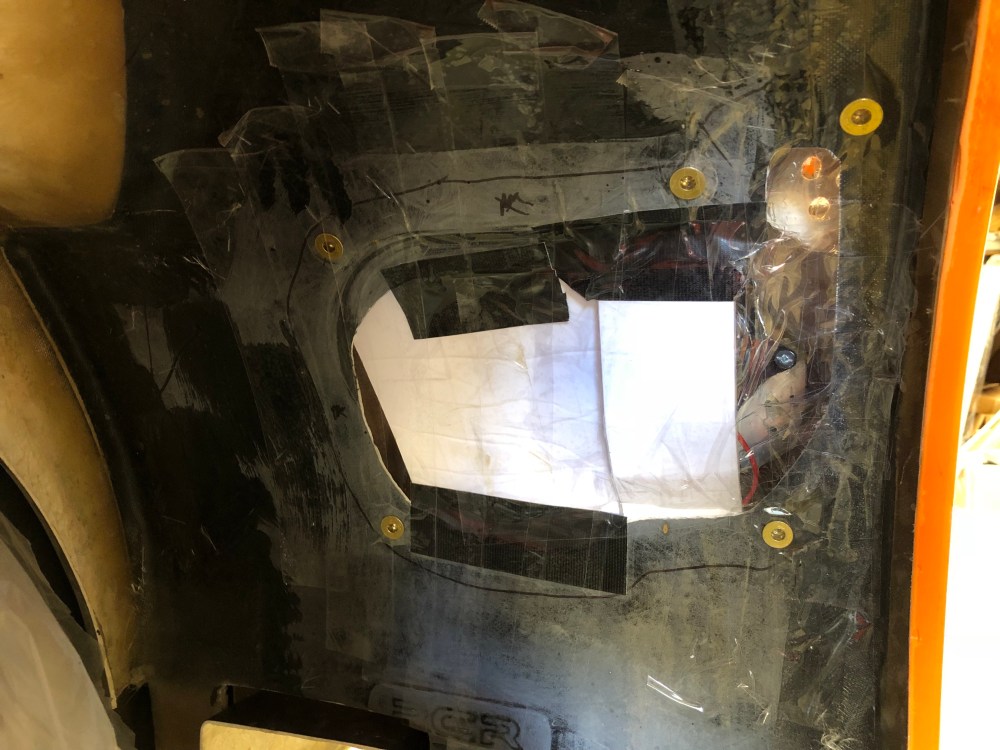
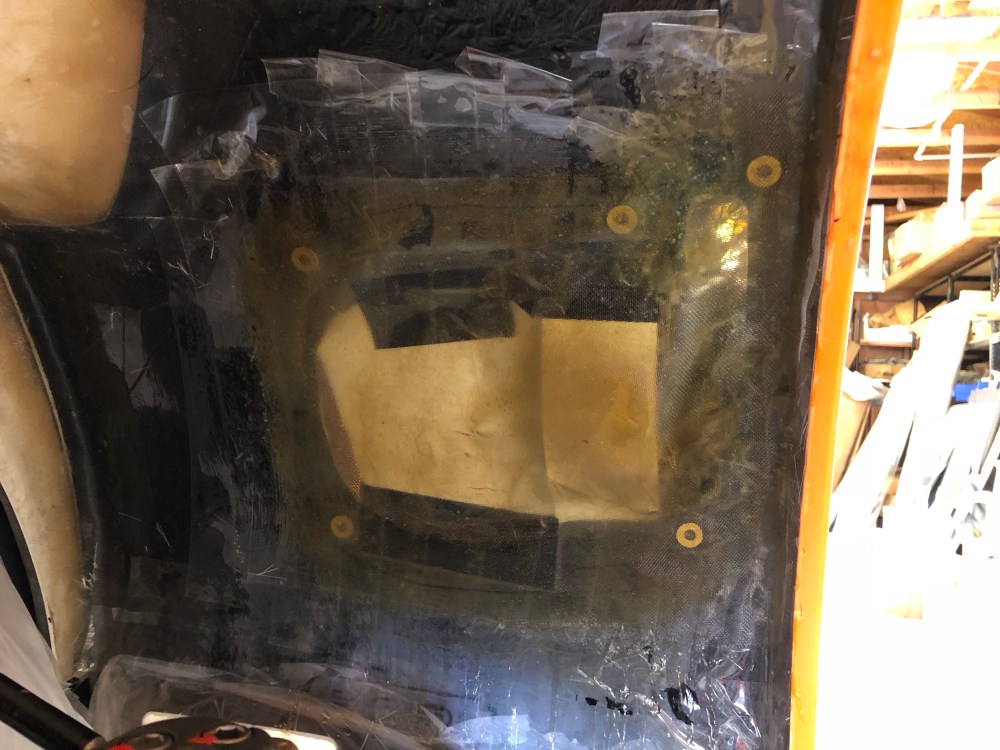
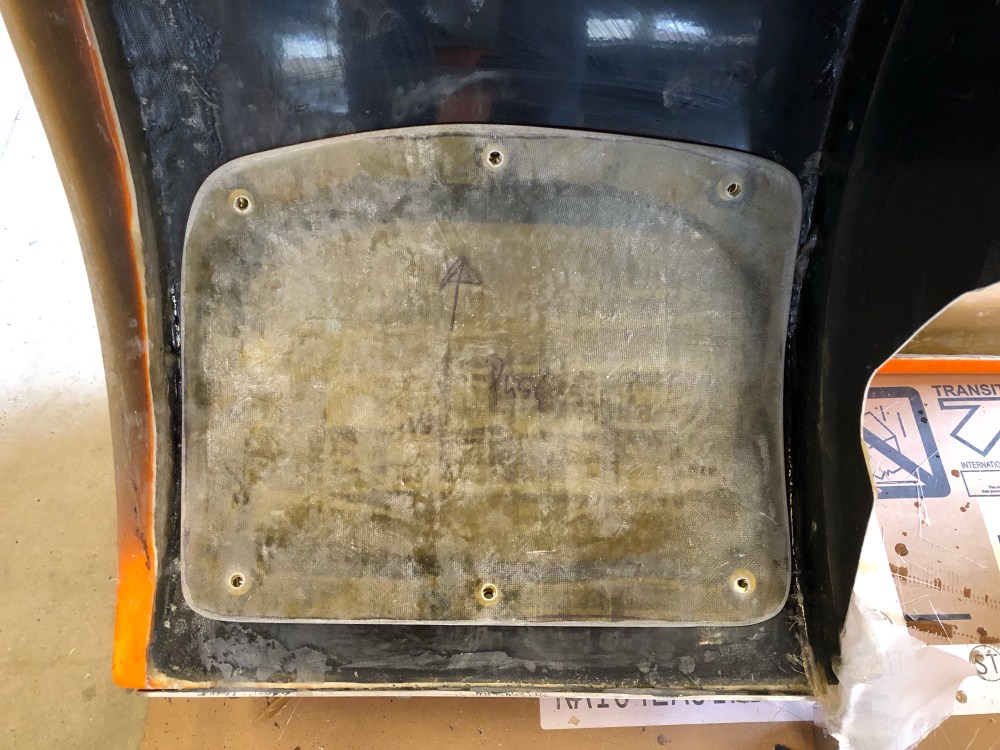
The closeout panel needs to be enlarged quite a bit in order to make the taillight assembly serviceable (in case total replacement should become necessary). The lower edge and two aluminum prongs foul the liner contour. This fouling may be due to how I have the lights mounted since I’ve deviated from the factory designed cutout.Same technique as used on the front closeouts. The taillights have a lot less poke than the high beams did, only a minor “bump” was needed for these closeouts.Trimmed closeout ready for a test fit.
My entire fiberglass underbody will be painted using U-pol Raptor bedliner spray. It’s basically a DIY rhino liner. I purchased the 4-liter kit, per DCarter this should be enough for this project. I generally don’t like buying tools for a one-time use like the spray gun, but I didn’t want to potentially mess up Bob’s spray gun so I didn’t feel bad about getting the “free” gun and tossing it after completing this project.
Wherever possible, I plan to apply Damplifier to the interior side of the wheel well liners. The exterior surfaces will get a coat of the Raptor bedliner spray.
Speaking of wheel liners –
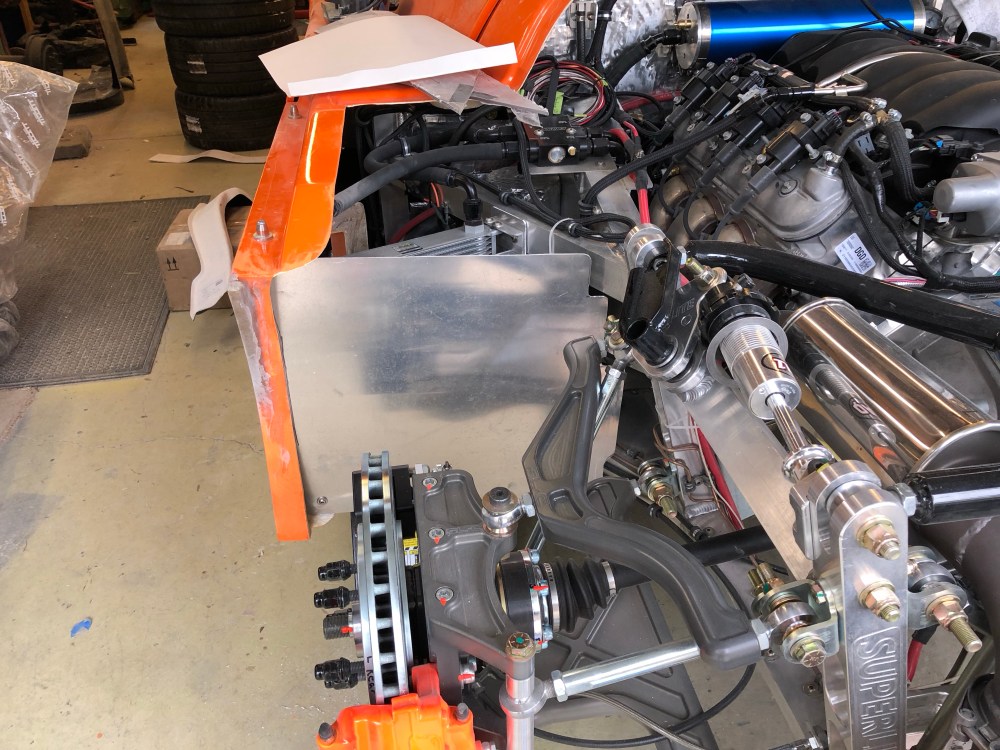
The next piece of the rear wheel liner puzzle is pretty boring. The factory supplied pieces are pretty beefy and have cutouts (I believe for rear wheel well venting). Unfortunately I didn’t plan very well and my oil cooler and coolant overflow tank interfere with the factory fiberglass pieces. In lieu of the nicely molded liners I went old school with a plain ol’ sheet of aluminum.
It doesn’t get any more basic than a piece of aluminum sheet for a wheel well liner. The optional RCR fender liners that go here weren’t compatible with my build – I hadn’t anticipated how thick they were and I located my oil cooler right where they needed to be. The sheet metal design allows me to just squeeze in between my oil cooler mount and the wheel well contour. To make life easier on myself I decided to make it straight up and down, instead of contouring it to match the wheel well.
A few tabs to lock the liner in place and that’s that. I’m planning to also add sound damper material to the backs of each closeout panel, and to all (accessible) areas of the wheel well liners. Between the damplifier and raptor bedliner this should help keep the pinging noise down from rocks getting thrown up into the wheel wells.