Well this doesn’t look good …

Bob recommended I hit up Kirk’s Radiator in El Cajon to give me a hand getting my AC charged. Bob’s been taking his Studebakers here for years and it’s the only shop he trusts to do this type of work. So I brought the SLC down to Kirk’s – which is actually owned by the father/son duo Stan and Ryan, and had them take a look at the car. I was pretty relieved when the crew were able to dig down into the pit that is my engine compartment to hook up to the high and low pressure service ports. Unfortunately after testing my system for leaks, we found there were a few (loud) blowing leaks. It seemed to come from the #8 fittings both at the back and front of the car. Oh, and upon closer inspection Ryan also discovered I had mounted the condenser upside down. Yeah … the #8 port needs to be at the top and I had mounted it on the bottom. D’oh!
I went home and was feeling pretty smashed. I literally lay down on the carpet by my wife and went over what Ryan had discovered. The issue is the #8 line goes from the engine compartment all the way up into the radiator box and onto the condenser. If there was an issue with the fittings – which there was – then it would be near impossible to service this line without having to remove the body. I had visions of the windshield cracking and I was determined to find a solution that didn’t involve stripping the car back down to go-kart level. I was pretty gutted.
And that’s why I found myself back in Bob’s garag, tearing into the SLC so soon after it was “finished”. Bob and I first cracked open the front of the car. What we discovered was the fittings on my #8 lines up front didn’t appear to be fully crimped. In fact, all of my #8 fittings appeared to be incorrectly crimped. We pulled the first line out from within the car and were able to position the crimping tool around the fitting. Sure enough, once we tightened the crimper down on the fitting it was apparent there was a good bit more tightening needed before the dies were fully seated. We crimped the line then gave it just a touch more for good measure. The next 2 fittings up front appeared to be the same.
At this point I was thinking the best candidate here was user error. Either I didn’t clamp down on the fittings enough or I mistakenly used the #10 crimping dies instead of the #8. After re-crimping the lines up front I pulled the condenser and flipped it upside down so the #8 port (the larger port) was oriented up.
The next part was going to be the trickiest – the last fitting that needed to be inspected and which had a blowing leak, was the one going into the compressor. This line was buried and intertwined with the #10 line next to it, and both were zip tied in several areas to the radiator hose – all of which was buried under heat shielding and behind my battery. It was going to take some Houdini magic to get that line pulled.
Here’s where I say I’ve been gifted with small hands.

I was somehow able to get some diagonal cutters down in that labyrinth to snip the zip ties and fish that line out.


We had just enough slack to get the fitting pulled out far enough to put the crimping tool back on. As we did with the others, we tightened down and gave it just a touch more. The next part was a little trickier – we didn’t have the right equipment to pressurize the system to do a leak test. Bob Macgyver’d some plumbing together and was able to pressurize the system while I went around with soapy water in search of leaks.
YES – it appeared we had gotten all the leaks to stop! By now it was getting late into the day on Friday and I was hoping I could get the car back down to Kirk’s for a charge. I gave them a call and Ryan answered. I told him I thought we’d gotten all the leaks licked and asked if he would have time to fit me in before closing. Timing was getting tight but if I hustled he could get me in.
Bob and I proceeded to slam the front end of the car back together again. We were moving pretty quickly to try and make it back to Kirk’s before it got too late. By now we were a well oiled machined and we got the front closed out and locked down in just a few minutes.
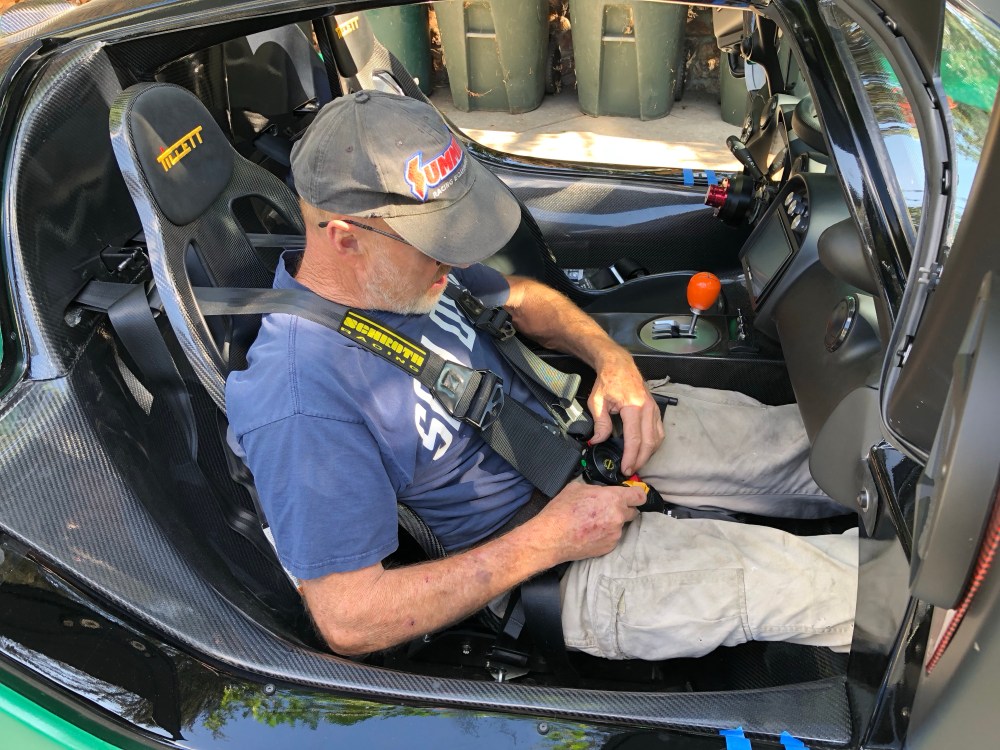
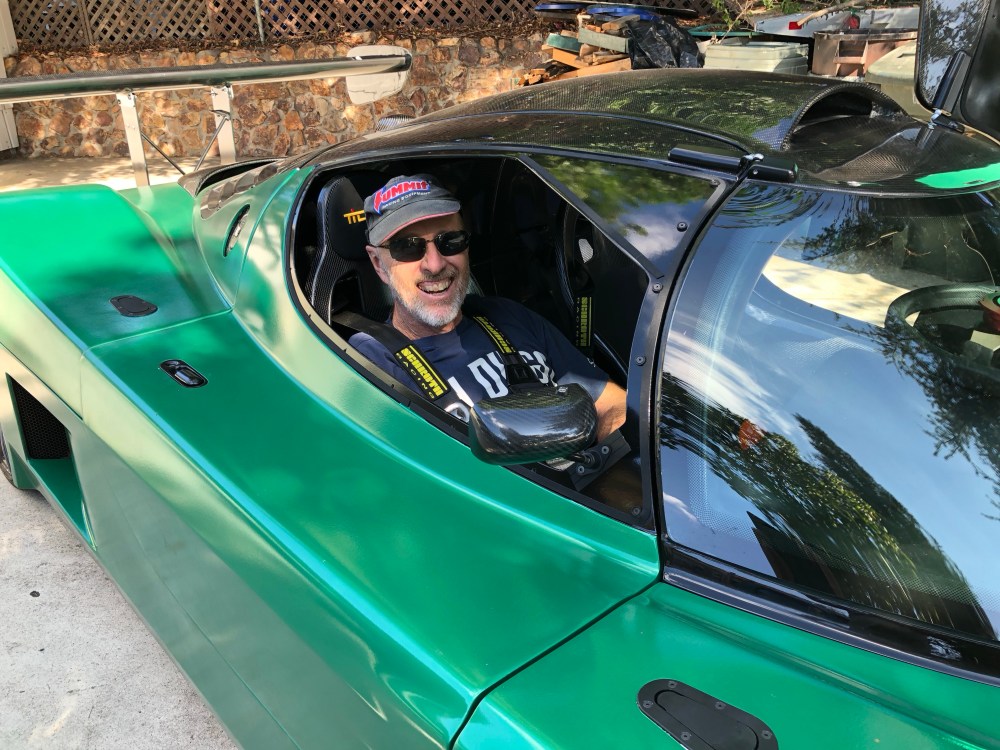
Bob’s never been in the SLC before and I didn’t really make any concessions for tall passengers – my fingers were crossed that Bob would be able to squirm his way down into the seat. After discovering he couldn’t fold his shins in half he’d figured out a way to slip one foot down into the foot box, then the other, before lowering himself into the seat. I wouldn’t call it graceful, but it got the job done!
Ryan had the service bay prepped and open, waiting for us. I maneuvered the SLC in and popped the engine bay so his guys could do their thing. Ryan gave Bob a look and they discussed how the system was leaking before. Ryan wanted to know whether we’d thoroughly checked the system (this time). Bob said he’d gone over it and I guess that was good enough for Ryan – he had his guys throw the charging system on and skipped his usual leak checks – the same leak checks that caught my noobie mistakes.
Bob and I were feeling pretty good at this point so we took a stroll down to the local ice cream shop while Ryan’s guys put the system under vacuum. When we returned things weren’t looking so hot. The guys had the engine running and they were poking around inside the engine bay with flashlights – uh-oh. The AC compressor wasn’t engaging. Hmm… oh – easy fix, you just need to flip this switch.
Flip this switch.
Dammit, flip this switch!
My AC “ON” switch wasn’t doing a thing. I must have an issue with how I’ve got the AC wired up so my AC clutch wasn’t engaging. We discussed options and had Ryan hotwire the AC by bypassing my wiring. After manually engaging the clutch we confirmed the system was blowing cold air! We let the system run and cycle for a few more minutes to verify the system was working correctly – apart from my AC wiring of course.

I thanked Ryan and his guys for busting their buns to help me out today and for going out of their way to help diagnose my issues. I still have to troubleshoot the wiring but at least the system is now leak tight and charged – ready for service as soon as I tackle the wiring issue.
Pro tip: get your AC system charged and verified working correctly BEFORE you install your spider!
Bob had told me there’d be a few months/100s of miles of teething so I should expect for things to break/go wrong – that this was normal for all car projects.
Other issues which have cropped up –
- My forward/reverse cameras are no longer functioning.
- My Dakota Digital GPS is no longer outputting speed to my dash.
Let the fun times begin?

One Comment Add yours