So I got super excited back on Black Friday (of 2016!) because I thought once my home renovation project was over I’d be slamming this SLC together in just a few months. Dipyourcar.com was having their Black Friday sale and I jumped on a bunch of paint and equipment in anticipation of needing this stuff before another sale would come up. Umm… yeah, they have sales (20-22% off) pretty regularly. Seeing as I didn’t “slam this SLC together in a few months”, I was really worried the plastidip would be ruined having sat on the shelf for 2 years – each can is labeled with the manufactured date and they were all right at or just past 2 years by the time I pulled them out of their shipping boxes. Word to the wise – don’t buy paint too early.
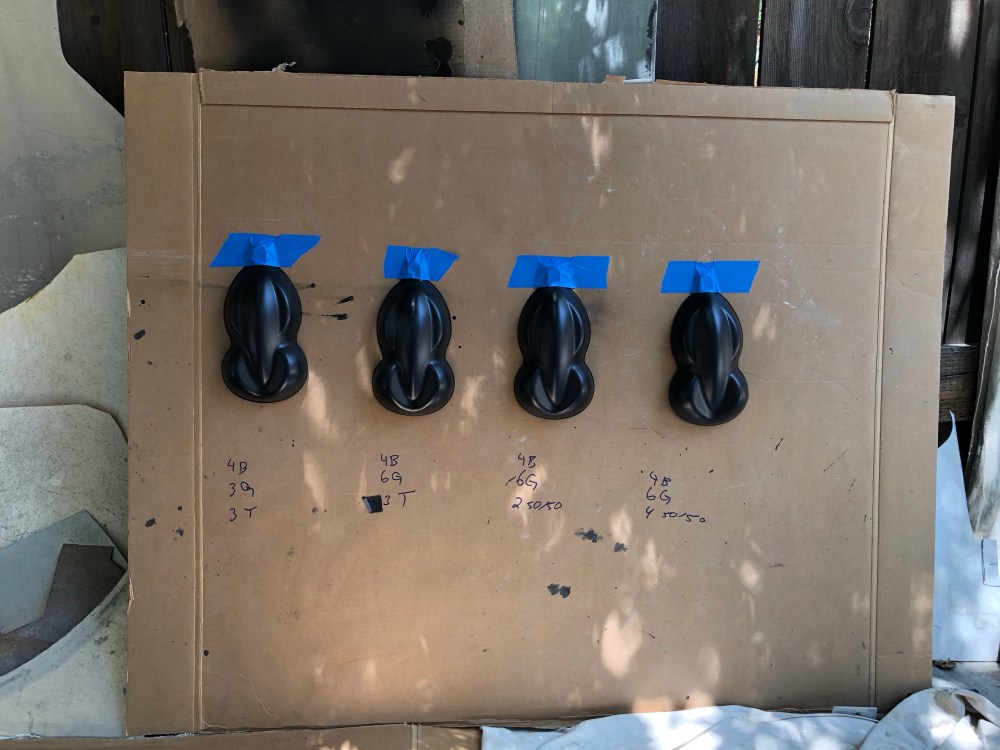
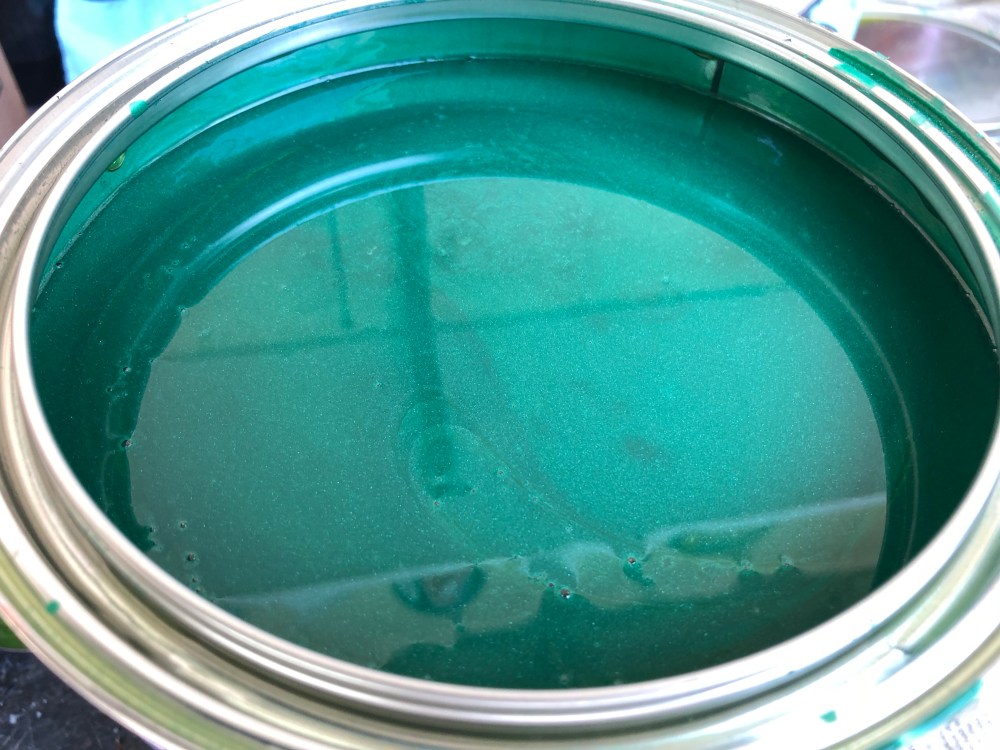
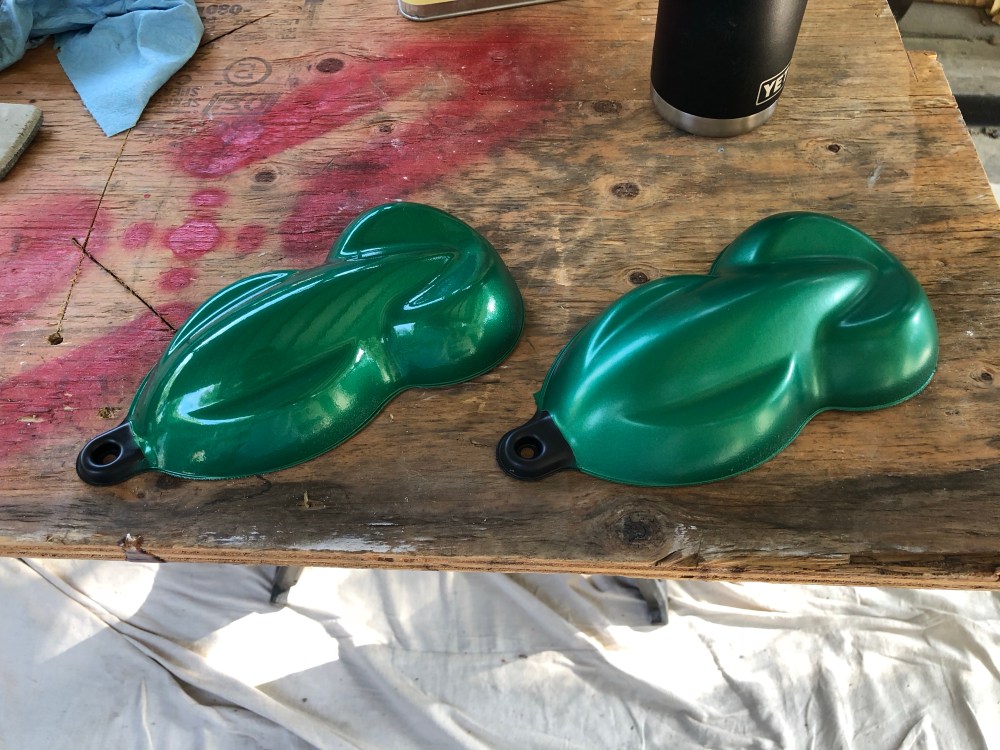
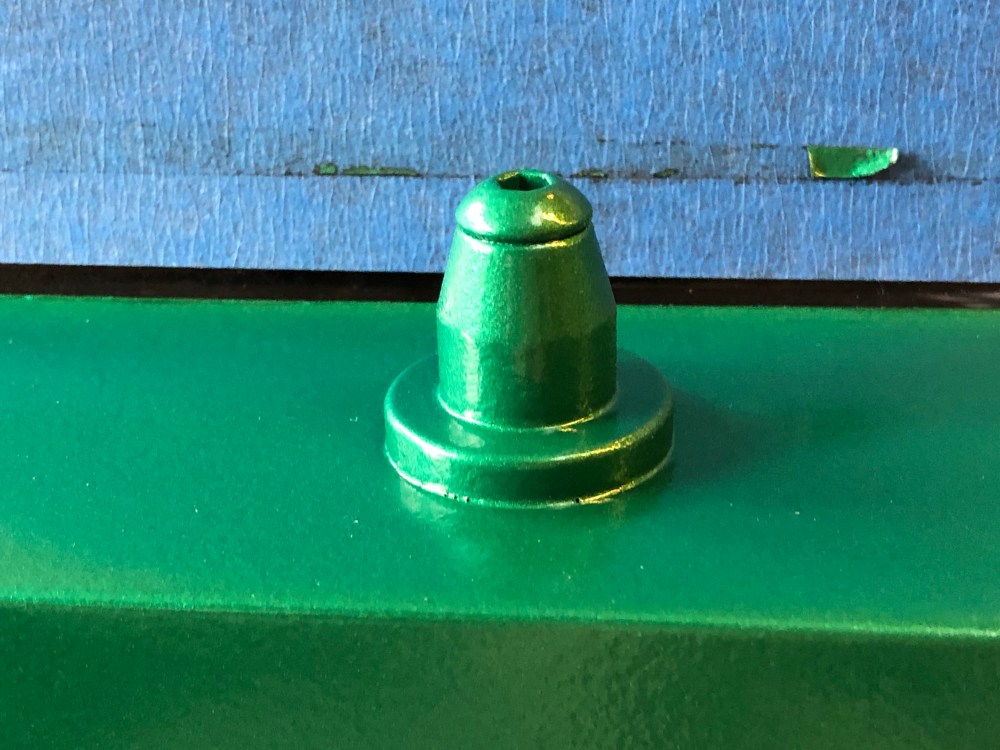
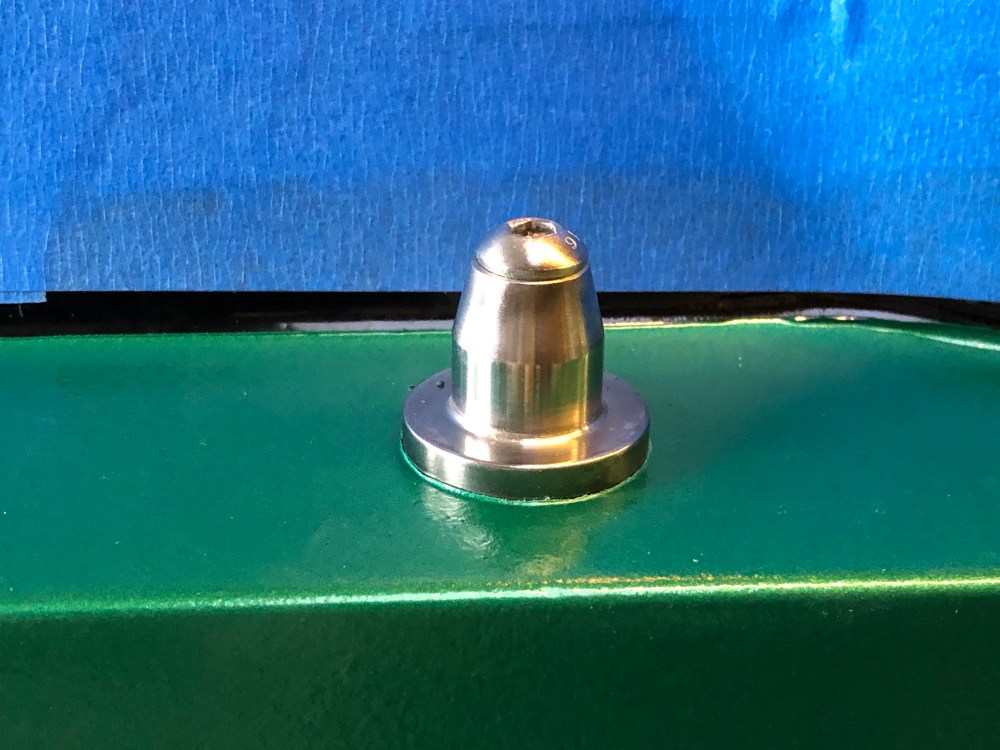
Lucky for me, the plastidip seems to have held up just fine! The beauty of plastidip is you can pretty much make up whatever color you want – just spray it and find a combination you like. I’m a big fan of their Nio Green color but felt it was a bit bright for my taste, so I wanted to see what it would look like on a black base. I setup a few speed shapes and played around with the number of color coats and top coats to find a combination I would like.

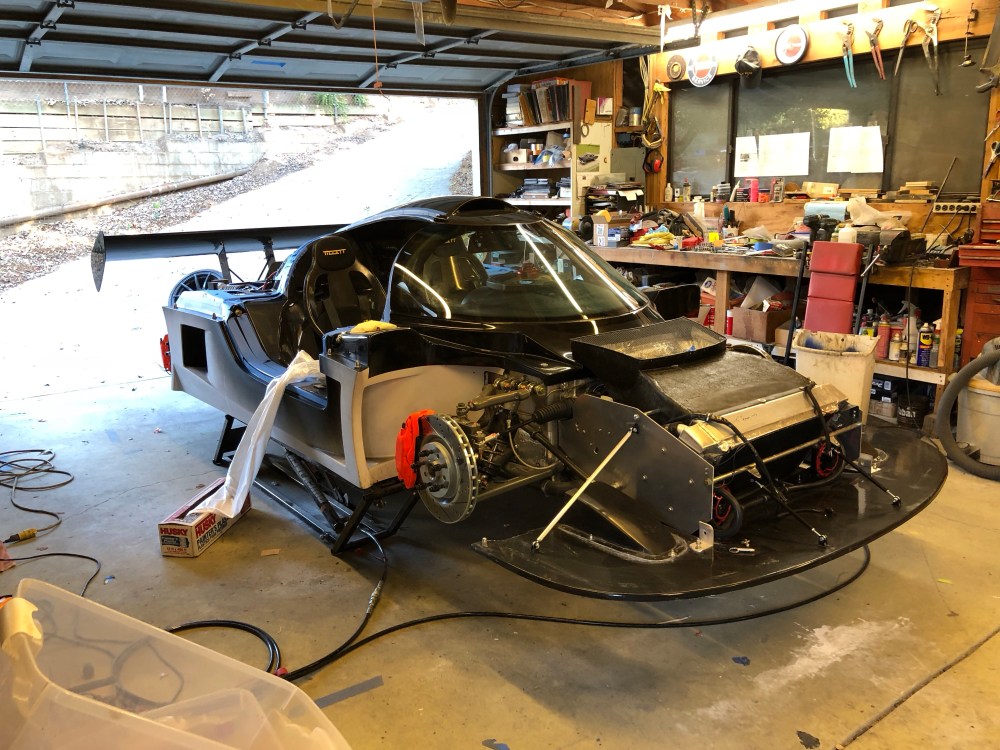
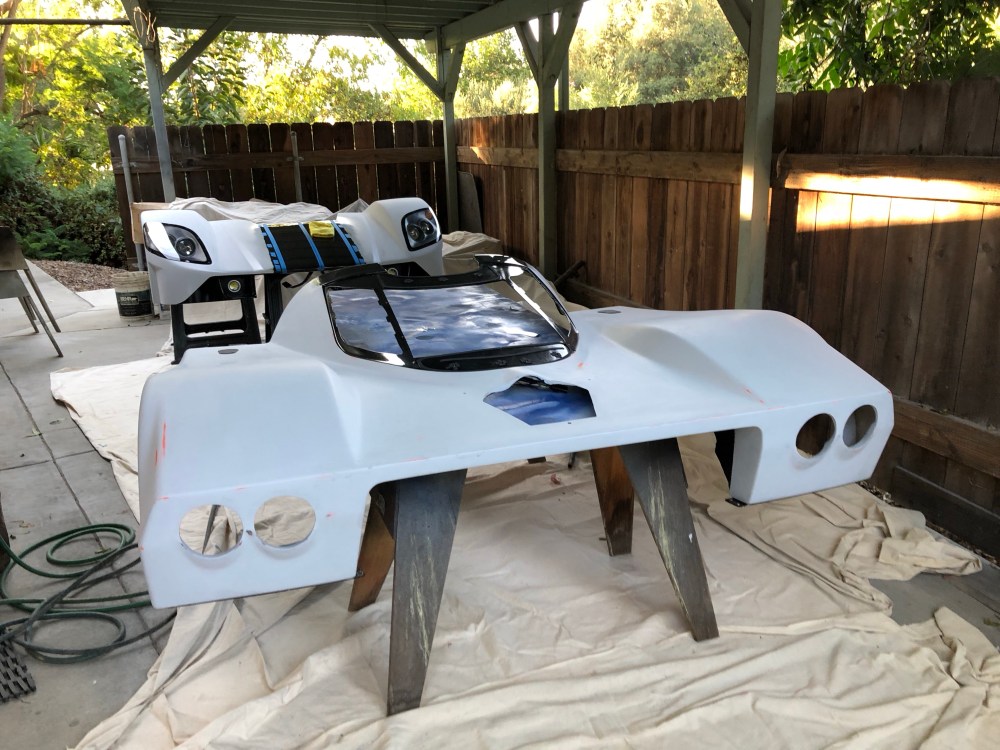
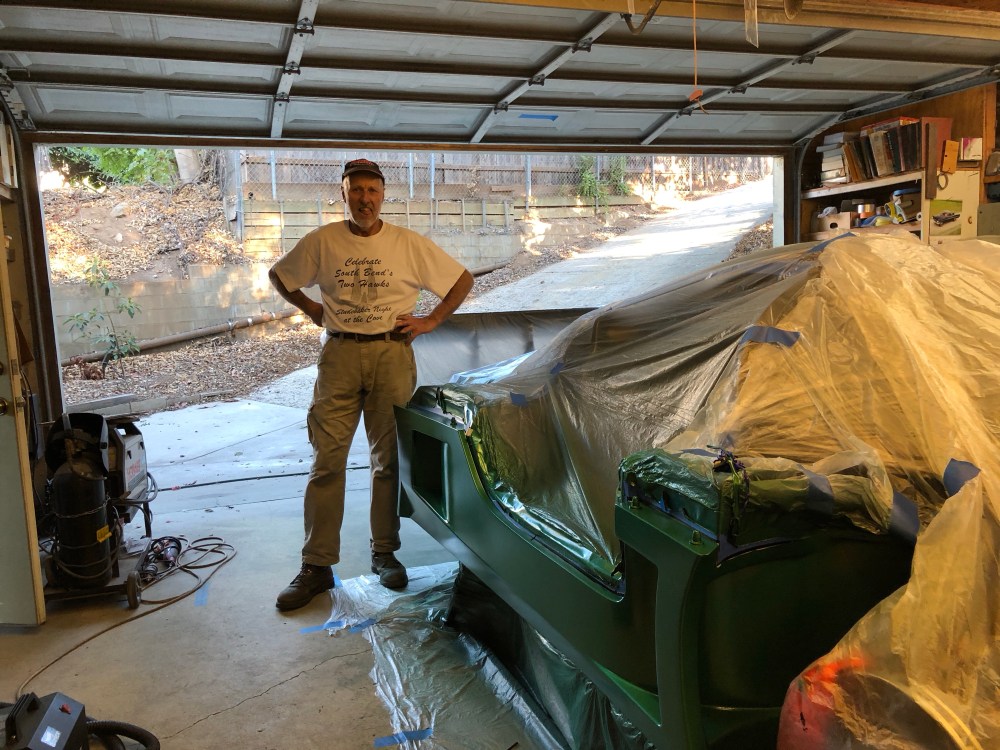
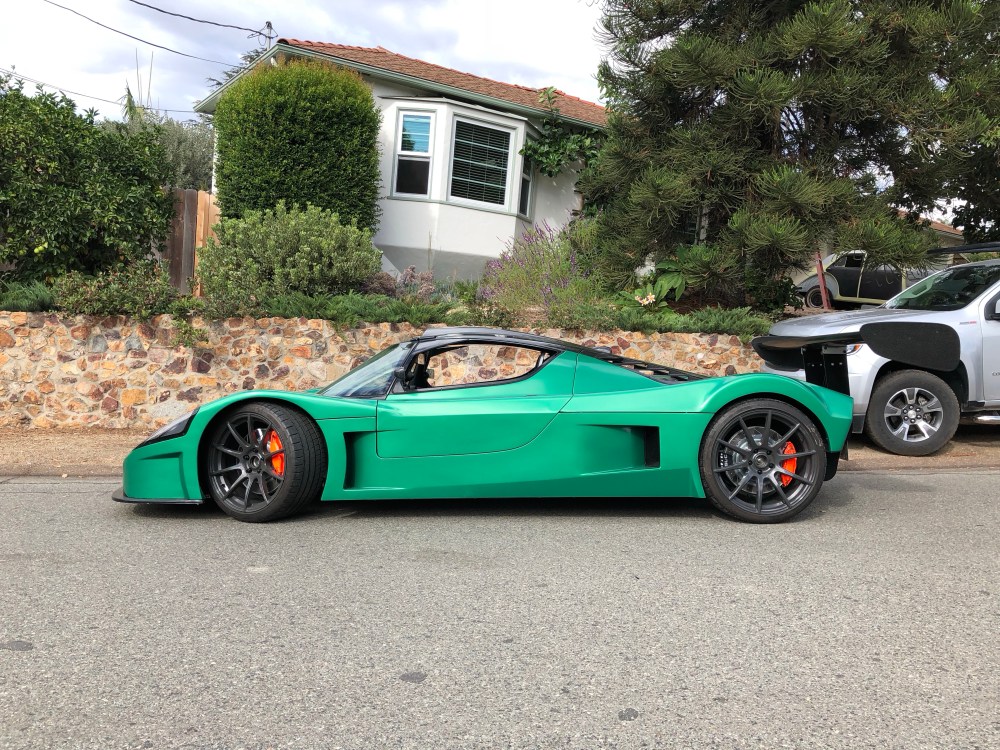
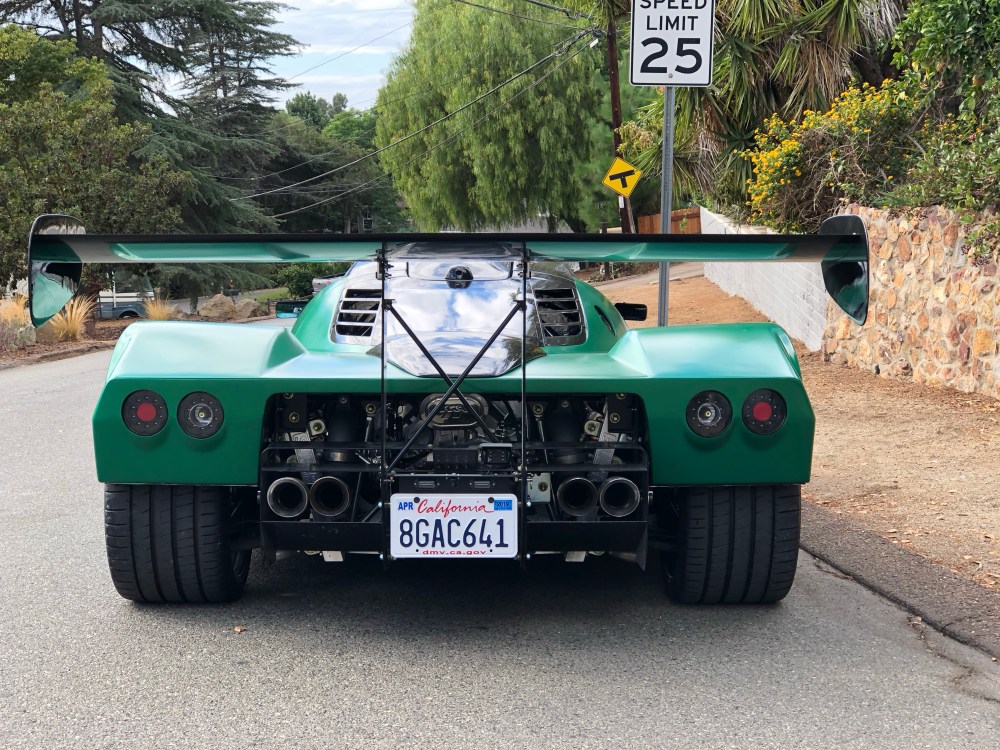
A last look at the car before going under the knife for paint .. err.. plastidip.

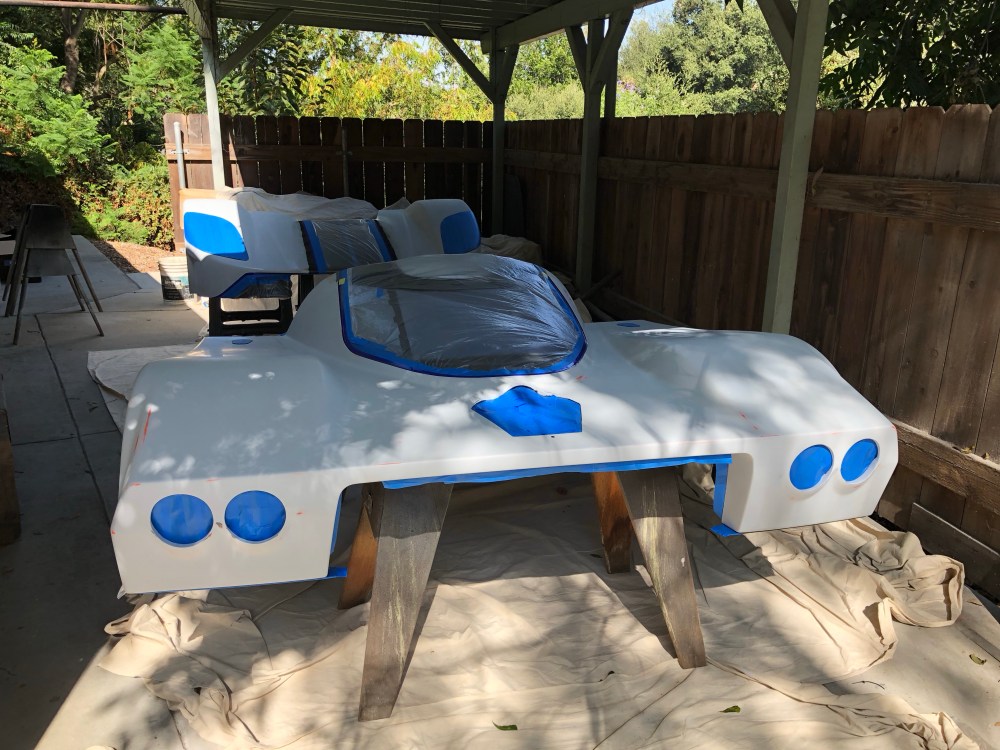
I decided for the first time out that I’d remove the bodywork for dipping. It’ll be easier to mask everything off and hit each piece with everything separate. For my next dip I’ll try doing everything with the bodywork in place – particularly the doors. Removing the front and rear clams is a pretty easy task but getting the doors re-aligned each time seems like it’ll be a real chore. Or not, I’ve had a lot of luck getting them re-aligned the last few times I’ve had to do it. Practice makes perfect?
I’m not qualified to give much in terms of tips but here are some of my thoughts regarding plastidip, take them for what they’re worth (not much!):
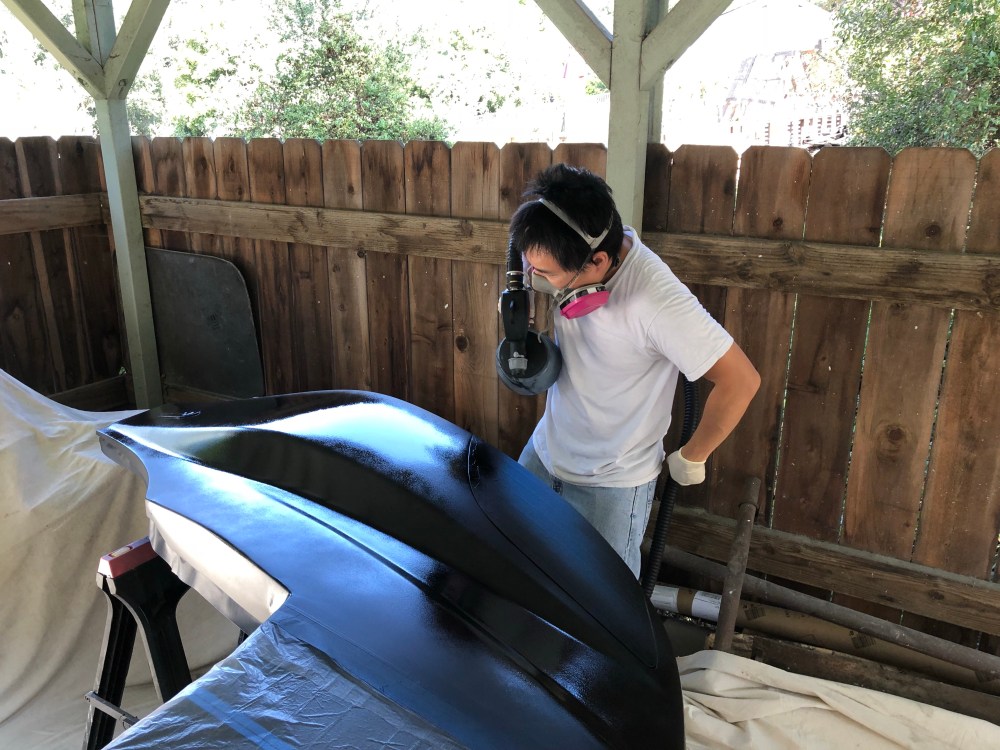
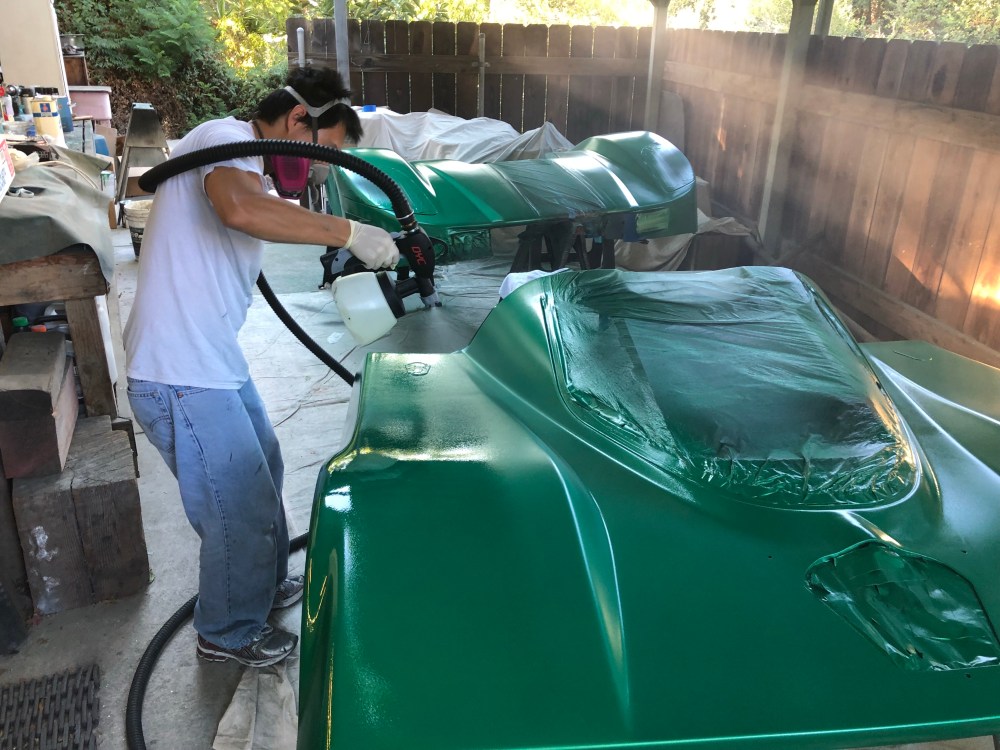
- It’s pretty easy to use/apply. I’m using DYC’s advanced sprayer; Bob thinks it’s a fairly standard HVLP gun. It’s easy to use/handle and creates a nice fan pattern for the plastidip. It’s my first time touching an HVLP gun or applying paint other than from a rattle can. There were a couple of time where we thought we’d cleaned the gun fairly well only to get very little/no product coming out. We took it all apart and cleaned it again and eventually cleaned whatever was causing the blockage. DYC provides a very long hose connecting the gun to the turbine – super handy.
- Having said it’s easy to use/apply – that doesn’t mean it’s easy to get a GREAT looking finished product. It’ll take a few more times at bat before I get proficient enough that I’d say I can produce a nice final product. For a first time dip, my results are definitely DIY. I suspect with a few more runs I’ll be able to get it looking better. The new Performance Series is supposed to spray and lay better (less orange peel), which would make it look less DIY.
- Naptha. Naptha is the magic sauce. Use it to clean your gun. You can also use it to “melt” plastidip if you need to locally repair.
- The plastidip color coats have very little overspray. I can see how you don’t need to have a big booth, downdraft air, etc. There’s some overspray, but it’s not too bad and most of it can be cleaned up with a broom, believe it or not. The topcoat on the other hand … it sprays a lot more like typical clear coat and you should expect more overspray with the topcoat. It’s a lot thinner than the color coats as well so adjust your product output, movement speed, etc to compensate for the change in product viscosity. I didn’t realize just how different it was until I had made a few runs with the topcoat.
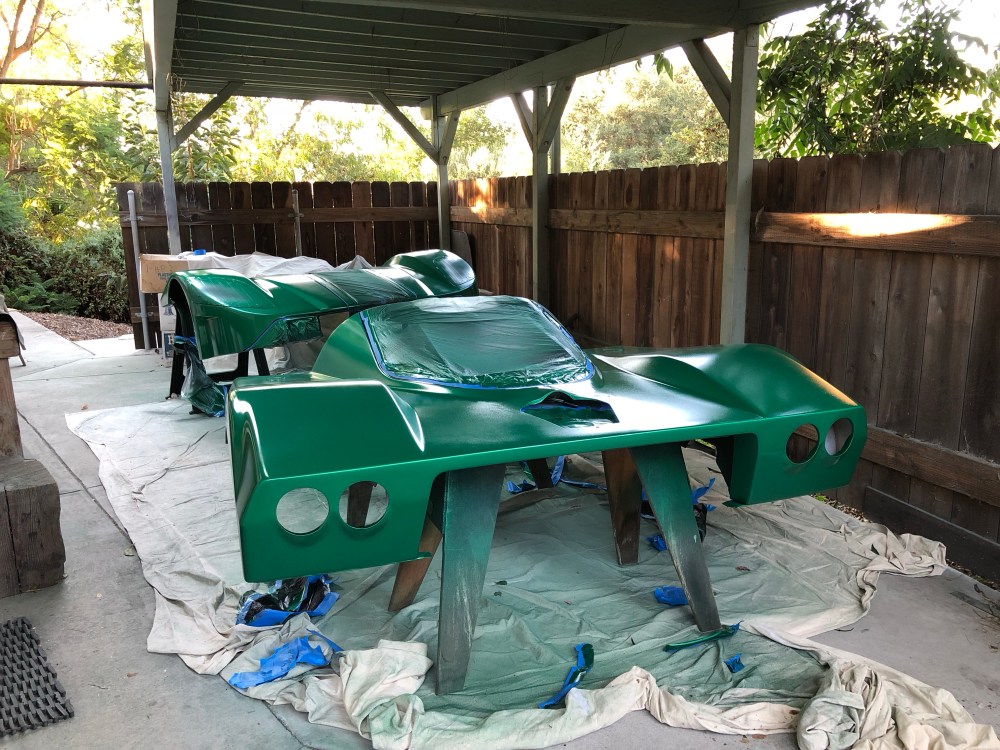
- It’s important to get heavy coats down. I lucked out and the day was pretty good – not too hot or humid. Cooler weather lets you get a heavier coat down with less risk of runs. Too hot and you generate a bunch of nibs. Probably less of an issue if you can do everything inside a garage where you’re not exposed to the environment. However, the results from today’s dipping are pretty impressive considering we were painting outside with very little protection.
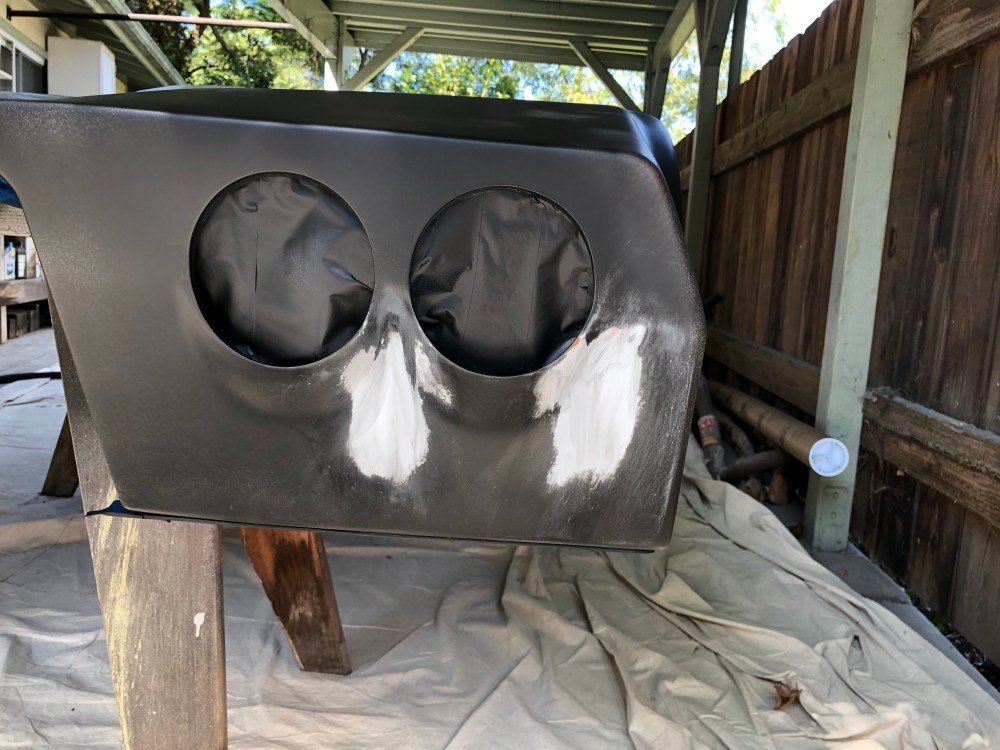
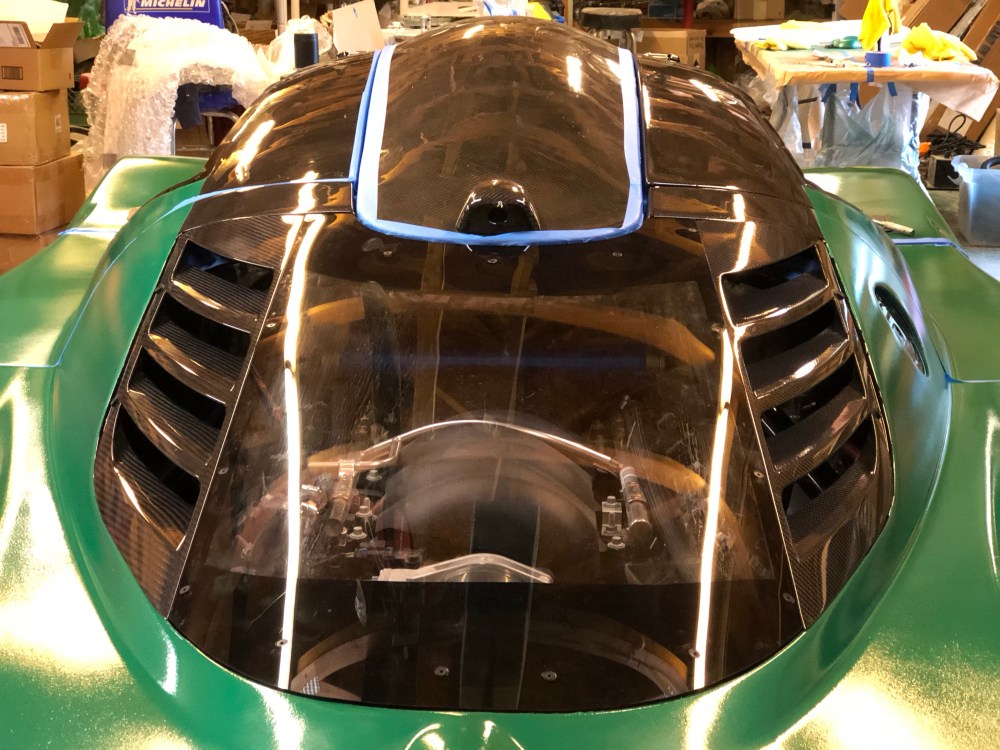
- Plastidip is very forgiving. After 3 coats of green I noticed there was a section of the rear tail that had a TON of nibs/bumps. It’s possible this happened when we discovered our gun was clogged and it blew out dried product, not sure. We let the dip dry a little longer and helped it with a hair dryer. Once the dip had toughened up a bit we took some 400 grit sandpaper to it and smoothed everything out. It looked ugly but felt OK. Another 2 coats of green and you’d never know there was any kind of repair at that location.
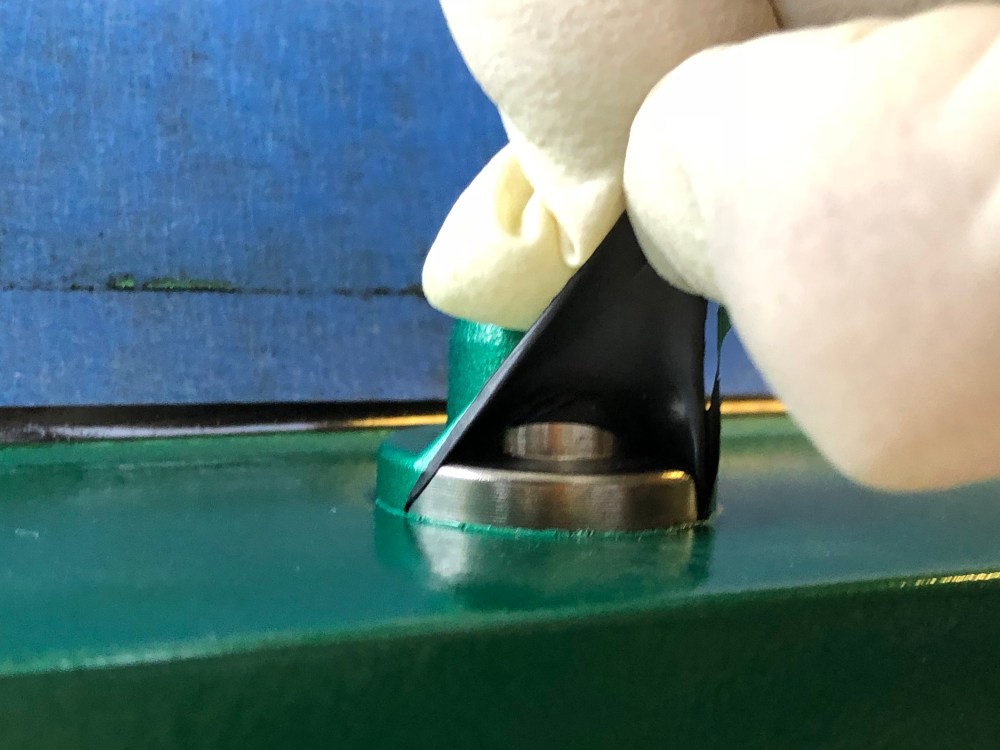
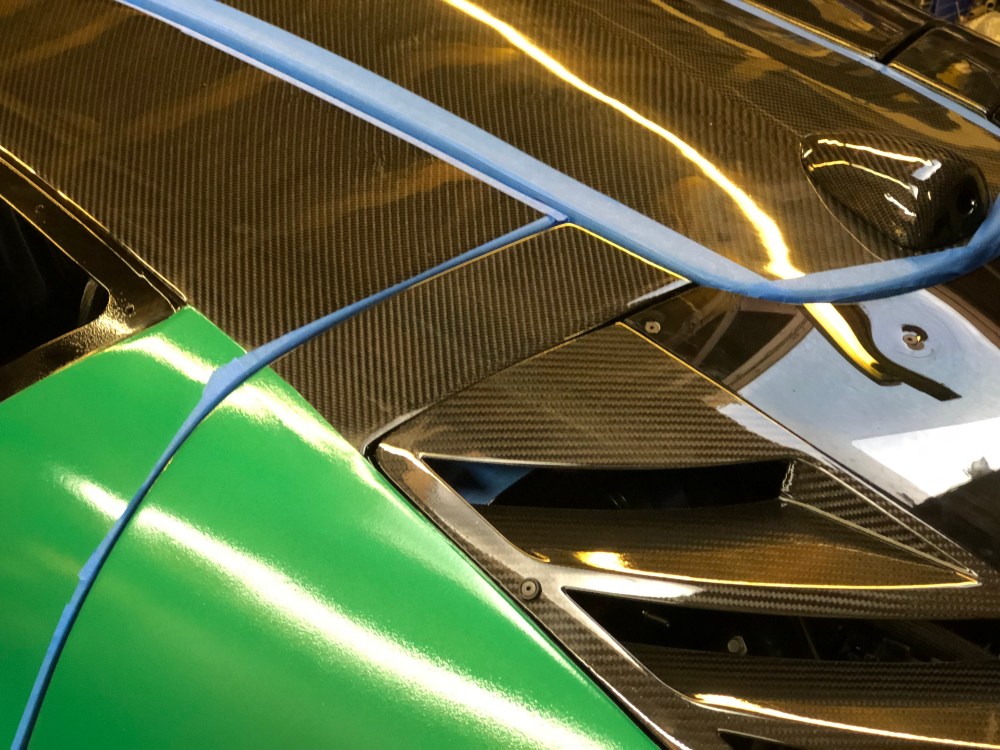
- Wet edge unmasking. It’s really hard to get a good, clean, wet edge unmasked. It was more controlled tearing than it was pulling back on wet paint (like in fritting). I’ll have to investigate ways to get a cleaner/sharper edge if this is going to work with my carbon theme. It’s not an issue with paint – you can get a sharp edge with paint. More experimentation and practice needed here.
- The day after dipping I came back and unmasked other areas. I found the cleanest way to get a line is to take a razor blade and score where you want the dip to tear apart. You’ll get a much cleaner edge this way. I wouldn’t want to do that on a painted surface I cared about, but for a primered body like my SLC it’s the way to go.
- I used more product than I expected. The DYC Nio Green plastidip kit for a medium car (they consider an Eco a medium sized car) provides you with 2 base coat and 2 color coat gallons (you don’t spray DipPearl topcoat on Nio Green if you follow their recipe). With 4 gallons of total product the SLC would have received ~6 heavy coats of dip. I think this is the MINIMUM recommended number of heavy coats in order for the dip to be easily peelable when the time comes to do so. IIRC the recommendation is 6-8 heavy coats for a good time. Bumping up to their large car kit gives you 3 gallons of base coat and 3 gallons of color coat – pretty much where I got to with 1 thin coat and 8 heavy coats using 6 gallons of product. It’s a good thing I was paranoid (and they were having a mega sale) so I ordered more than I thought I’d need.
- Shelf life is amazing. The Nio Green I used turned 2 years old (from the time of packaging) about a week ago. Back when I ordered this stuff I was in la-la land and thought I’d slam the car together and need paint right away – HAH! 2 years later, I hoped the plastidip would still be OK – and it is! The plastidip has been kept in their original shipping boxes and in an uninsulated garage for the past 2 years.
- Plastidip feels rubbery – not exactly the kind of texture you want for a car that looks like it should glide through air. The Dip Coat spray is amazing stuff. I’m not sure what’s in it but one coat of this and the rubbery feel is GONE. It’s supposed to make the surface smoother, slicker, and less rubbery in feel. Check – it does all that. It’s also supposed to protect the dip, I’m not sure if it hardens the dip but it does definitely change how it feels. This should be applied via microfiber after each car wash or after every ~10 days for best results. I’ll keep an eye on the dip for any changes in texture/feel as time goes on. The car will be parked in a garage overnight and basically never get washed (waterless wash primarily) so I’m guessing I can go longer between dip coat applications.
- Dip Coat smells like men’s cologne. Weird.
- A huge caution: The DipPearl topcoat is exceptionally strong and will damage your clear coat. A small bit of my masking came undone during dipping and some DipPearl topcoat made its way in. Just a little bit caused the clear coat underneath to “melt” or soften. Thankfully it’s in an area that’s completely hidden once the windows are installed but if this had happened on something I cared about I’d be pretty upset. There doesn’t seem to be any strong cautions from DYC about this issue but several Youtube videos show what can happen.
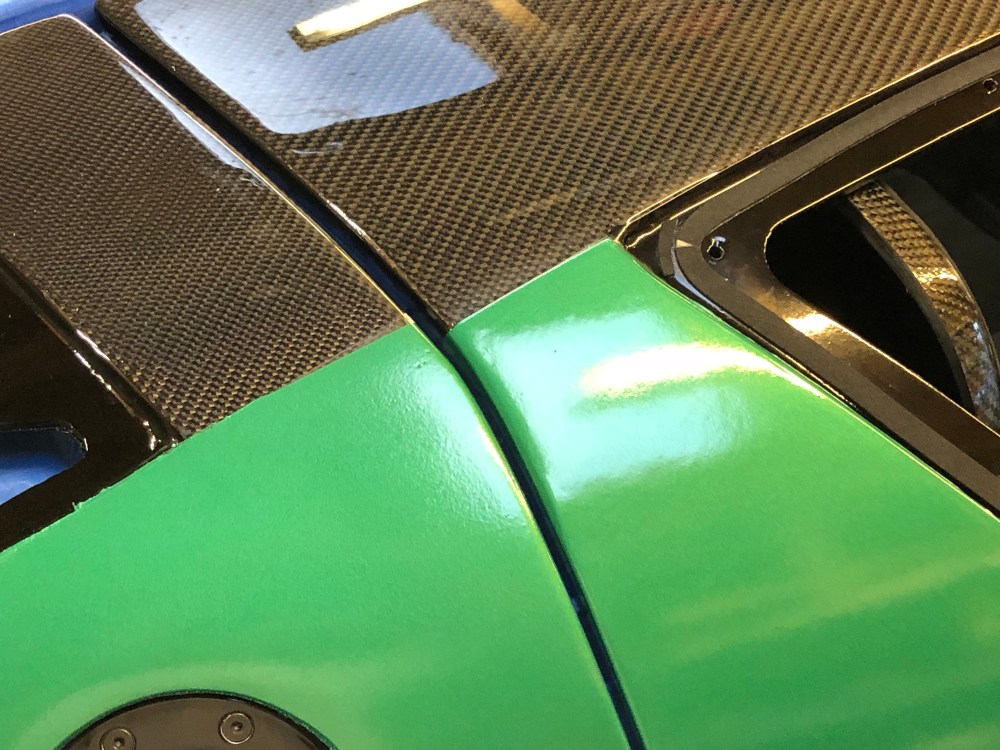
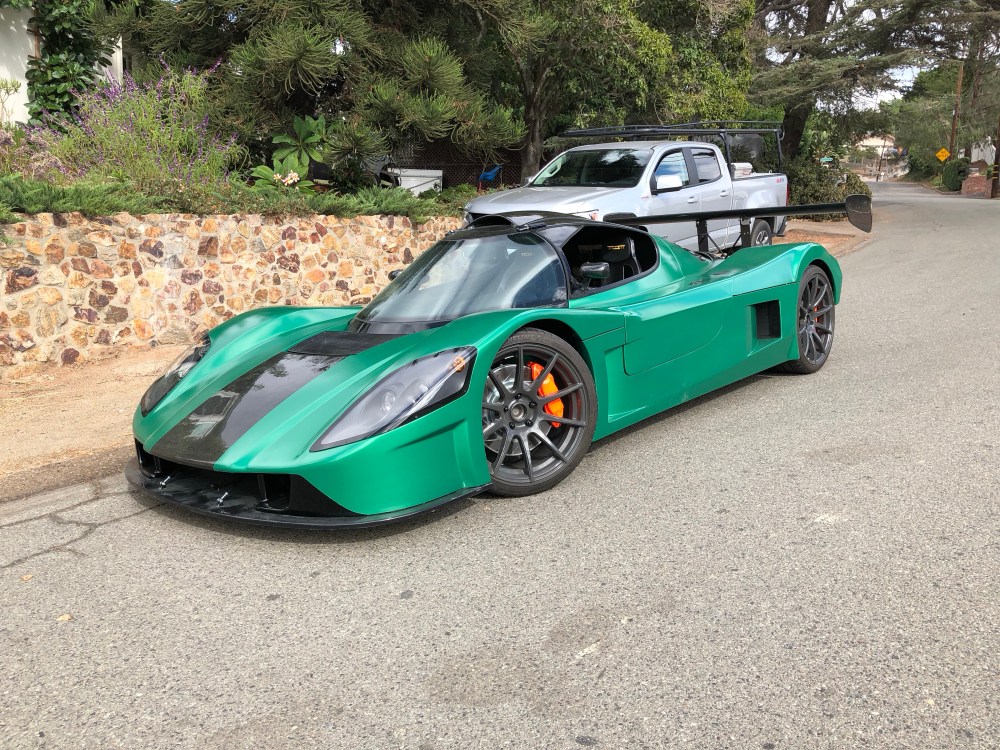
Overall, I’m very happy with how things turned out. I hoped for more, expected less, so I’m in that happy medium where my expectations were more than met. My first time dipping produced a 3-5 foot paint job. Large panels look pretty good but get up close and you can see the warts (though they’re surprisingly minor). I’d say the biggest issue is the wet edge unmasking didn’t produce as crisp an edge as I’d like. I think with another dip or two under my belt I can get the process to produce something closer to what I’d hoped to achieve.


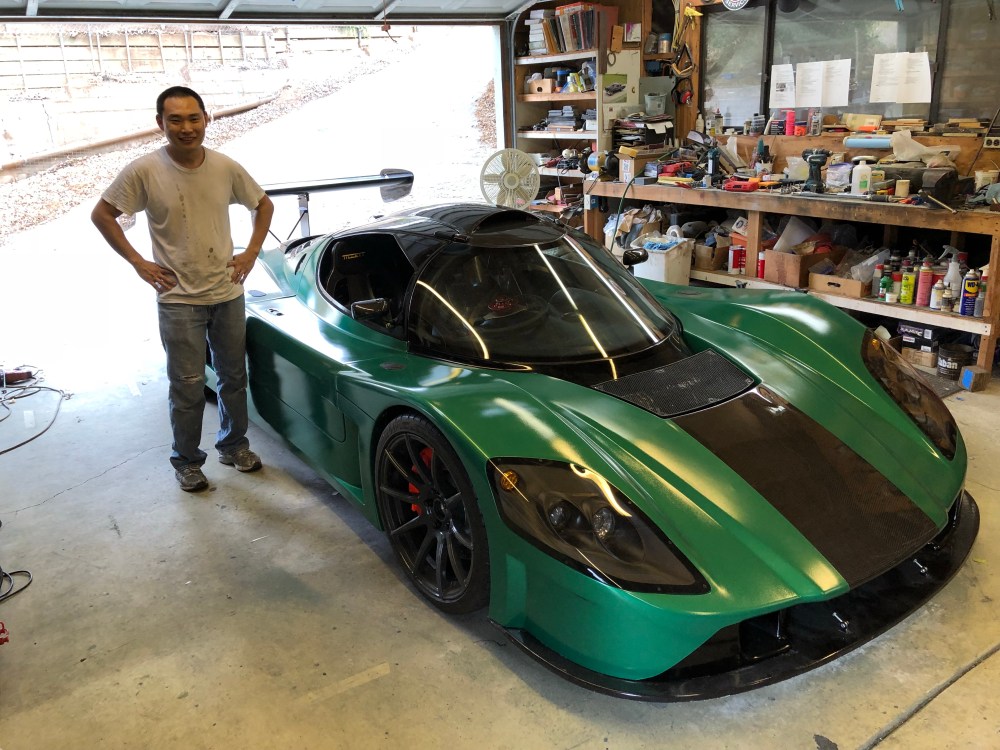

The Plastidip looks good! I had mine in dip for about a year. I was shocked at the number of people who thought it was paint.
LikeLike