Found a little more time over the past few days to work on the car. After making what templates I could with the spider on, it was time to pull the center bodywork to get a better view of what lies beneath.


First up is a closer look at the roll bar and tub. I opted to go with the carbon fiber interior tub; I know I won’t be able to produce one of the nicer interiors seen in other SLCs so I wanted to start with a base that was already semi-finished. The carbon interior tub replaces several fiberglass pieces offered as an option to the base kit. The tub is also available in a fiberglass version but vanity won over sense. As previously stated, the workmanship is top notch. The fibers are well laid out and the finish is glossy with very few bubbles or errant patches of fiber weave. The tub is a 2-piece; the portion below the harness openings is a single piece stretching from the rear of the cockpit to just forward of the seats. The upper piece completes the rear bulkhead and incorporates the center “roof” area between the door openings. I’m not sure why this second piece was designed in this way; the roof and rear bulkhead portions are highly stressed when not fully supported and I can already see cracks forming where these two areas meet – I think it would have been better to make the tub design a 3-piece, separating it where the roof and rear bulkhead meet. That upper piece is awkward to handle and prone to handling damage. Regardless, it’s a thing of beauty and I highly recommend it as a mandatory option if you’re not planning to have a professional finish out your interior.


The roll cage is beefy and appears to be well constructed. The envelope is large enough I feel confident I would be well protected in a roll-over event. The front hoop is wide enough that forward and side vision is fairly clear; I’ll have to wait and see once the A-pillar covers go in. I know there’s a decent gap between the spider and roll bar – so with the covers in place I expect the A-pillar will likely cause more blockage than in a typical car. Off with the cage! I’m running out of floor space …


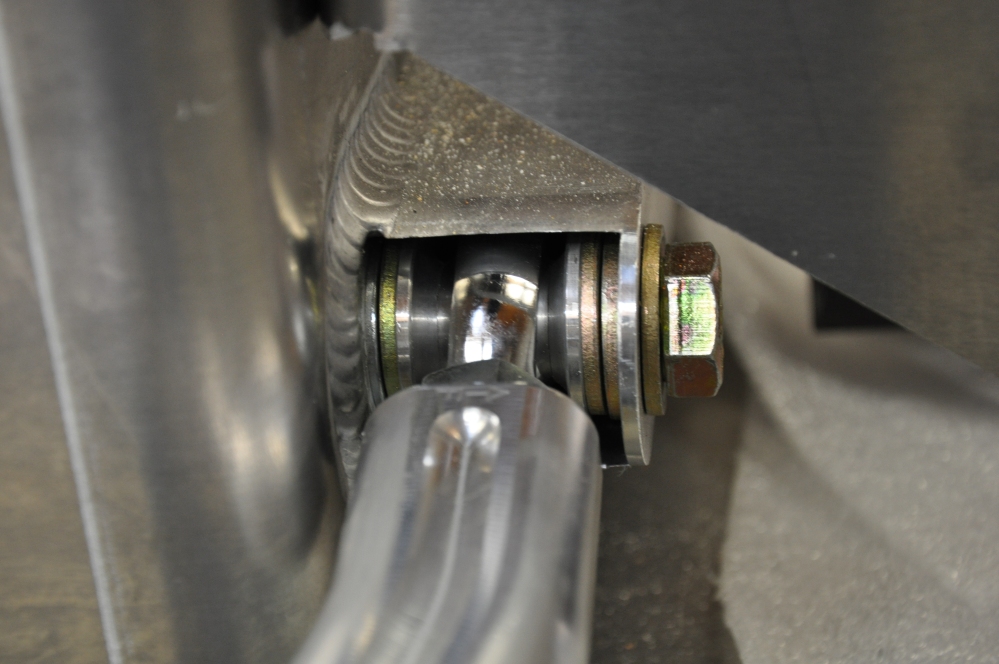
With the bodywork and interior pieces finally removed it was on to the suspension. I wanted to fully disassemble the suspension and inspect each piece before prepping for further work. In all, I only found one safety washer reversed, otherwise everything would have been good to go assuming all the bolts were correctly torqued (do not assume ANY fastener is torqued, all bolts need to be removed, inspected, and brought to proper torque). There are several locations where a stack of washers is used to center rod ends or position nuts in the correct location. I’d like to eliminate washer stacks where possible so I plan to machine spacers to the correct height in their place. Almost all hardware supplied from the factory is Grade 8 steel so technically a washer stack of 2 or more *may* be OK. However, with minor amounts of deformation it may be possible for the washer stack to compress enough such that proper bolt preload is lost, resulting in excessive slop or loading to the fastener. The use of nylon locknuts throughout ensures you won’t have a total bolt back-out but I’d like to keep preload and stack integrity intact and put my OCD to bed by going to machined spacers where I can.


After removing both the front and rear suspension and laying them out, I was struck by just HOW MUCH machined aluminum there is! Not the cheapest method of construction but certainly one of the nicest. Maybe not quite Pagani level but this stuff is scratching on the heels of supercar! (Do a search for “Koenigsegg rear suspension” and you’ll be surprised to find it’s all welded tube steel). Countless areas of pocketing gives a clue as to how much time each piece took to machine. I appreciate the symmetry in the arm designs so a common rear upper A-arm could be used for both left and right sides as opposed to unique pieces for each.


While digging into the suspension, the ball joints presented me with a bit of a challenge; they were firmly pressed into the uprights and some “massaging” with a mallet didn’t do much to shake them loose – don’t do this, I know better but did it anyway. A quick trip to Harbor Freight, $20 later, and I had their handy dandy tie rod separator. GET THIS. This is the nicest tie rod separator I’ve used (OK, my other separator is the pitch fork kind and sucks, don’t use those, you’ll tear up your beautiful upright and likely tear up the ball joint). It’s sized *just* right to fit into the very narrow opening in the rear upright. This turned a sketchy operation into a quick 1-minute job with no risk to the hardware.


On the topic of sketchy – once the body comes off it’s clear why jacking up on the outermost portion of the underbody is a bad idea. The outer 4 inches is simply a 1/4″ thick sheet of aluminum. This area ties the lower edge of the spider to the rest of the frame and serves as an attachment point for the side skirts. It’s non-structural and would bend if supporting a fully complete car. Just a bit further inboard and you get to the boxed portion of the monocque. I’m planning to mark this area somehow so it’s easier to see the jacking points from beneath the car once completed. From underneath, it can be difficult to see where it’s safe to place your jack/lift point.

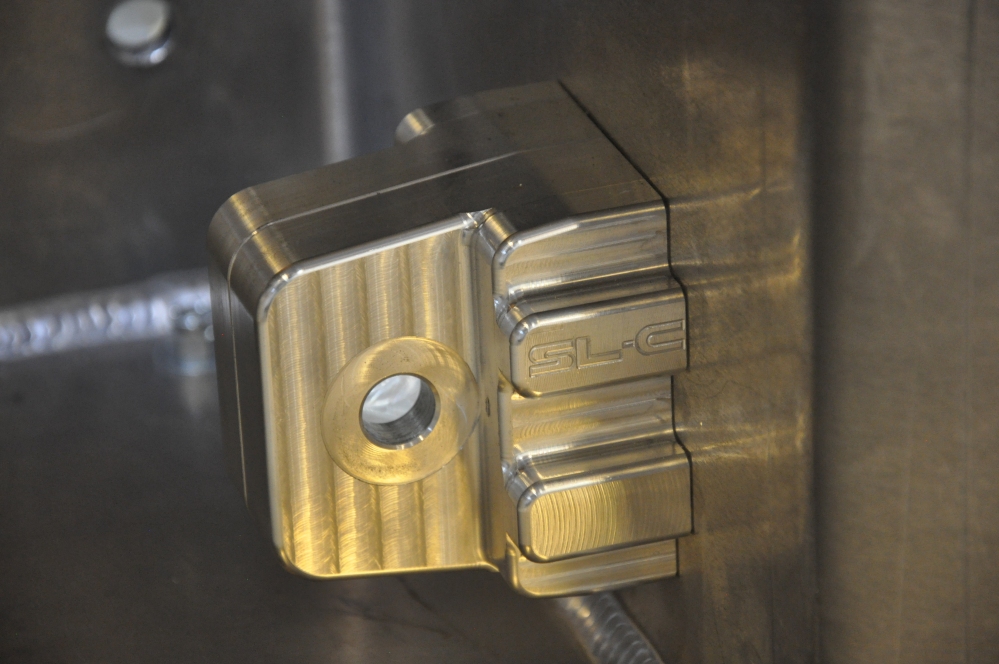
A few words on the small details – If you didn’t already know, this is a “Superlite” “SL-C”; these words are inscribed all over the billet pieces. It’s a nice touch and maybe a smidge over the top being in as many places as they are, but I like it.
Anyone who’s welded aluminum knows how difficult it is to master this material. My few times attempting aluminum welding usually ended with large puddles of molten aluminum where they shouldn’t be, and a hole where a seam should have been. Bob’s friend Lynn remarked the welding must have been done by a master welder, all welds on the frame were beautifully done (Lynn’s no stranger to welding and is considered a master welder himself). While I can’t weld to save my skin I can tell the difference between a nice and bad weld and I’d have to agree with Lynn’s assessment.


A few pics of the naked frame!


Next up – clean out and leak test the fuel tank, fully break down the suspension and brakes for powder coating, then proceed with some actual ASSEMBLY for a change!


I happened to log on today and saw the latest post. Great watching this unfold!
LikeLiked by 1 person
Im looking forward to each new post,keep it coming thanks Earl
LikeLiked by 1 person